Well, we now have to tie in the backdrop to the existing scenery. To do that, we need to build out a base for a plaster hillock in front of the backdrop
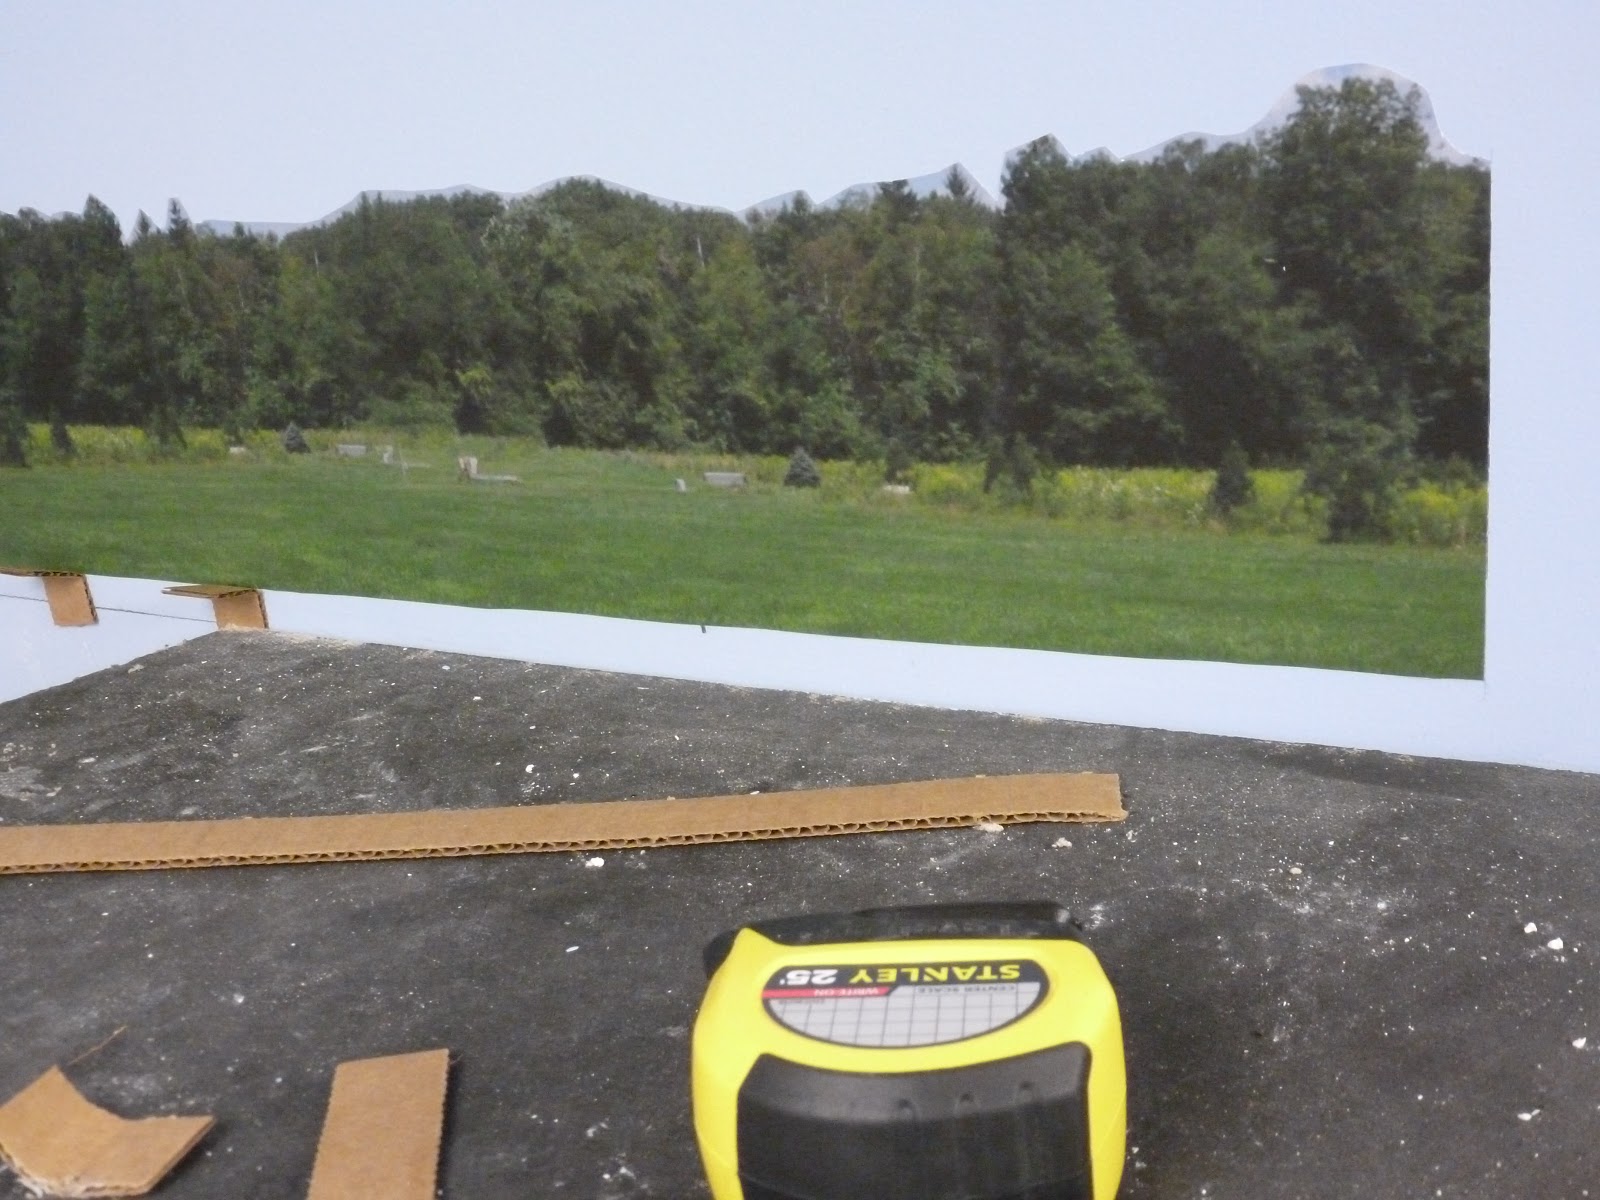
I have hot glued tabs to the wall below the photo and am now bringing a chord along to tie into.
As I came around, I was unhappy with the height of the end of the photo above the base of the town. I needed to find a way to fill it in.
Using a piece of scrap from the photo, I cut a one inch high piece from the grassy area. I then used a black marker to color the edge of the vinyl.
You can see that the black ran down the back of the strip
I then glued it to the bottom of the photo and it blended perfectly. Problem solved. A building front will cover the right edge of the photo.
So, the webbing was then completed.
You can tell I used Micro Mart cardboard strips to make the base.
Then I covered it all with red rosin paper
Starting to look complete.
Covered the photo with plastic to protect it somewhat while I add plaster.
Plaster cloth is now on. Not an easy reach into that far corner.
Done for now. I have to let it dry.


No comments:
Post a Comment