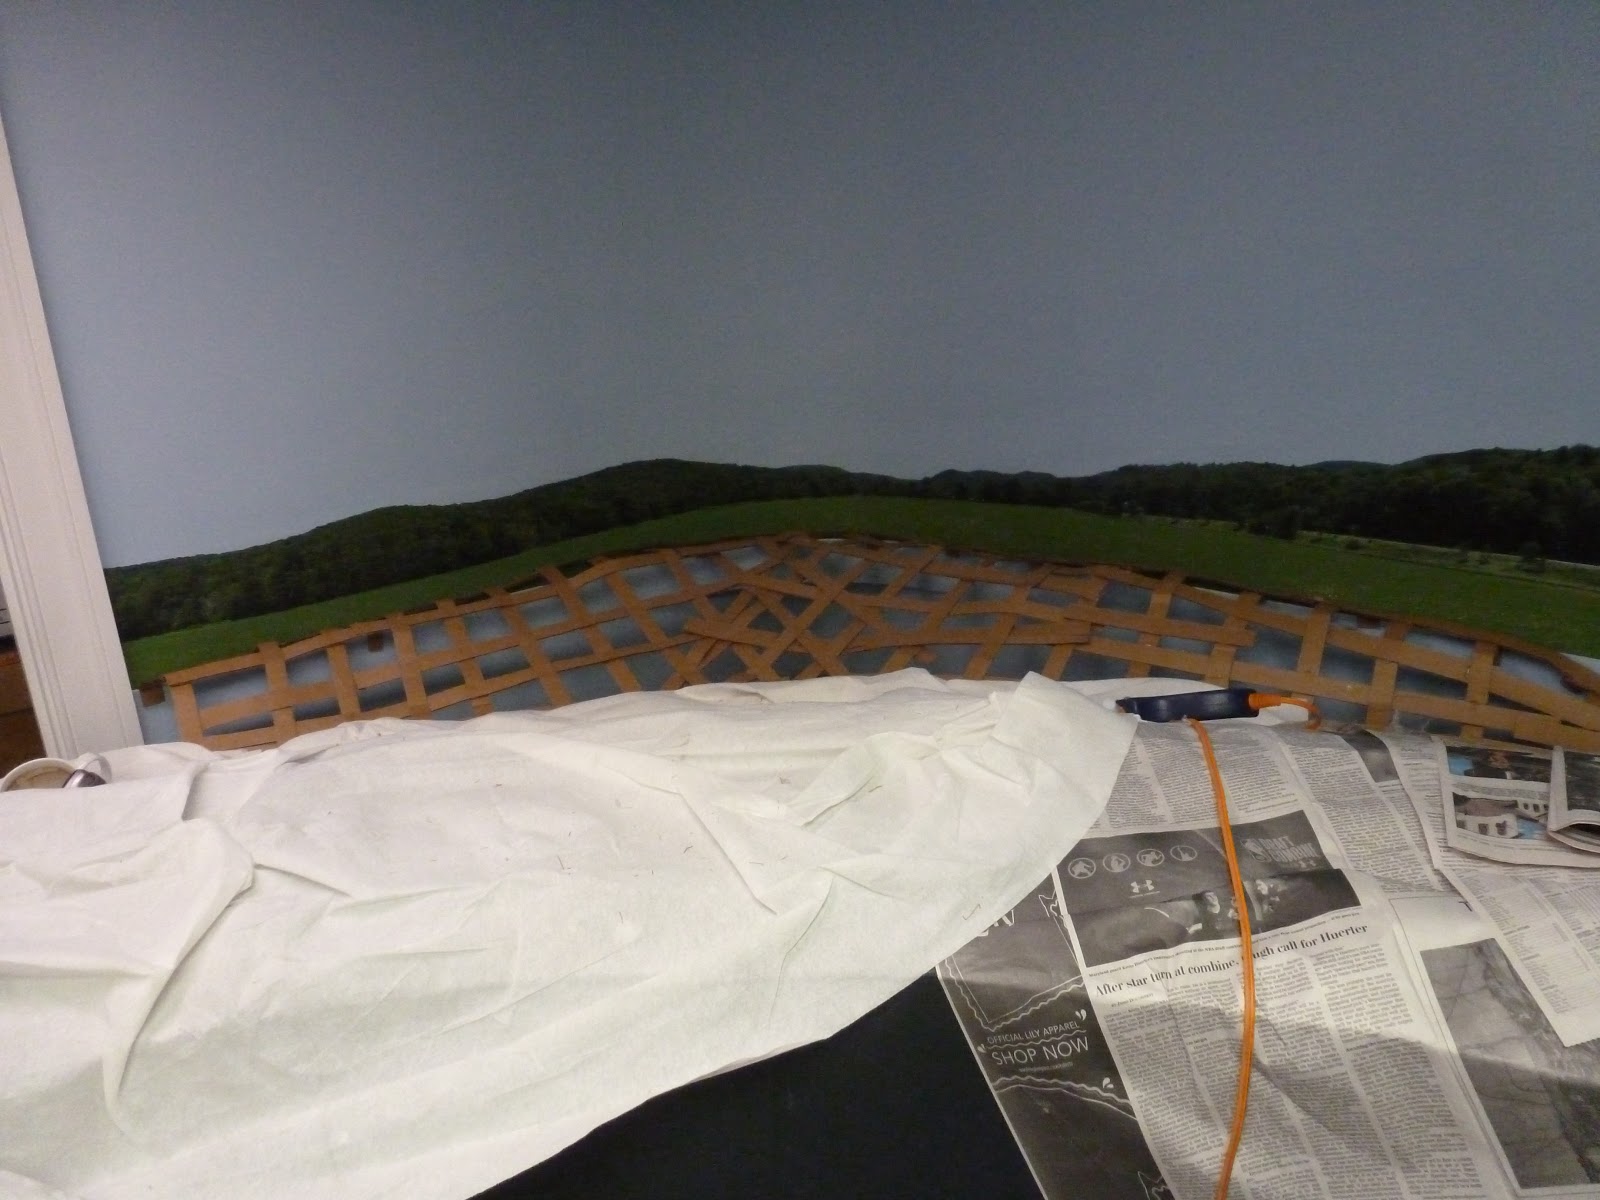
First we have to add the webbing that holds the scenery up. Here I am gluing the cardboard strips tot he wall and the edge of the track board.
A broader view of the activity
The webbing is now approaching completion.
I terminated it in a dip next to where the track approaches the wall.
Next step is the addition of the red rosin paper that I glue to the webbing. That glue adds strength to the structure.
We glue smaller patches to the webbing and work our way up hill.
Rosin paper is now in.
Next, I cover the mural with plastic wrap to protect it from the plaster and paint. The plaster is impregnated on cloth that I put up dry and then spray water and paint on more water to activate the plaster.
I use a paper cutter to cut the pieces of plaster cloth and then put that on the rosin paper.
Plaster is on now and left to dry thoroughly.
Another view of the plaster on the hill side.
Once the plaster is dry, I cover the hill with structolite - a stucco material. It adds more strength and texture to the hill.
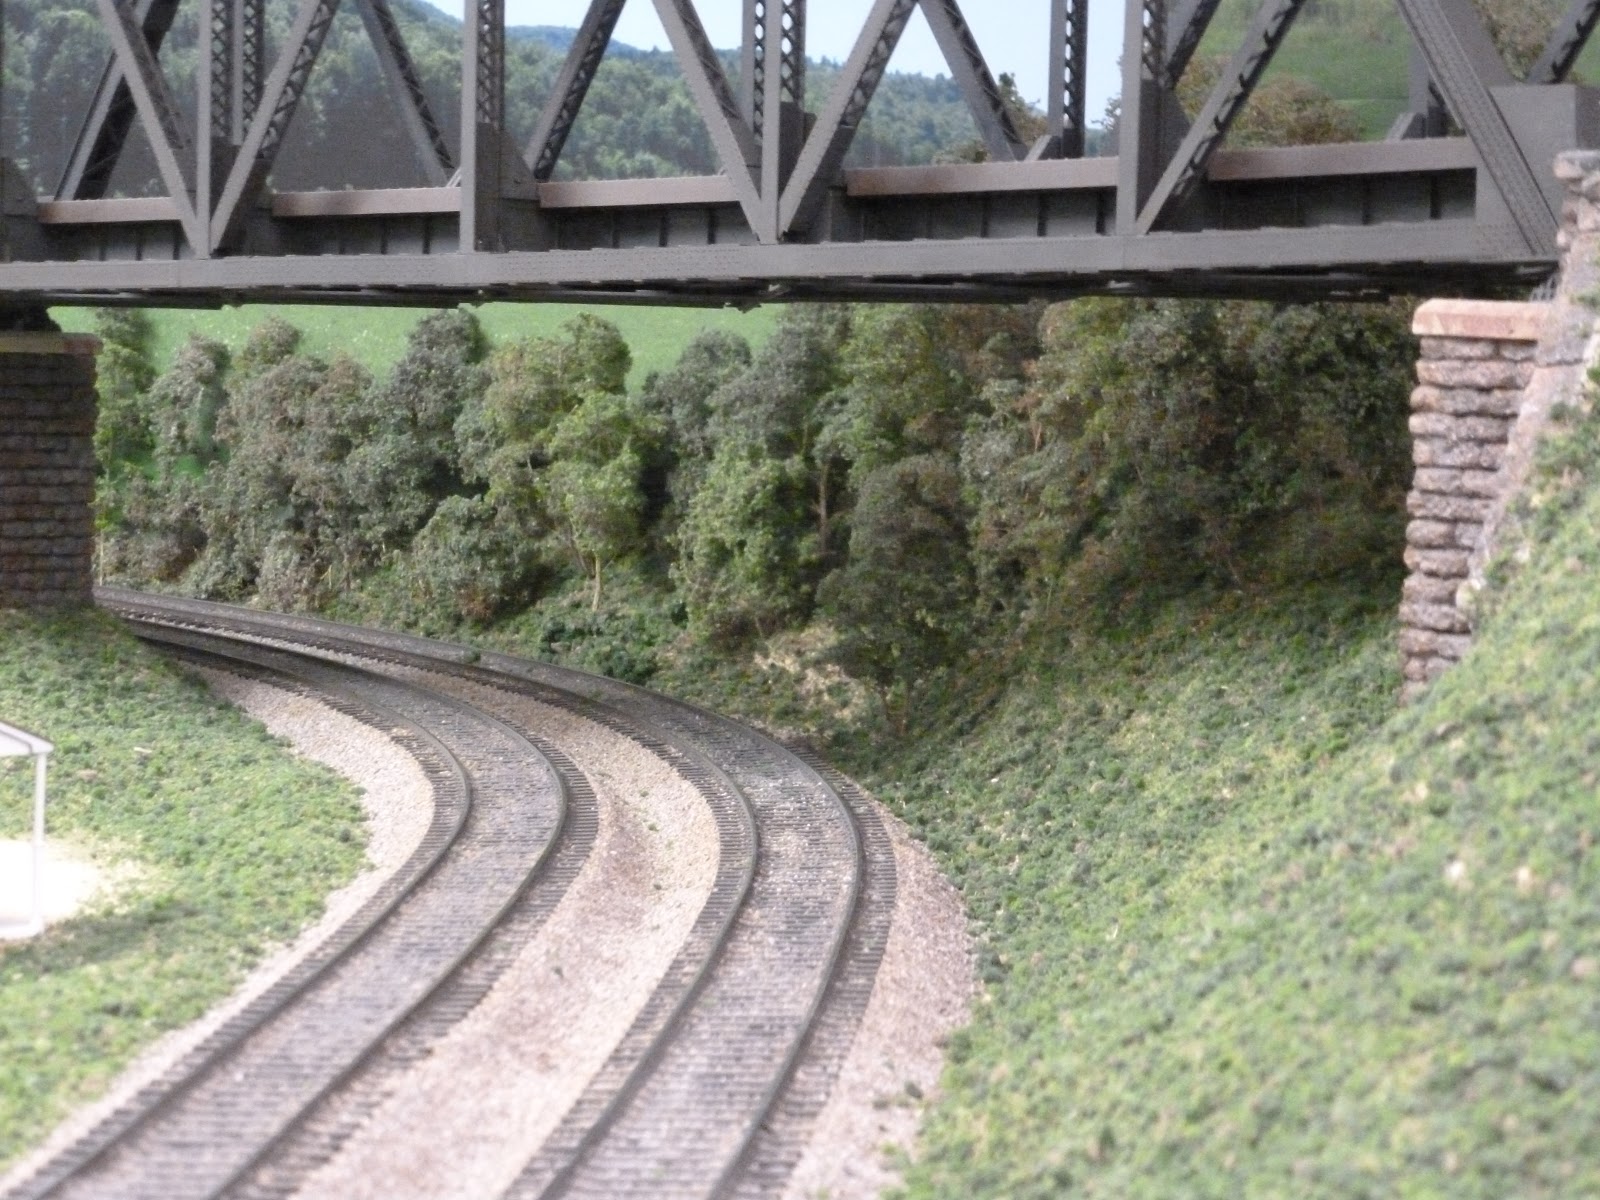
Hill is complete except for color and grass.
Hard to tell but hill is painted my earth color.
Now i have painted diluted white glue on the hill and added brown and green fine ground foam.
I let that dry very thoroughly - over night.
This is he shifting equipment I used to put on the fine foam.
Then I add larger foam that is called scrub grass so has a variable color makeup. It comes close to matching the mural. I removed the plastic protection and then brought the larger foam up to the mural to eliminate the seam. So, we are moving right along. Three days into the project.