Thursday, May 15, 2014

Some finishing work - Volume 5

 Well, we have to get the control panel in at Paxinos and I am beginning to like recessed panels after what we did at Crowl. So, here we have cut out the opening for the panel at Paxinos.
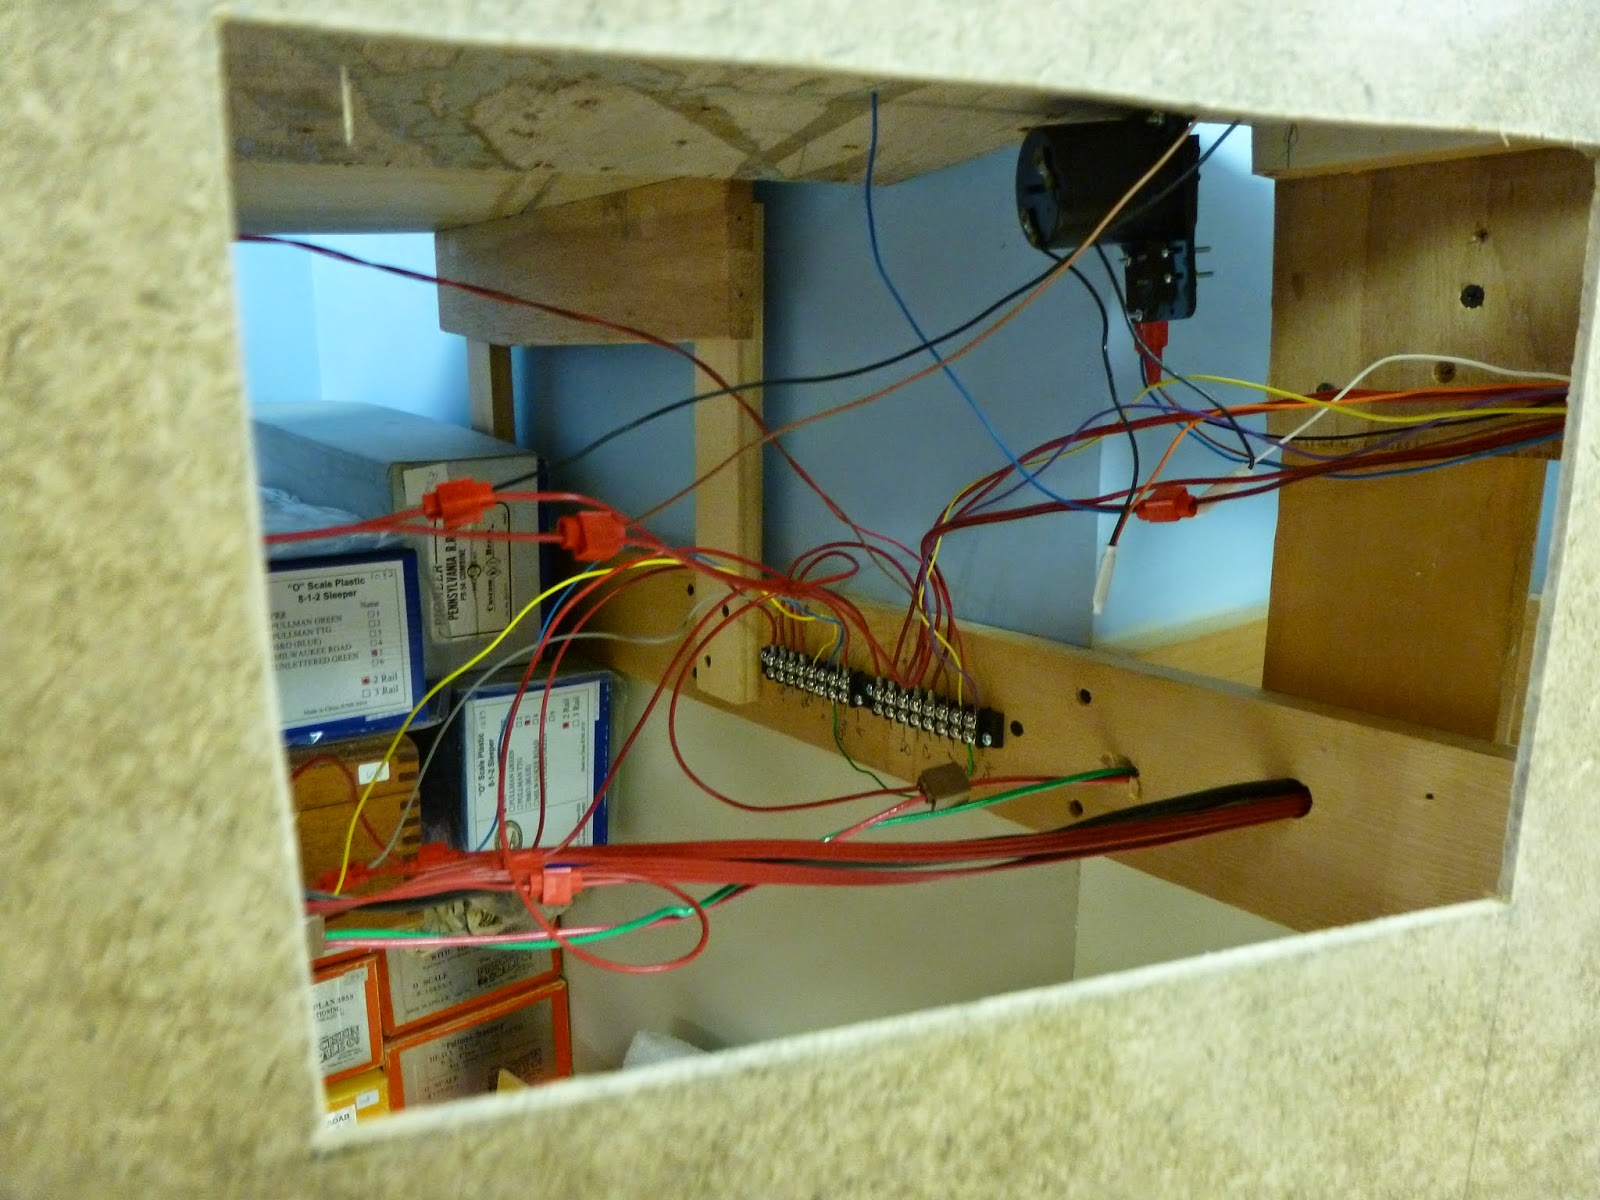
 I have previously wired all the tracks and turnouts to a terminal block mounted to the frame of the layout.
 You get a good view of it through the hole
 We need to have some spacer blocks to recess the panel so I ripped some 1/4 to one inch wide pieces so we can glue it to the back of the masonite fascia.
 Here is the finished opening.
 Another view
 Now I placed the previously wired panel in the opening. I wired it while at the bench. All I had to do was to connect the pig tails to the wiring block you saw previously.
 Here is another view. One we went through the shakedown, everything ran perfectly.
 Now we have to move on to Weigh Scales. It has a shorter distance from the surface of the layout to the top of framing so I will have to come up with another way to recess the panel.
 I cut the front runner and made some plywood brackets to lower a section so I can place the panel in that area. I am sizing everything up, using clamps to see how it looks. I had to change the design as I did not get enough horizontal space for the panel with the original design.
 I am trying to set it at a good spot in the yard for ease of operation.
 This is the revised approach. I now have 18 inches of panel space. I have to cut the plywood end blocks in a more complicated way than originally planned but it should be okay.
 Some judicious cutting and the splice is finished. Now I have to wire the turnouts and blocks and mount the terminal blacks so I can put up the fascia and make it look finished.

Saturday, May 10, 2014

Some finishing work - Volume 4

 Well, we are nearing the end of the benchwork before we jump past a door so I am trying to get the fascia done to that point. We also have to incorporate a recessed control panel at Paxinos, so I have to put some framing in to reinforce the paneling there. You can see that I have added the splice panel reinforcing (the wood closest to us) and, looking to the left, the reinforcing for the right side of the control panel. The horizontal posts sticking out under the track reinforce the top edge of the paneling.
 Going back to Shamrock, you can see where we have added the horizontal reinforcers that match the vertical plane of the bench work. This is looking towards Paxinos. I am going to place a bridge over the track to provide a view block to separate the scenes.


 Moving up the track, all the braces are in but I have to set the roadway height for the bridge when I come through here with the paneling.
 Here is first piece of paneling cut to go in around that curve. You can see the bump up where the road will hit the paneling as the bridge crosses the track. I am gathering the clamps, etc, to set this piece in the glue I have placed on the bench work.
 The big problem going around a curve is that it requires a great many clamps to hold it close to our contours. So, we clamped the joint fully, using a ripped 2X4 to spread the pressure evenly. The glue is coming out nicely so I am happy.
 It is a bigger problem clamping these taller pieces so I had to come up with a different system but I did use a lot of spring clamps to hold the base. I shot some nails into the top where we had a horizontal reinforcer. You can see the rise in the paneling where the road will go over the tracks. It is just above the big blue clamp.
 Now you see the second piece that brought us to the splice backup that we placed earlier. I need to go back in and cut out the fascia for the panel.
 So, this is Paxinos with fascia.
 This is the curve from Shamrock with fascia
And this is the line up the hill to Paxinos. You can clearly see the rise in the fascia for the farmers bridge over the line. The next installment will detail the installation of the panel at Paxinos. Then we go onto Weigh Scales which starts along the back wall in the distance.