Sunday, March 2, 2014

Some finishing work - Vol 3


 Well, we have a lot of low bench work where the base is even with the top of the chord. So, this goes a lot faster as I do not have to shape the top side or coat the back as it is solidly against the wood. This is at the start of the Northumberland yard area.
 We do have some tight corners to cover and I have a sheet of masonite resting on the bench work to enable me to see how far it will go.
 It goes up pretty fast but again is limited by the time it takes the glue to dry. I have to come up with a way to cover the joint with some sort of body putty.
 This gives you a view of how this is going on. I am maintaining about a 1/8" lip above the yard surface to allow for ballast and cinders. I will have to be careful when climbing on the top to avoid crushing this.
 It takes a lot of clamps to ensure that the fascia stays tight to the curves when making a corner.
Here is a view down the aisle with fascia now on both sides. I have to develop a color for this that will not attract the eye. I am thinking of a flat dark smoke grey to be slightly darker but similar to the color of the legs. By the time you read this I have traveled another 50 feet along the bench work.

Some finishing work - Vol 2

 Well, as we got into the project, we had to develop some new techniques to help keep everything plumb and to avoid sheets climbing or falling over the distance we are traveling. Here we clamped a level to help ensure the backers are vertical to the lower member. You can see the 2X2 is up against the level to hold the masonite in place.
 Another view of that process. We spaced the 2X2's at about 16 inches to give good support to the flexible masonite.
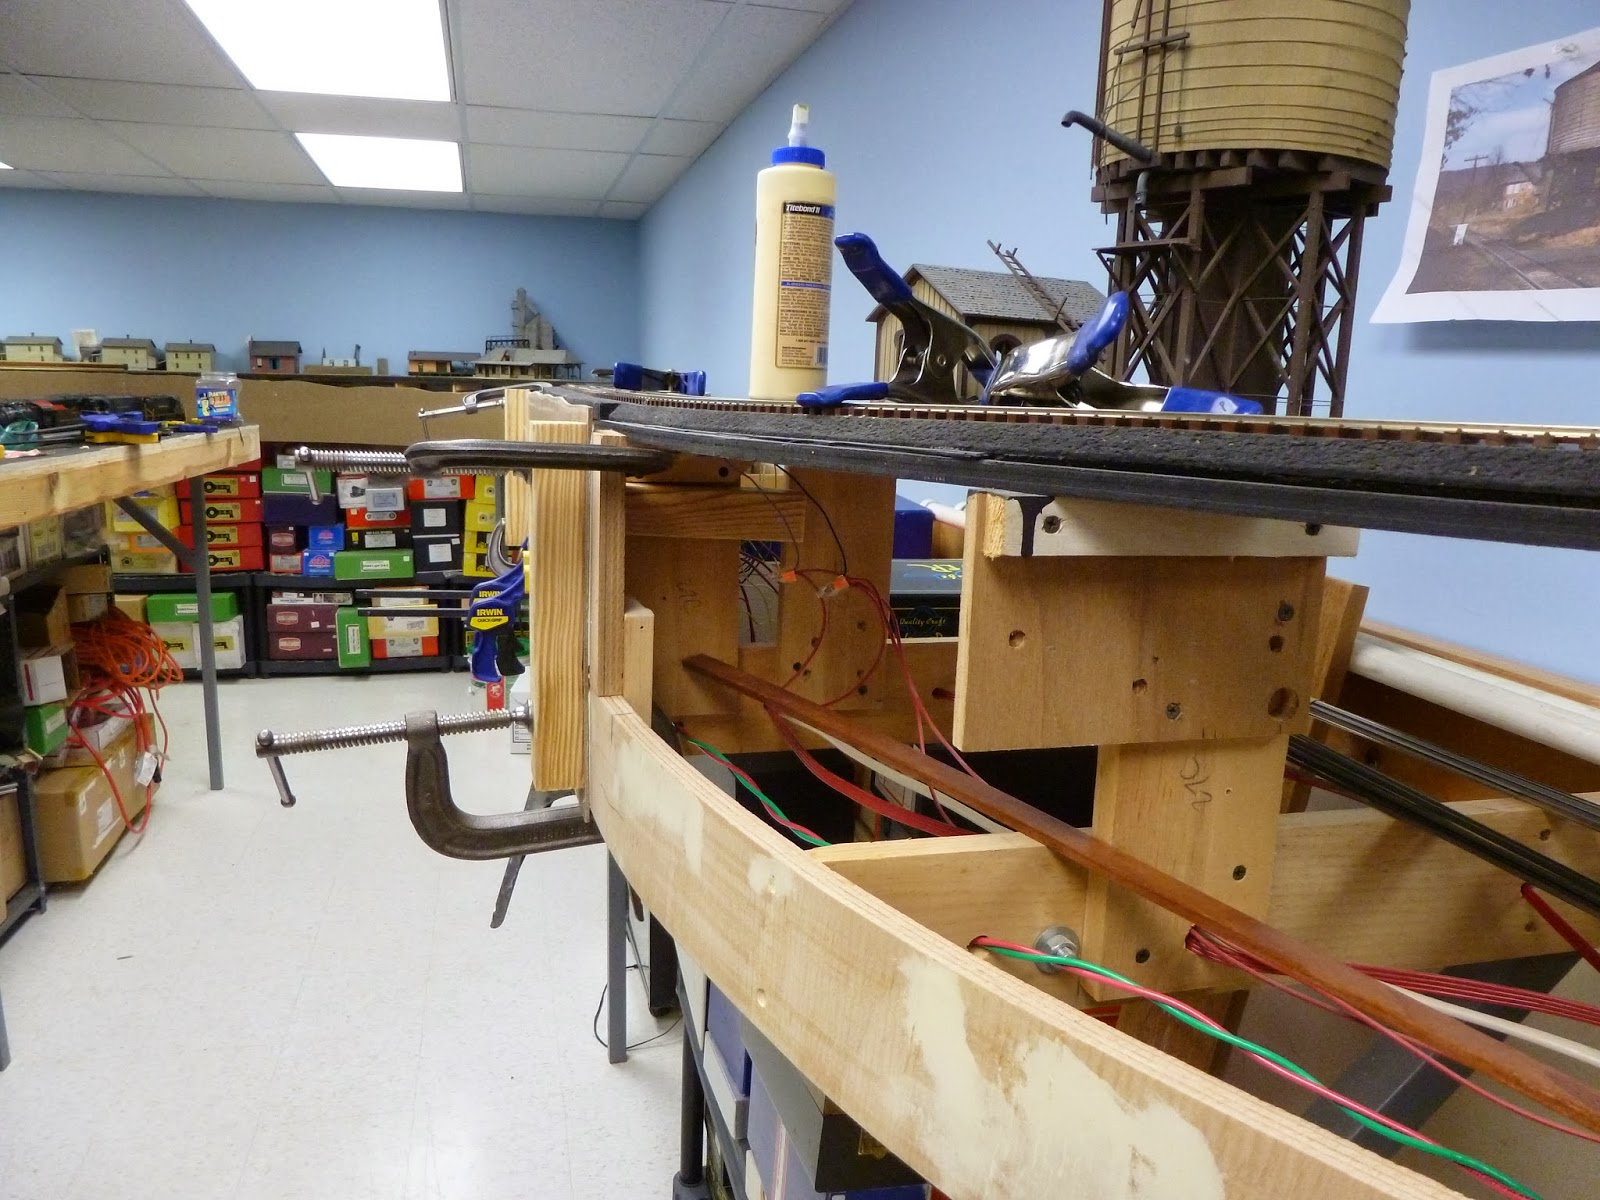
 Here is the next sheet in place and clamped to hold it while the glue sets. It takes a lot of clamps as the masonite wants to straight from point to point. I have it keep it clamped for about 5 hours. So, I can only go so far as I have clamps to cover.
 Here is a view from above showing the reinforcers holding the masonite in place. I cut the reinforcer's ends to match the curve.
 Here is our next seam point. I use the nail gun to expedite to joint of the seam backer to the lower chord of the benchwork
 This is an after view as we move along the branch. You can see a deeper cut in the profile where we have a culvert under the track
 This is a view of the next piece, including the joint with the existing sheet.
This is where we stop for now as I have to incorporate a panel for the junction at Crowl. So, we covered about 30 feet in about 3 days.

Some finishing type work. - Vol 1

Well, I am getting tired of looking at wires hanging down on the higher sections of the layout. So, since I have finished the wiring of Reed, I decided to begin hanging some 1/8 inch Masonite to cover the view and allow the start of some scenery work. This is how it looks at the start. The control panel for Reed is built and hung.
Then we come through the curve leading to Crowl. I purchase a large order of Masonite and had my son in laws and Justin help me cut quite a few sheets to size over Christmas for me to work with. Then I coated the back with a shellac type sealer to prevent movement.  
 I thought it would be an easy issue of just putting up the masonite but Ed Rappe, Paul Cieurzo and Jack Brown quickly disabused me of that notion on a Monday night when I was hosting our weekly meeting. There is a lot of substructure I have to place to make it strong enough to resist people pressing against it. That includes wood backs at seams as well.
 Here we are temporarily setting  a piece to locate the wood seam backer. You can see the white from the sealer on the rear of the sheet. We also leveled the sheet on the bottom to make sure it met the panel without a big gap.
 This shows that we placed some reinforcers behind the sheet leading to the roadbed to hold it out off the scenery when it is covered.
Here it is where it meets the panel. Things look good so I can go ahead and place it using some Liquid Nails adhesive. I plan to use that primarily to minimize the spackling I have to do to hid any holes. This took quite a lot of time to start.