As I looked at the design of the hill below the abutments of the bridge, it became apparent that it was going to be pretty steep. My cohorts argued for a taller retaining wall than I wanted to make and they convinced me it was more appropriate for the hill that we would create. You can see here that we have a big height differential to deal with.
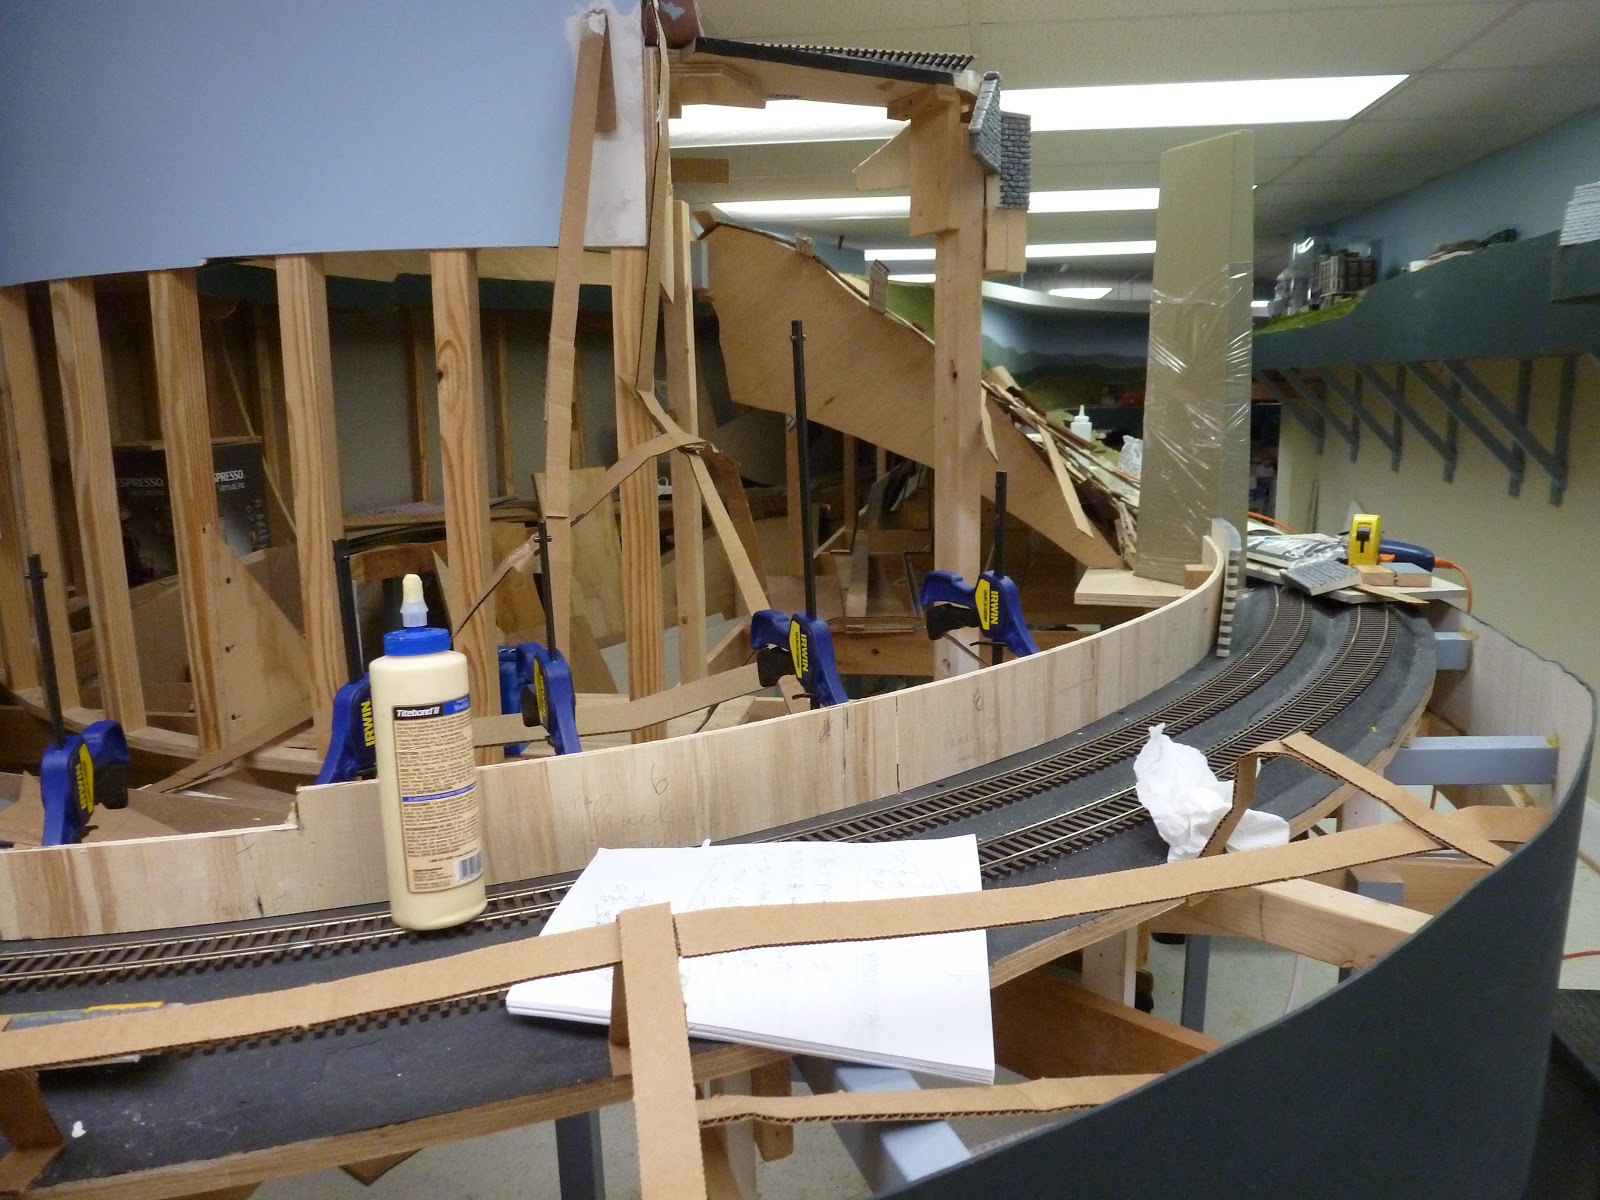
So, I started by gluing blocks to the road bed base. These blocks would hold the bendable plywood backer for the retaining wall. You can see the clamps holding the distant blocks in place. We placed them on a curve determined by holding the plywood a set distance from the edge of the ballast line of the track.
I cut a piece of plywood about 5 inches high and about 5 feet long.
Here we have the plywood in place and glued tot he backer blocks. I had to cut down the left end of the plywood as I would be bringing the wall lower as it ended.
I checked to see that the backer was low enough to be hidden but high enough to provide the support I needed.
I had to cut each panel of the wall in such a way as the base matched the grade while the stone rows and top stayed horizontal. Essentially, I had to cut across two rows of stone within the length of each panel to match the grade. You can see the step effect here.
Here I have cut down the last panel. I had to cut the ends of the panel in a step fashion to bring the wall down to termination.
You can see the termination here. I have to coat the top of the stones with body putty to cover the expanded foam that wall is made from.
Here is a backside view of he whole assembly glued together. I had to let the glue dry for two days to get a good grip on the foam and the wood. Next, on to the cardboard base for the hillside.


https://delgadosandsonsenterprisesllc.com/
ReplyDelete