Tuesday, January 22, 2019

Moving on to ballasting

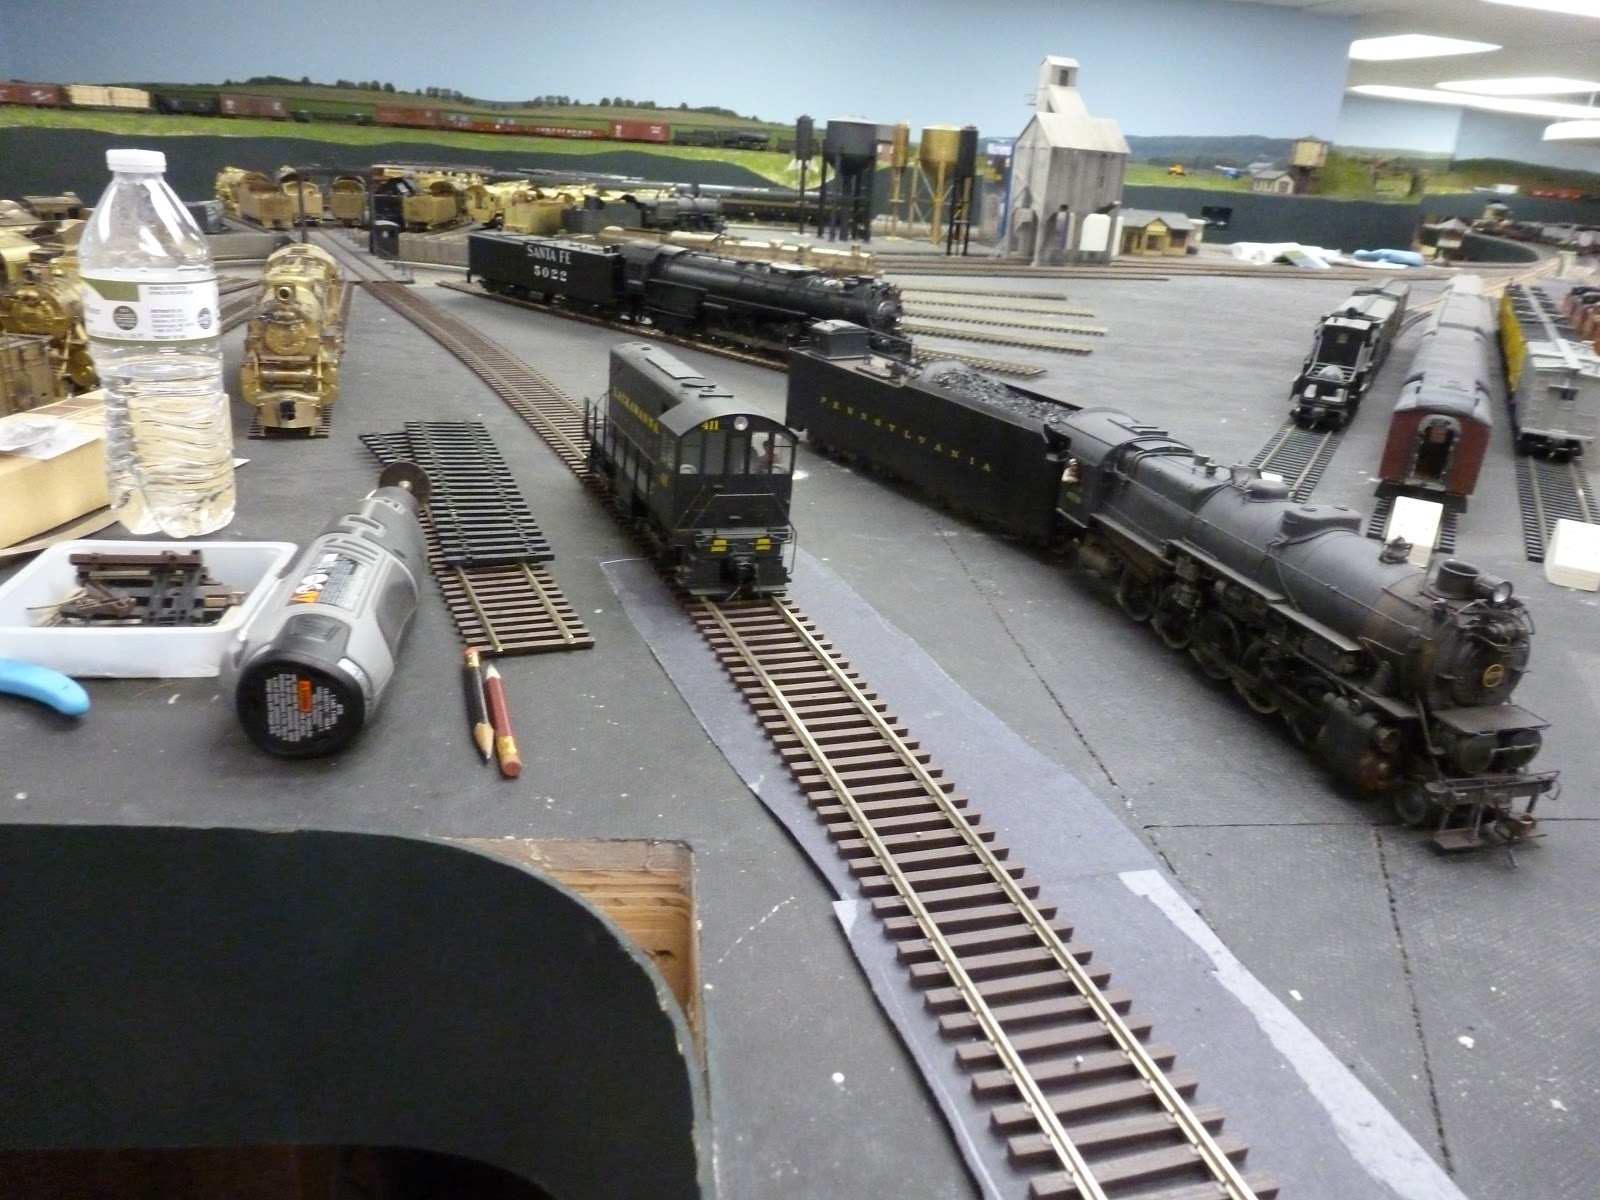
 So, I have moved many cars down the main line and blocked everything up.
 I had to clear the yard so I could paint the track in about 60% of it.
 The cars come into the other room. The unpainted ones in front are the next tranche of cars to be painted. Mostly hoppers.
 Too many projects, too little time.
 So, I have gotten some ballast down with the help of the gang. I spent the week before painting the yard and and main line. Then 2 days cleaning the rail heads of the paint. My finger is permanently colored from the acetone and paint combo.
 You can see the uniform color of the track and turnouts as the wood ties paint up the same as the plastic.  I have to glue the main line ballast down and then I can put down the Arrival and Departure track ballast. Then glue that. Lastly, I get to put down the cinders in the 5 track yard.
 Some of the fellows started on the other end of the prepared area. The main line required two levels of stone - a fine sand filler of the kerfed portions of the road bed. I am trying to save on the  expensive main line stone to be sure I have enough. If I used just the main line ballast, filling the kerfs would double my consumption. You can see I have a lot of tracks to ballast!
 The toothbrush is the end of the filler placement. So I will have to push that on to be able to continue the white ballast.
 Just another view of the project.
 It is starting to look good.
 Where the foam brush sits is the end of the Arrival and Departure tracks. That will be a grey ballast.
The cars are ready to get back into the yard so I have to move along.

Adding some more greenery

 Well, I am getting ready to paint the yard tracks and ballast this whole section so we need to have the greenery in the rear added beforehand. Carpet remnants are up to allow the guys to climb on the track to get to the rear.
 This is where we will be working as we go around the curve.
 Pulled all the cars in the yard down to the east end to keep them out of the way. We will do the work in two sessions so I can keep the cars out of the way.
 We had a visitor from Australia who was interested in what we were doing. A very nice addition to the train group with her wonderful accent. Michelle was working under the layout, pulling wires, by the end of the evening. She even came back for a second evening with us. Amazing!
 
 Mike can't believe he has to get up on the train yard.
 We are coming around the curve from the left.
 Here is how we look after the addition of the ground foam. The guys got it to flow nicely into the backdrop.
 Here is an overview after the guys went around the curve.
 I think it looks much better., It does need some trees but that will be next year.
 Coming around the mountain on the second night.
 Cars moved out of the yard and the balance of the backdrop is done.
 Here is the overview to the end.
 Future area of work.
 Cars hanging out down the main lines.

Developing new scenes

 We have completed the track work and layout of Reed and now I need to work up a new backdrop. This is the east end of town and all is done except for the backdrop. I am working with Dave at Backdrop Junction.
 I am thinking I will have a wooded scene to the far end behind the coal dealer. As you come back towards us, I would like to have a town appearing in the woods and coming up toward the track. It is a difficult area  as it is close the tracks and the buildings crowd the wall.
 As we look further down the tracks there will be more town buildings and then blending back to a country scene as we approach the bridge.
 This will have hills to the left and town to the right.
 I need to have a city scene here to represent Sunbury as I do not have space to build it.
I hope they come out as nice as this.

Wednesday, November 28, 2018

Closed Circuit TV

 Well, the height challenged members of the train group have been beating on me to add a TV monitoring system for the overhead loop. They cannot see the trains stored there easily. I had purchased cameras ($7 each) and TV screens (about $20) from China about 6 years ago but like to let projects marinate for a while as I think about the approach I want to take.
 So, I pulled out a camera (upper right) and a monitor to look at how we might make them work.
 I found I had a color camera and monitor with more capabilities than I expected. The monitor can handle two cameras and toggle between them. It was made to go into a car for videos and back up uses. So, it has a 12 volt power supply requirement. The camera is 9 volt and has a nice lens. I ested them on the work bench and was generall pleased.
 I took a piece of plexiglas and made a panel face for the mounting  of the monitor . I made a mistake here that I found out about later - the angle of viewing the monitor was sub optimal. It now sits right next to the control panel. I had made the space when I built the control panel.
 The monitor even came with a remote that I ll have little use for.
 Now, where to place the camera. I do not have a lot of height at 10 inches so I moved the camera around to see what views I go. I placed the knife where it looked decent. We are looking down the 6 tracks.
As an aside, I made up the cable from a Chinese one that had the connectors already on the camera end. I had to add the connector for the video and the power on the monitor end. The cable is shielded to avoid interference. It was pretty cheap. ($36 for 4 - 150 foot long cables). Let me know if you need some cable - available cheap!
 Here is the view that we have to capture. I placed tape with the track  numbers on it to mark the end of travel to avoid electrical problems. The camera is sitting to the side here.  I may need to add some light as the dark engines are in a shadow and that makes them harder to make out. You can clearly see, though, what tracks they are on.
 I stood on a ladder with the monitor below to see what I was getting with the various positions of the camera. It appeared I had to be about 3 feet back and centered to get a decent view.
 So, I built a bridge and mounted the camera to it to provide the view we wanted.
So, here we have the monitor mounted and now the operators can see what trains are up there, what track they are on and what is open. The view is more in silhouette as the screen looks black and white from an angle but at least you can see clearly. The next installation will have to reflect that limitation.

Working on the Yard

 I need to push on with the yard both from a scenery and a control perspective so I have been spending alot of time on and below the layout. We are adding the magnetic uncoupling ramps using htose small super magnets.
 They are in at the end of the arrival and departure tracks. You can see them by the boxcar.  I need to get these in so I can paint the track and then ballast. The ballast will hold them permanently.
 I also acquired an icing platform that was built by a very close friend of mine who has since passed away. I had to relocate the track to make the platform work. It looks good in that place though.
 It will hold four cars which is a good size for my year.
 I am going to build the Atlas ice house and add it onto the scene as the provider of the ice for the yard.

 I have also been spending time (too much) under the layout, adding the wiring to the frogs for about 25 switch motors that we installed about 2 months ago.
 The Circuitron machines require a terminal strip and a connection block for each motor. Then you wire the frog to the terminal strip and check for completion of the circuit as the motor throws.
 You can see there were a lot of these to do. Next I have to wire the panels so the East end of the yard is operable. It will make a big difference on the utility of the layout.
 Then, I worked on the top of the layout in the engine area as I added an escape track from the arrival/departure tracks to the turntable. It has to drop about 3/8's of an inch from the main line level to the yard level as it approaches the turntable.
 So, I added a long, gradual curve from the main to the turntable. It looks good and will be along side the wall of the roundhouse then I get that built.
More projects to come.


Back to the spray booth

 Well, the visitor from the open house have left - all 160 of them - and I decided to get some cars painted that have been hanging around for a while. 6 of them are Parri cars. 2 G22 , 3 Glca's and a NYC USRA mill gon.
 Here is the NYC mill gon - after I sand blasted it, added couplers and air hoses and mounted it on a handle to paint it.
 Painted and air drying. The last car of the batch to be painted.
 I also painted an X42 mail storage car that I had John Frantz do some custom decals for. He did a great job and uses a very thin film so the car looks great.
 I included 4 Yoder Gla's that were factory painted but not lettered so I got them out of the way. Then I threw in a couple of Pac Limited cars - an H21 and H22.
 Here is the X42,
 The Pac Limited cars  await lettering - I have to decide shadow keystone or not.
The NYC car also needs to be lettered but this is going to be a chop job as the appropriate set does not exist. Closest I get is a CDS container car set that is based on the car. While working on the G22's I used the CDS set for that car and used a light to heat the lettering for better adhesion on the car.