Sunday, July 7, 2024

More scenery work - additional backdrop

Well, as we work to complete Herdon, it is time to add the backdrop so we can press on to the foreground. You can see the end of the plaster work around the tunnel. We started the photo at a height of about 18 inches such that the 3D hill can come down in front of the joint. 
Here is an overview showing the full three panels of the picture. It is a wooded hill behind a field. I have to build a hillock that runs along the base over to the right where I will install a false bridge.  
Closer down to the end where the bridge will disguise the track disappearing to the hidden storage area.

The green foam will be the base of the hillock. It has to be cut and blended into it.

This is the end where the bridge will go. You can see a placement of a pier between the tracks. 
The hillock will just cover the lower white border of the photo. 
There will be some trees on the hillock that aid in merging the 3D with the 2D of the picture. 
This shows the curve that the scenery will have to follow. 
This is an overview of the whole area. The town of Herdon will be on the left of the main line which is under the newsprint. 

Our next job is to cover the picture with saran wrap so we can plaster up around it without damaging the photo. 
 

Some new Steam coming

I am taking a break in the shop as I have a couple of Key H10's to restore. They are heavily tarnished and missing parts. Fortunately, I have a lot of parts and a sandblaster. My wife also found an old Mobil shirt and wanted to see me in it. 
As I begin the project, I had to make some custom screws as You have seen before - the bolster screw for a Flying F7. Here is the set up to slot the new screw I need for the drawbar connection between the engine and the tender. 
It is somewhat hard to make out, but the saw will cut a slot in the head of that screw blank that is sticking out of that smaller vertical vise. It cam e our well and now, after sandblasting , I have been able to prime and paint one color on the engine. Next, I have to mask and paint a red deck on the tender. 
 

Finishing the F7 Saga

Well, this project has been going on for quite a while as you look back on the postings. So, since I have been homebound for a couple of weeks, I decided to push on through it and finish it up. So, here we have one B unit and two A units that I have painted and lettered using the Keystone articles from several years back. Two of the units I only partially painted and one ,which had been damaged, I fully painted.
I used Clover House dry transfers for the road name and a combination of Champ and Microscale decals for the balance. The stripes come from Champ with a home made curved portion on the noses. The colors of the Dulux yellow vary but I do not think it detracts from the whole. I looked up what were the unit numbers of the F7's that were delivered to the Northern Division to come up with the unit numbers to use so I now have correct engines on the property. Cutting all those numbers on the units was a pain but worth it. 
Here is the completed B unit. The other B unit is one of the flying F's but I had finished repairs on that earlier. It has a slightly more faded appearance as I used Dullcoat on it. The other three all have a clearer flat finish from Floquil. 
You can see the difference in the one on the right. 
The rear of the B unit.
This A unit was in perfect condition when I sanded off the lettering so the engine was repainted in the areas where I had sanded. You can see how I protected the grills and the glass on the body from the repaint. 
After I stripped off the masking, the paint matched perfectly as Key used Scalecoat to paint the engines. This body is now done. 
The other side of the unit. It took me about 2 hours per unit. 
This is how I taped down the wiring as the original scotch tape had dried out. 
Another interior view. 
Close up for my records,
Here we have matched up the chassis. The red wire and a black wire have been added as I converted the units to 8 wheel pick up from the 4 wheel pick up they came with. 
A couple of views of the perfect F7 - Number 9659
The PRR used 5 inch lettering in the number board. It took me a while to find some surplus freight car numbers that matched what I needed. I also added red markers on the nose. 
She looks good. 
Now we beging to finish the heavily damaged unit that was one of the Flying F's. It had a crushed nose and rear. I have reinstalled the electronics after putting glass in the whole engine.
I also had to replace the grilles as they had popped out from the bending of the body. A small wrinkle remains in the rear of both sides but it looks prototypical. Otherwise, we are good to go. I opened the front side windows on this one. I also added a crew. 
So here is the other side. 
Here we are backing up to the consist.
I added a front airhose and the red markers as well.
The rear of the unit
Another side view of Number 9663
Coupled up as we switch from the main to the receiving yard.
Here we are, ready to go. You can see that faded B unit. 
I am very happy with it.
 

Coloring the portal

I am beginning to try to variegate the colors on the portal. I have just begun the process so this is the baseline
I will be coloring all the plaster showing here on the portal structure. That is our next big step. 
 

Wednesday, March 13, 2024

The Building at Weigh Scales is finally in place

Well, the block station and scale house at Weigh Scales has finally been completed by my good friend and excellent modeler, Greg Cassidy. It features the scale house on the left and the block station, passenger shelter and offices on the right. It is built to resemble how the building looked in the mid 1950's. I am thrilled to have it and will now have to detail the whole area. 
There is a road that ran behind it and some buildings along the highway. I will need to make some facades to represent those. It is loaded with features like custom windows and chimney, two operator bays and additions to the base structure. 

It is going to add a great deal of flavor to Weigh Scales. Thank you, Greg! 

Tuesday, March 5, 2024

Back to the Plaster and imagining what it will look like.

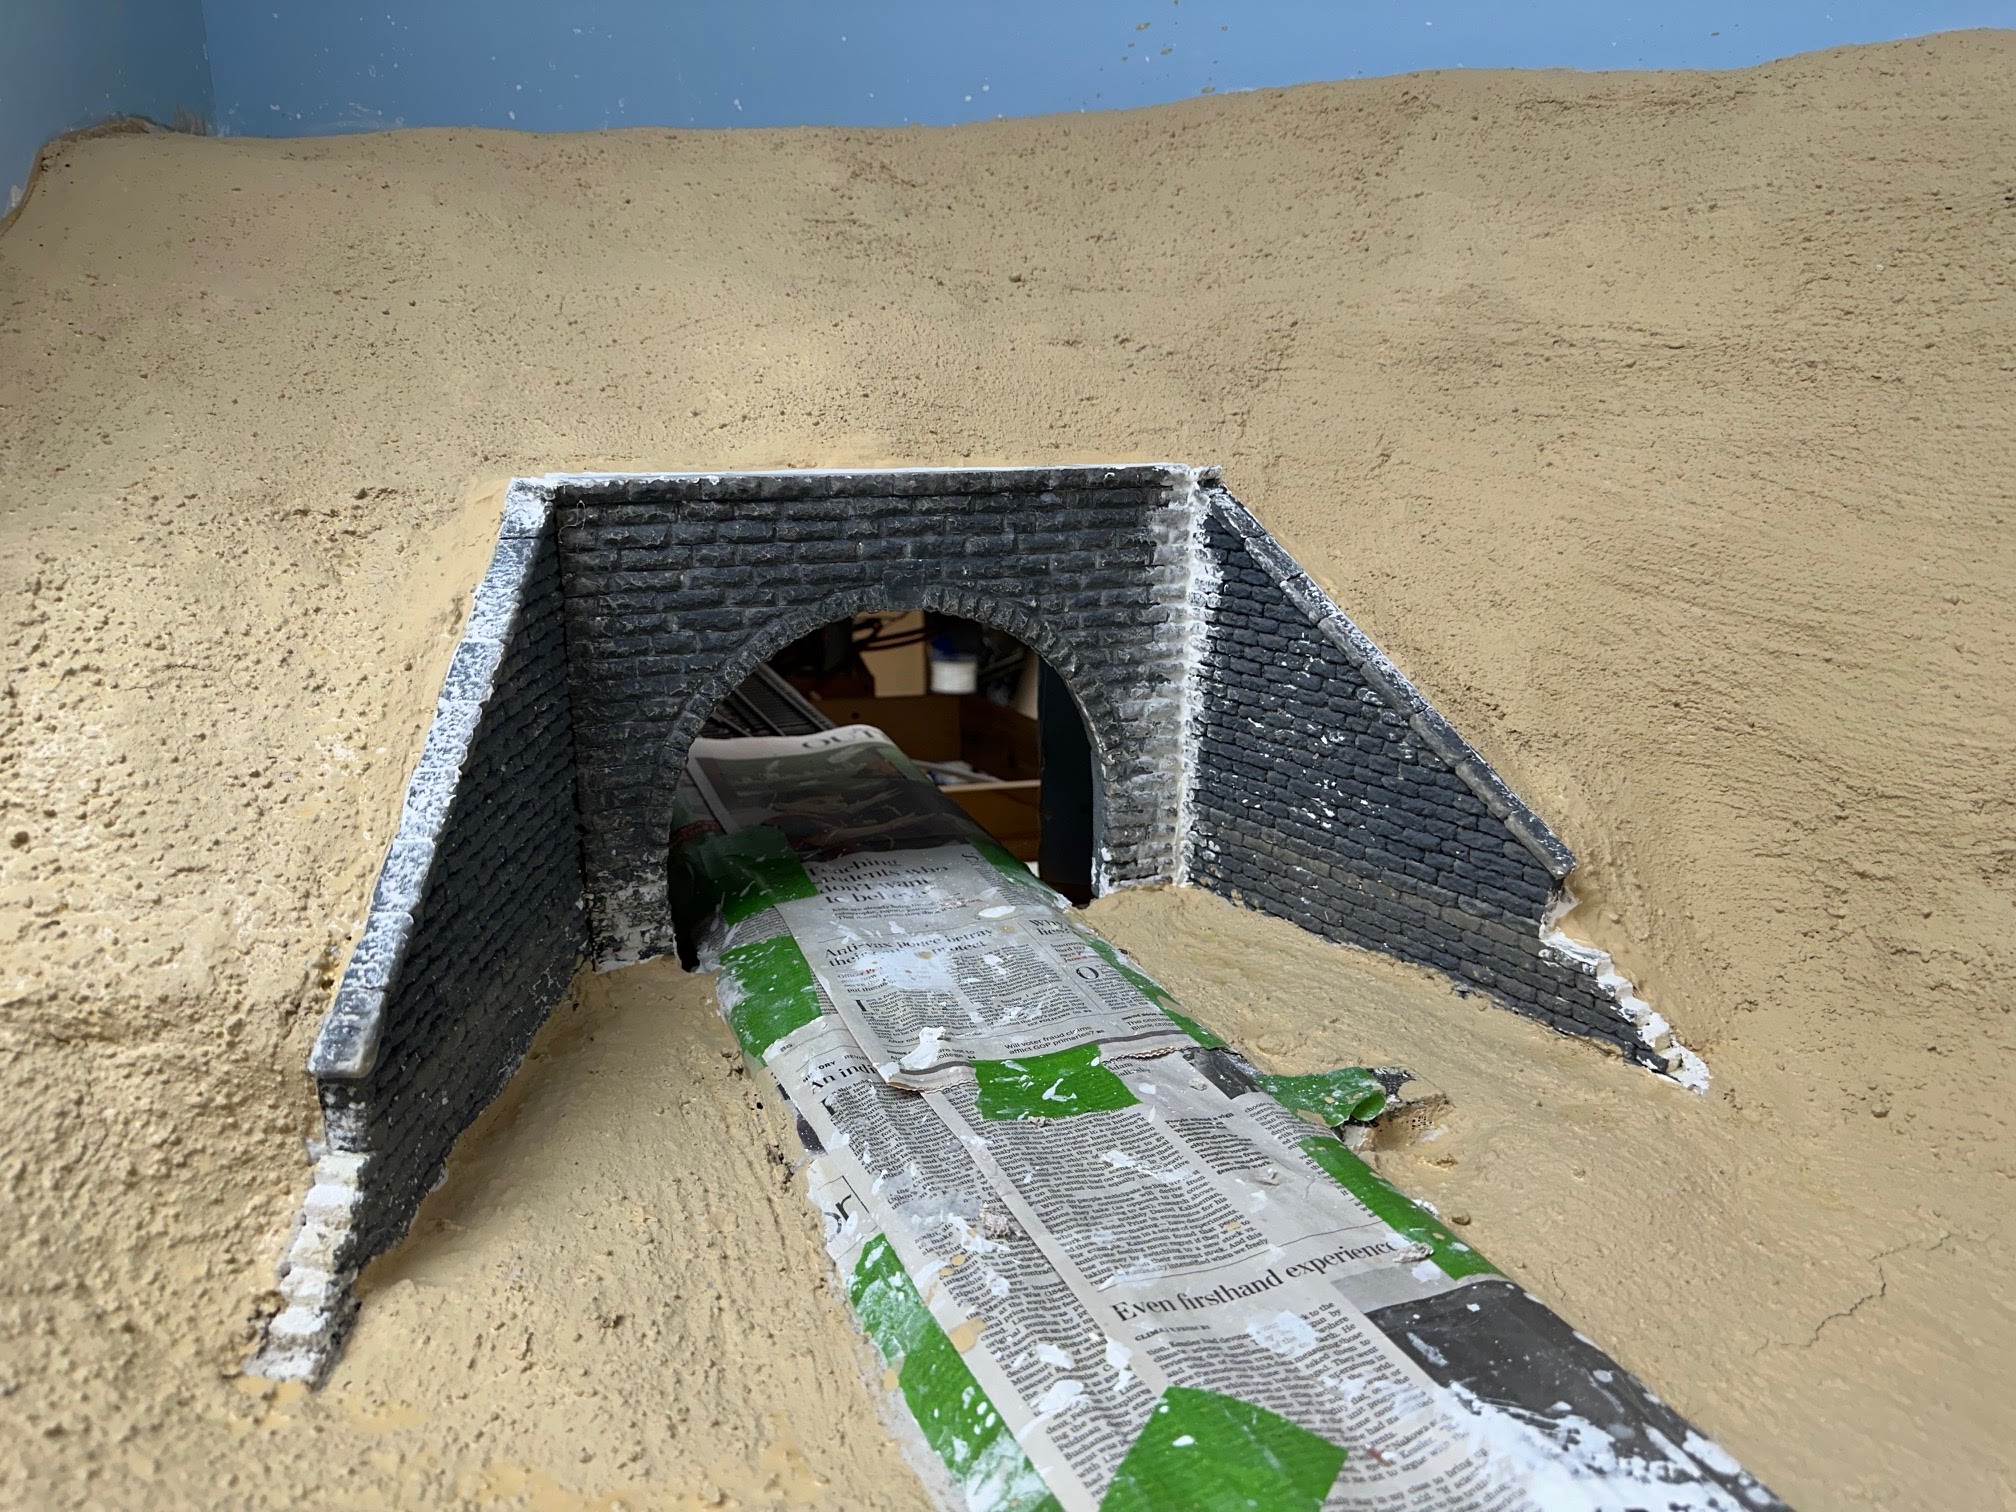
Well, we are working to complete the area around the tunnel portal and the hard shell plaster cloth has been installed from the face of the portal to the bases of the tower and a lineside shed. 
Stepping back, you can see that we have more webbing down in the foreground. I am approaching the corner of the backdrop where it turns to the right to go along the track.
Moving along, we now have covered the additional webbing and, in fact, extended it to the location of the control panel
We are coming around the curve to the aisle 
The area to the right is where i have to make the transition from the 3D hill side to the photographs. I am looking at materials that might allow me to make that easier than just by using plaster. 
There will be a big dairy company alongside the track on the level ground next to the track. I need to add a retaining wall between it and the track. 
This gives the best perspective on the whole corner. I am looking at that 2 inch thick green foam as a way to put a low ridge along the backdrop and then add the photograph above it. The plaster that is on the webbing on the right would then terminate on the foam ridge line with the photo emerging from behind it. 
 

Sunday, February 4, 2024

The F7 Saga Continues

Well, I finally had an opportunity to paint the body. I had figured I would save the side that was not damaged and paint the rest, so I had masked that side off. 

The damaged side came out okay and the rivets that I added worked well. 
I had masked the nose herald and it survived okay
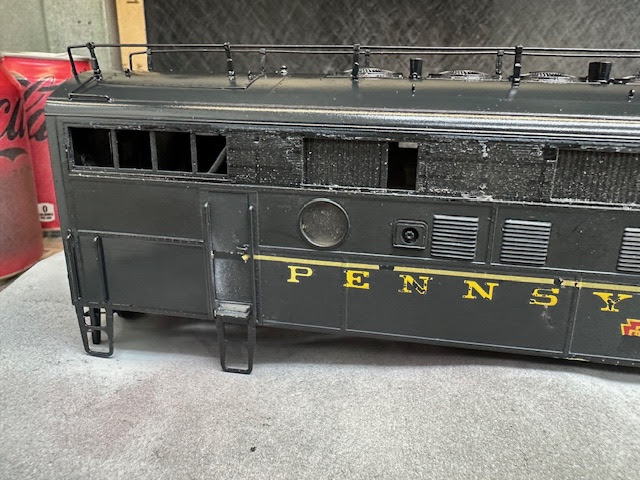
Unfortunately, I was not so lucky on the lettered side. The masking tape damaged the lettering and striping. It also pulled off the screens on the vents. Not a good start to my day!
Half the herald came off along with portions of the road name and the striping. 
I was trying to save the road name as I cannot get any more dry transfers because they are no longer made. I am less disappointed as I would also like to make the stripe narrower this time around. 
Looking at it from the rear. 
Left side came out fine. There are some slight wrinkles in the body panels but that is prototypical.  My rivets look good.
As I mentioned, the nose herald survived and I have to put in the headlight housing shortly. This had a sharp crease in it and Mike did a good job getting it out. 
So, I attacked the lettering with a diamond tipped, fine, grinding wheel. 
It removed the lettering and stripe without removing all the paint. The shiny panel is the first coat of paint from the earlier paint job. 
Thus, I carried on to remove the rest of it.
Here is the cleaned up side. Back to the spray booth the coat it. The tank car is awaiting lettering as a SHPX car.