So, you saw this when I was priming the Studebaker in an earlier post. It is an inexpensive 1934 Ford die cast model that I disassembled and painted as I described I was going to do.
This is the reassembled truck next to a similar starting point for the next one. I think these cars cost me $5. I painted the fenders black as was common, the body dark green and left the chrome on the headlight housing. I painted over the chrome wheel hubs, bumpers, and taillights. I silvered the doorknobs and painted the interior. I kept the running board looking like rubber and I painted the roof to look different like canvas which was painted. The driver is an inexpensive Chinese made sitting figure.
Here is the start and the finish. It doesn't look like a rod anymore.
It should look good on the layout. I have to find something for him to be carrying. Plus I need a black license plate holder and a license plate.
Wednesday, July 6, 2022
Finally back to track laying - Glen Burnie Colliery
Well, it has been a long time since I have expanded the trackwork on the layout but I had an unfortunate accident here where some trees stored on a foam base interfered with a set of PRR F7's and they fell to the floor - about 7 feet. That is now another project to be addressed.
So, I went back to the drawing board at his urging, and started with two Number 5 turnouts. The spacing of the sidings was a bit big for that. I want to keep about 3.5 inches between the centerlines as the tracks are high and will be harder to deal with.
Here are the two radius based turnouts that form the main line up to the bridge over the aisle. The curved portions are the main line on a 56 inch radius and the straight leg of the foreground turnout will lead into Shamokin and also form the switch lead for the mine.
I finally settled on a number 5 off the main line turnout and then a number 6 to the front two siding tracks. The length of the two turnouts is about 32 inches. So, now I have to go down and lay some ties to build them on.
In any case, this area has been unfinished for about 5 years and it is time to rectify that. My head is up against the ceiling as I take these pictures. I am trying to scope out the track layout.
So, I went back to the drawing board at his urging, and started with two Number 5 turnouts. The spacing of the sidings was a bit big for that. I want to keep about 3.5 inches between the centerlines as the tracks are high and will be harder to deal with.
Here are the two radius based turnouts that form the main line up to the bridge over the aisle. The curved portions are the main line on a 56 inch radius and the straight leg of the foreground turnout will lead into Shamokin and also form the switch lead for the mine.
I finally settled on a number 5 off the main line turnout and then a number 6 to the front two siding tracks. The length of the two turnouts is about 32 inches. So, now I have to go down and lay some ties to build them on.
Friday, June 17, 2022
Improving Die Cast cars
Well, I have been inspired by John Sethian and also some articles on HO cars so I decided to see if I could make a better car with paints and dulling.
Here I have disassembled a 1934 Ford pickup that is actually set up as a hot rod. I have broken all the pressed down studs that hold the parts together and separated the parts. I am planning on painting the chrome bumper black, and I will also paint the wheel rims black as well. So, it has been primed for painting. The fenders will be black and the cab a dark green.
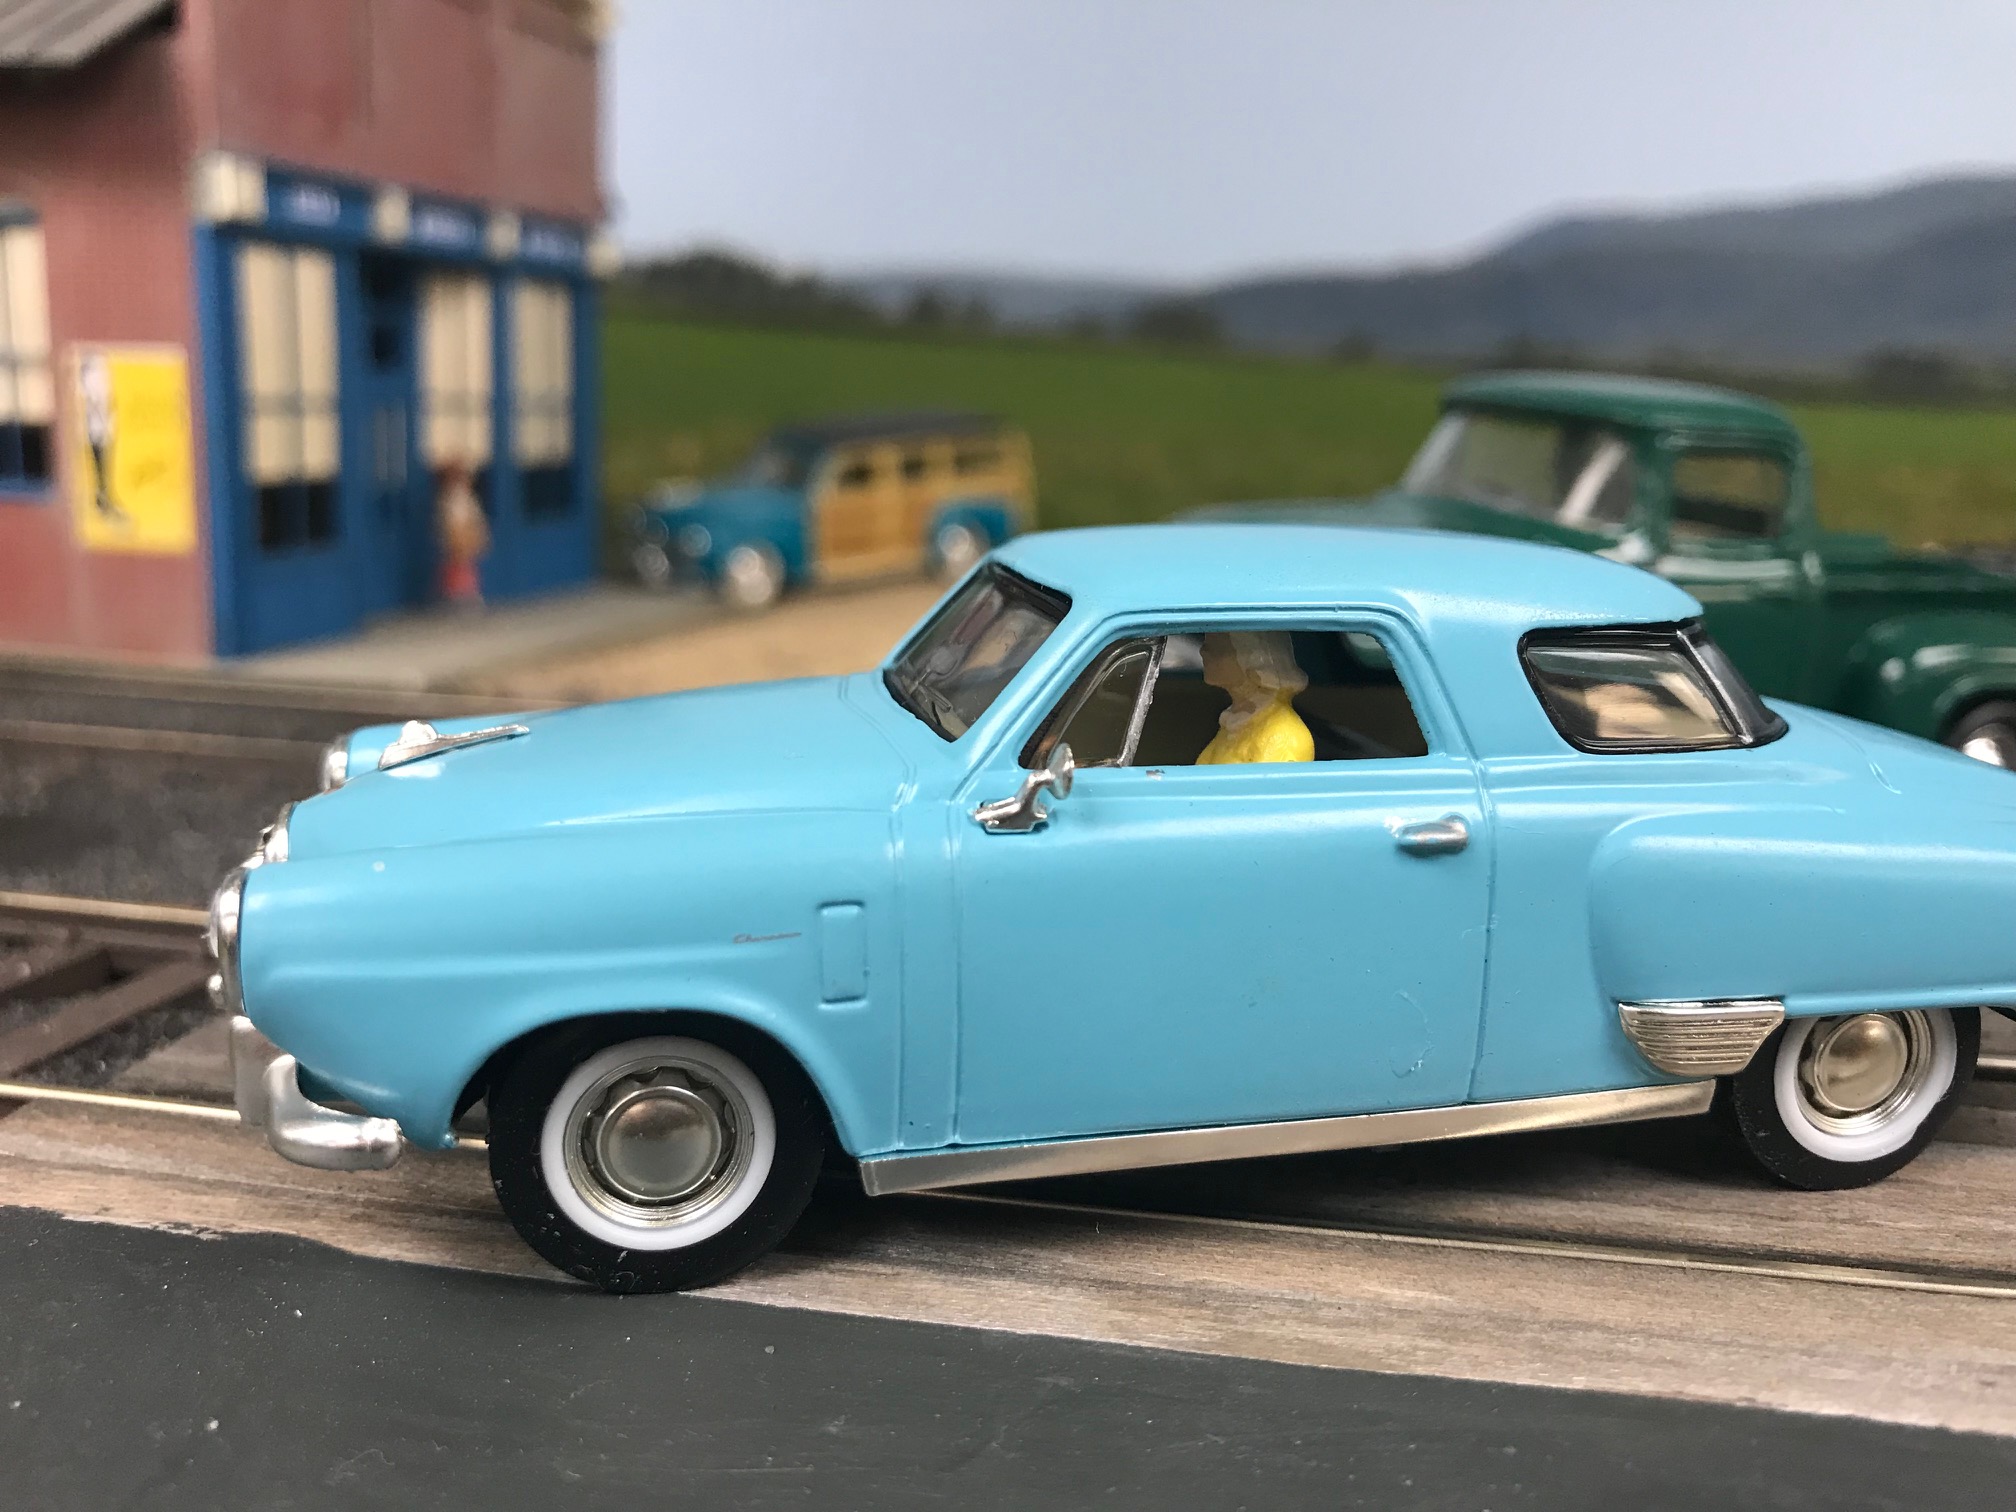
Here is a completed model. It is a 1950 Studebaker Commander that I disassembled. The plastic chrome and body paint is way too shiny so it gets Dullcoated. I also added silver to the struts in the windows and the door handles. I painted the interior including the steering wheel.

It really looks nice with a license plate and a satin finish.
I added a lady driver. Painted the frames of the wing windows. I also painted the rear view mirror onto the inside of the windshield. It all takes time but the vehicles should look better in the close up views.
Sunday, May 1, 2022
Finishing the Extended Height Santa Fe Car
Well, the body has been painted and the Protocraft decals applied. I used their information to determine the appropriate car number for a car with a Morton roof walk of which they had 500. Here the roof walk is resting on the car.
So, I prepared the two sets of supports for the side platforms and formed them to match the roof.
I worked my way along the car, gluing the walk on with Super Glue.
Then I added to side platforms and the brake platform.
The car is essentially now finished but requires Dullcoat for the decals and the super glue.
Here is the finished car on the layout. It now needs to be weathered to tone down the intense color of the paint and lettering. I used TruColor Paint and it is really deep.
The A end of the car
Slight overview showing the metal roof walk.
Side view
B end of the car with the Morton brake platform
Top of the car showing the painted grab iron and the dulled roof. A distinctive car for sure. I am happy it is done!
So, I prepared the two sets of supports for the side platforms and formed them to match the roof.
I worked my way along the car, gluing the walk on with Super Glue.
Then I added to side platforms and the brake platform.
The car is essentially now finished but requires Dullcoat for the decals and the super glue.
Here is the finished car on the layout. It now needs to be weathered to tone down the intense color of the paint and lettering. I used TruColor Paint and it is really deep.
The A end of the car
Slight overview showing the metal roof walk.
Side view
B end of the car with the Morton brake platform
Top of the car showing the painted grab iron and the dulled roof. A distinctive car for sure. I am happy it is done!
Saturday, March 19, 2022
Extended Height Santa Fe car closes on completion
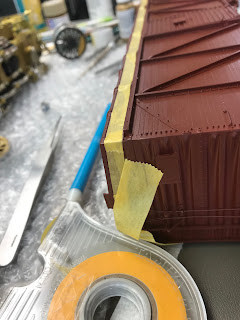
Well, about a month ago I painted the car with the TruColor paint for Santa Fe red in the late 1940's. Now I have to paint the roof black representing a tar finish over metal. First, I have to mask the car. Sides are relatively easy.
My Tamiya tape closely follows the overhang of the roof panels
Ends are a bit of a problem, especially where the brake is. Also, I have to be careful about those delicate ladders I mentioned back in the January posting.
The tight trimming is now done.
Next, I cut down a paper towel and using broader Tamiya tape, tape that onto the base tape.
First the sides and then I have to seal off the ends.
We are getting closer to the painting part which is the quickest.
Now we have sprayed the roof and will take off the tape before anything sets up.
We got a nice even coat.
Side looks good
Tape is all off and it did its job. No apparent damage to the brake platform or wheel.
The car needs a day to dry and then we can get on to lettering. After the lettering and all handling is almost done, I will put the Morton Roof Walk on. The paint is very dark so I will add some lightening weathering to highlight some details.
My Tamiya tape closely follows the overhang of the roof panels
Ends are a bit of a problem, especially where the brake is. Also, I have to be careful about those delicate ladders I mentioned back in the January posting.
The tight trimming is now done.
Next, I cut down a paper towel and using broader Tamiya tape, tape that onto the base tape.
First the sides and then I have to seal off the ends.
We are getting closer to the painting part which is the quickest.
Now we have sprayed the roof and will take off the tape before anything sets up.
We got a nice even coat.
Side looks good
Tape is all off and it did its job. No apparent damage to the brake platform or wheel.
The car needs a day to dry and then we can get on to lettering. After the lettering and all handling is almost done, I will put the Morton Roof Walk on. The paint is very dark so I will add some lightening weathering to highlight some details.
Monday, March 7, 2022
More Engine Work - Cab numbers and Road name
So, I have two engines that are waiting for their cabs to be completed. The problem is that they need canvas side shades over their side windows. So, here is a cab for an Oriental GP9 with a canvas roller system over the side window. I have put the first silver coat on the windows and drilled the holes for the shade supports. I also added the wind deflectors.
Here is the window on the other side which I have modeled as open.
Just a view of the third workbench with backed up projects!
Now I have added the engine numbers using Champ numbers
The other side of the cab. I still have to do more touch up to the silver window trim.
Here I have put the numbers on the RS1. Also painted the stack a silver that I will weather later. This is the other engine that needs a cab shade in canvas. This one will have open shades, rather than rolled up ones.
I also use rub-ons from Clover House for my road names. I set the backing paper in place, carefully measuring for level and placement. Then I use two different tools to rub them on. A board tip fr large spaces and a small tip to get closer in corners.
This is how it looks after the rub on.
The other side window. You can also see the fuel lettering above the fill. I have to paint that red.
Here is the lettering done on one the side. The smaller lettering are Microscale decals.
Here is the window on the other side which I have modeled as open.
Just a view of the third workbench with backed up projects!
Now I have added the engine numbers using Champ numbers
The other side of the cab. I still have to do more touch up to the silver window trim.
Here I have put the numbers on the RS1. Also painted the stack a silver that I will weather later. This is the other engine that needs a cab shade in canvas. This one will have open shades, rather than rolled up ones.
I also use rub-ons from Clover House for my road names. I set the backing paper in place, carefully measuring for level and placement. Then I use two different tools to rub them on. A board tip fr large spaces and a small tip to get closer in corners.
This is how it looks after the rub on.
The other side window. You can also see the fuel lettering above the fill. I have to paint that red.
Here is the lettering done on one the side. The smaller lettering are Microscale decals.
Now, on to the cap shades!
Pressing to Finish Some Engines - Shop Switcher
Well, I was looking for a shop switcher for my future Milton Tank Car Company in Milton, PA. A friend of mine, John Roberts, had lettered this Yoder GE 45 Tonner for the Newport News Shipyard and Dry Dock Company. I plan to leave this lettering as John has passed. I will say they are evaluating it as a potential replacement for a steam engine (It is 1956 after all).
So, when I got the model, it was all flat black, including the interior, with the yellow railings. John has done a very nice job weathering it as well.
So, when I figured out how to disassemble it, I learned it had a cab interior. So, I set about glazing hte windows and adding a crew.
This engine has separate motors for each truck. It also has a rectifying circuit under the tanks. There was next to no space to work but I got the interior out, painted it and then added a crewman. He has white hair as I modeled for him.
So, here is the completed engine, ready to go to work at the tank car building plant.
Here is shot that shows me in the cab. you can see that the interior is now grey with a black control power. There are white painted dials on the panel.
So, when I got the model, it was all flat black, including the interior, with the yellow railings. John has done a very nice job weathering it as well.
So, when I figured out how to disassemble it, I learned it had a cab interior. So, I set about glazing hte windows and adding a crew.
This engine has separate motors for each truck. It also has a rectifying circuit under the tanks. There was next to no space to work but I got the interior out, painted it and then added a crewman. He has white hair as I modeled for him.
So, here is the completed engine, ready to go to work at the tank car building plant.
Here is shot that shows me in the cab. you can see that the interior is now grey with a black control power. There are white painted dials on the panel.
Subscribe to:
Posts (Atom)