Saturday, February 27, 2016

Getting Ready for Scenic Painting

 I have a professional painter coming over later this next week and she is going to put some distant trees on the backdrop behind the yard. So, I need to get the land form in place before she gets here. Previously, Paul and Alan had put some webbing in this area. I went ahead and covered it with rosin paper prior to getting some plaster cloth up on the wall.
 My good friend, Tony, came over and helped me with the work as I am up on the layout and it goes much faster with a ground man to pass things and move things along.

 Here is a shot of us together as I come down from my perch.
 Tony took the camera and documented what a great position one has to get in to paint or spackle up here.
 I take a break to smile. This is where the painter is going to have to work as well. Thankfully, she is younger than me!
 Here are shots from another angle. You can see that I switched to foam board to make the transition from the base of the track tot he back drop.
 I will cover the foam with plaster cloth as well as I get that part done.
It is really uncomfortable working up here I can tell you! There is only 27 inches of vertical clearance. I am repairing some pull marks that you see as white dots. I have to smooth them for the next coat of paint.

Painting the last section of the backdrop

Well, now we have the mudding of the new section completed and have to get ready to paint
I have just started putting the white paint on for this rear section of the interior aisle. The boys' divider really looks nice as it contrasts to the white.
Here is the whole job done


The new section looks good
As I admire the job
Here we are looking out down the whole aisle to the door. There is a pronounced echo in this section.

Finish the sheathing

well, the last bit of sheathing to the wall involves covering the back side of the curved wall and integrating it into the foreground straight area. So, I had to build another wall section that bridges the opening.


Thi s was a bit challenging as I had to tie it into the end of a curve and then terminate it where another backdrop section ended. 


So, I framed it up even with the lower section of the upper benchwork. I set the last stud back from the curved intersection so i could blend the board in easier.

And then I sheathed the frame with some scrap board - having to use two sections in the process. It came out pretty well and I am glad this phase is over.

Completed Divider

 Well, the biys are gone so I was able to do the mudding and finish the divider.
Here is the wall all painted and with the divider in place. Now I have to finish the back area.

Monday, February 15, 2016

Help Arrives for the divider installation

 Well, I have to put up that divider on the left wall where the blue paint ends and reinforcements showed up last weekend. They were properly equipped with protective gear and wanted to be of help.
 So, they were equipped with drills to allow us to mount the wood and then the sheet rock.
 Dylan is taking aim to be sure he can place those screws exactly where they should be. Ian is supervising his technique.
 We are now checking materials like screws and nails to be sure we have enough.
The wood base is up and Dylan is placing the sheet rock sheathing. After viewing the work techniques, Grandpa passed on the plaster of Paris work he was thinking we might try. They did a good job on the divider though and now I have to mud it in.

Wednesday, February 10, 2016

Finally finished color..

 On the inside aisle, along the yard, I started putting the color on above the webbing that Rich installed last week.
 I had some more compounding to do to finish it but now we are done and time to paint.
 Paint is up and Paul is carrying on with the webbing for the low hill. It is a really a tough place to work. I will be happy when I no longer have  to climb up here.
 Alan is leading Paul around the curve. Everyone can work for only about an hour or so due to the aches we all get from having to lie on the track.
 Some webbing up and more to glue to down
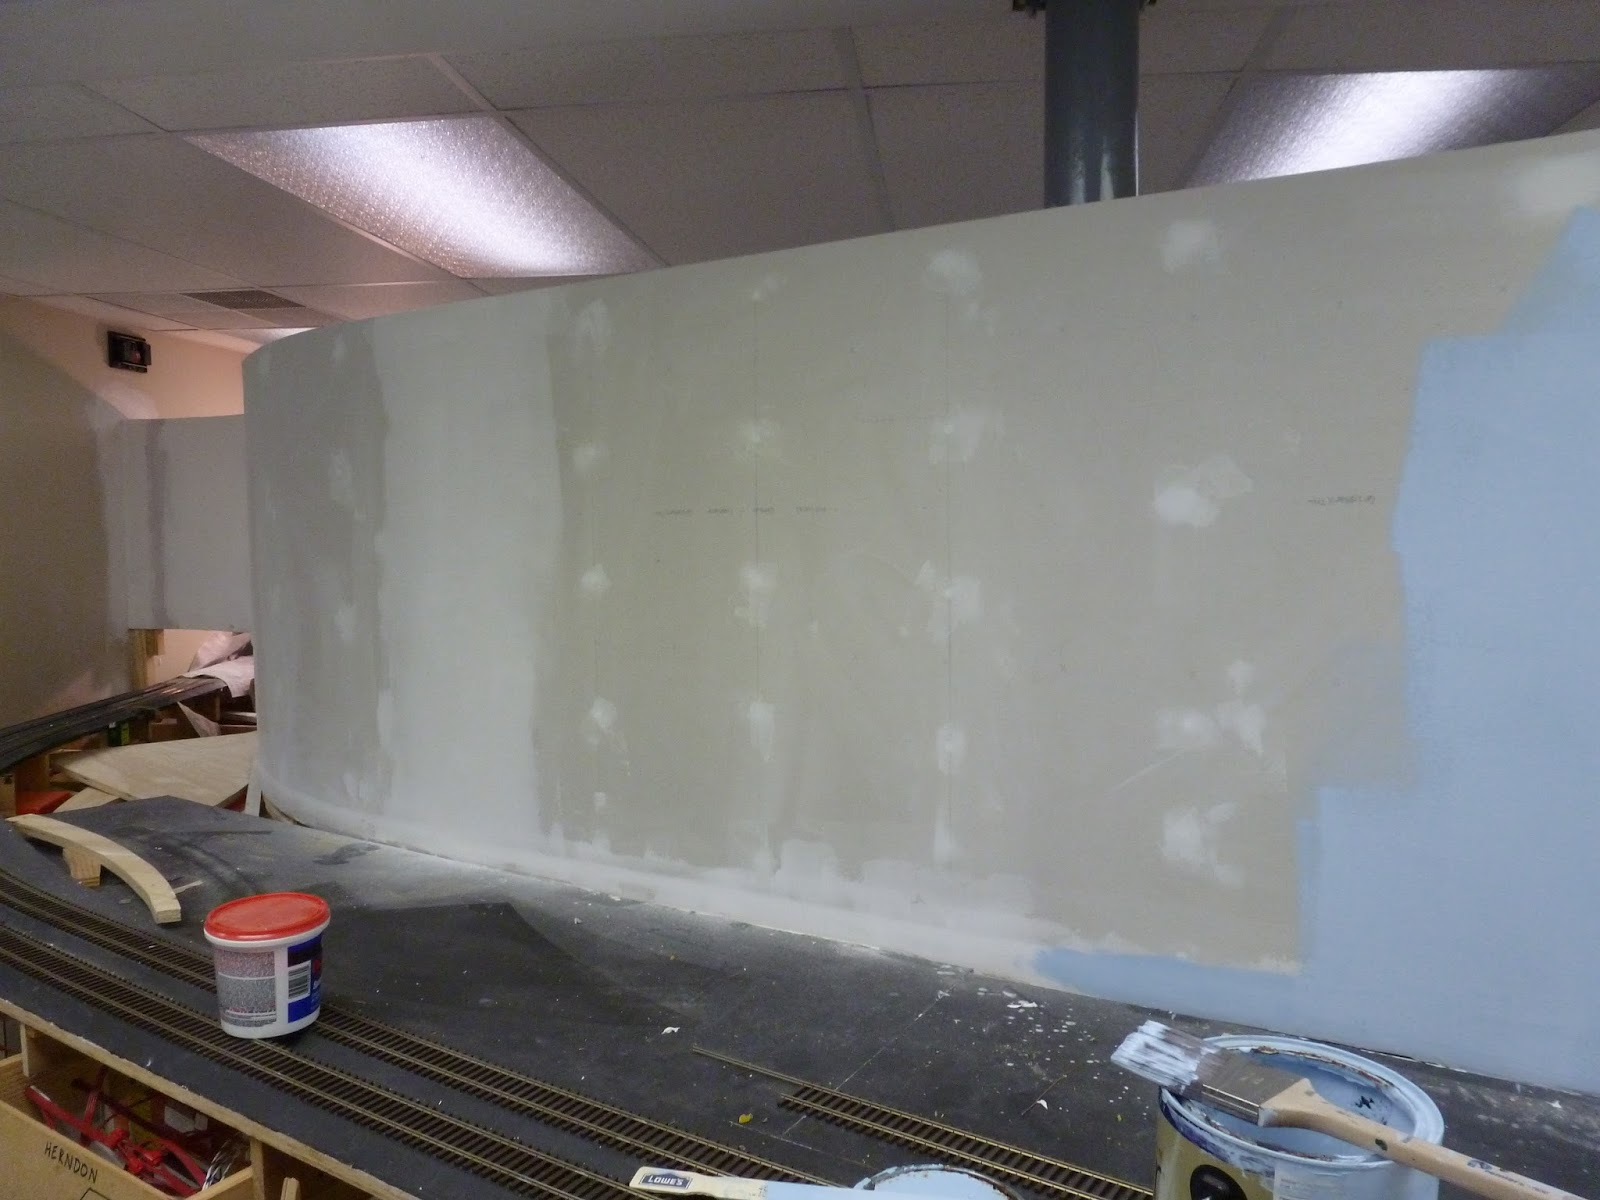
 After the session, I took some photos of the backdrop after it was painted.
 The new view down the yard before addition of the clouds and other accents on the backdrop.
 This is the last curve and the one that took about 10 coats of compound to smooth out. The fan was to accelerate the drying time since the mud was so deep.
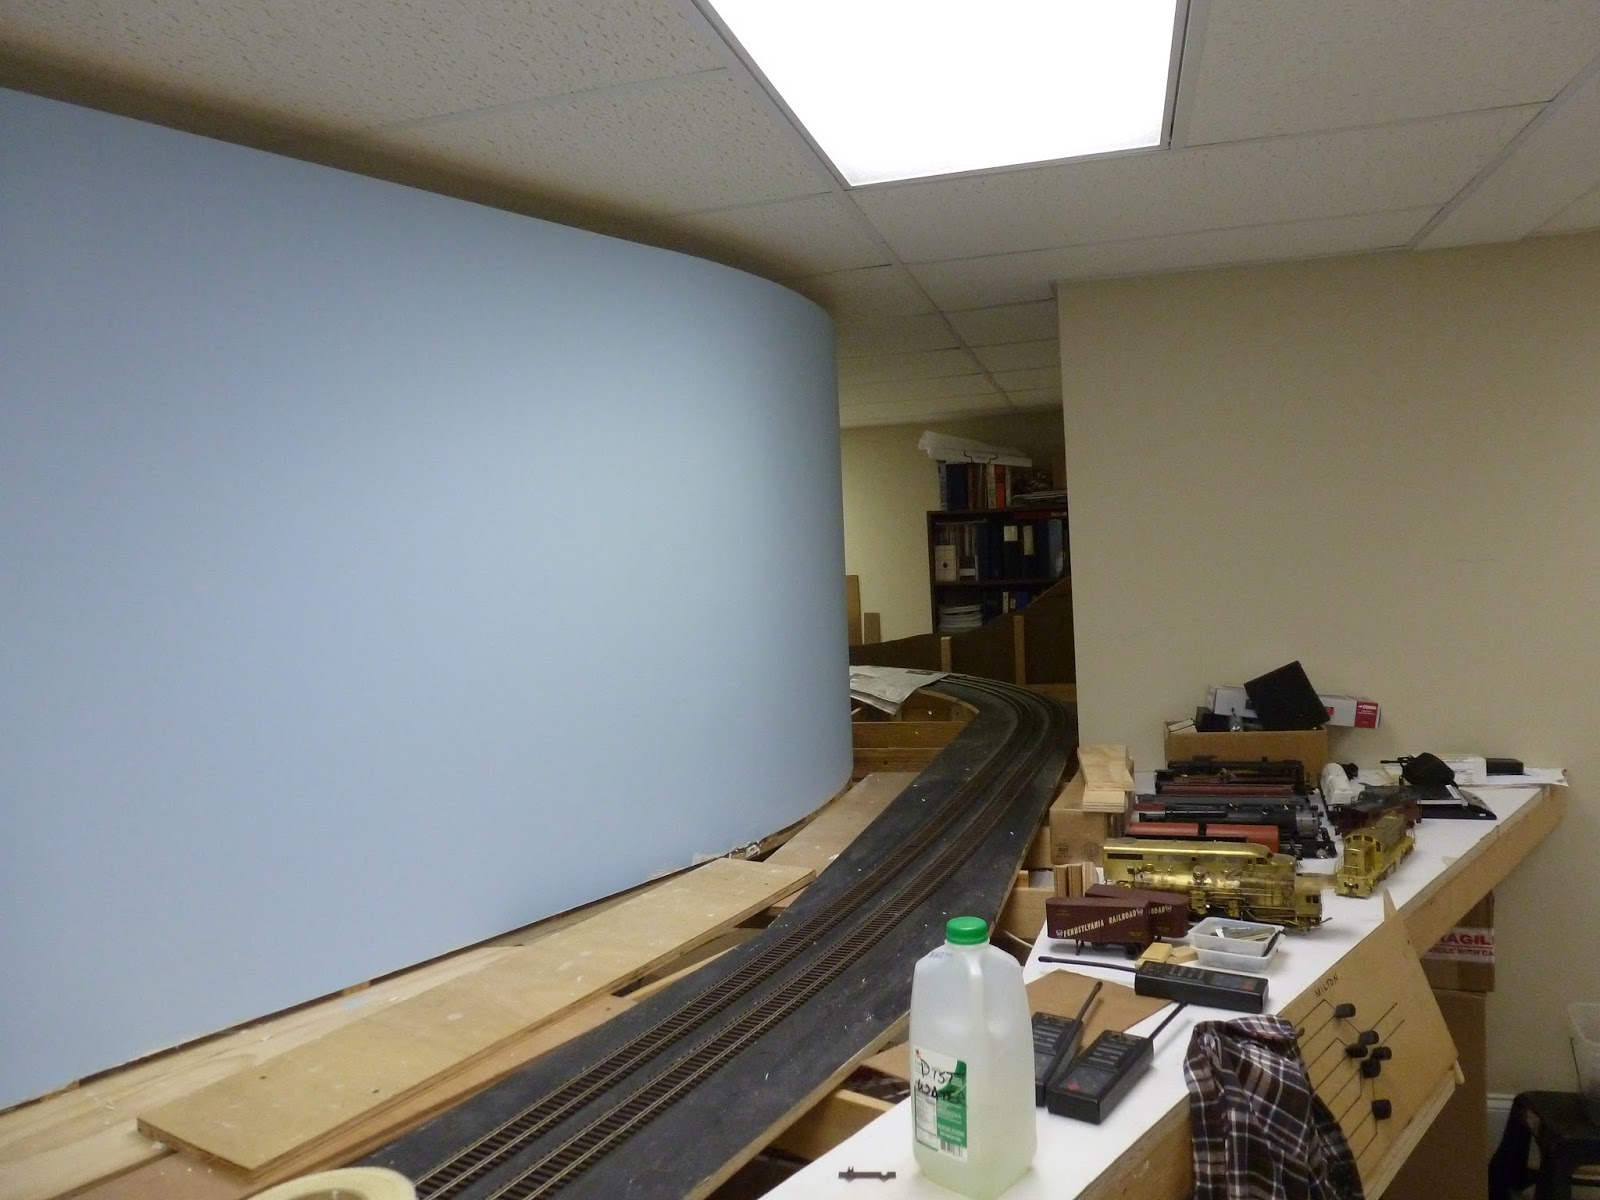
 Looking back up the wall. The column is now essentially hidden.
 That curve looks good - thanks Jim M.
 Walking back around., here is a view down the east end of the yard.
 At the end of the aisle, I have now painted the wall above the layout so we have just a sky view.
 Back in the center aisle, I also painted that wall where the backdrop terminates.
And the same for the wall at the end of Milton. All the blue is essentially done and the backdrop is complete. Only 2 weeks late. Now for the massive clean up - what a mess I have from dust and droppings!

Starting to Add Color

 Well, we now have the sheet rock essentially done and I have to get the paint onto the board. I started with the tall backdrop behind Milton and it came out well.
 I put a little on the wall behind Herndon so I could see how the joint work looked as I glanced down the aisle.
 The compound curve was a challenge but it will work.
 A nice look to the curve around the cut. I am going to be losing more horizontal surface so my storage will be more of a challenge.
 An end view that all has to be painted
 Curved wall is now done
Looking back up the aisle. I have left the distance area in an unpainted state as I have to put a divider in and then I will paint that curved wall white. It looks good overall.