Tuesday, January 23, 2024

Back to the Layout - The Tunnel at Herdon

So, this mass of debris is where we have to develop a webbing and mountain to cover our exit from one side of the view block to the other. I have had a heck of a time attaching the Scenic Express wing walls to the cast plaster tunnel portal. The casting is done in a rubber mold originally fabricated by Ed Rappe and the portal was cast by Doug Jones, a member of the Washington group. Ed used individual blocks to make the master. I obtained it from Doug's old layout.  On the wing walls, I added an extension as the wings were not as high as the portal. You can see the ends of the extension in white as I carved them from the foam casting. They are stepped down.

The green tape covers the track leading around the curve and into the tunnel. This was a trying exercise to make work as I had problems holding the extensions vertical as they are in the air. So, I eventually settled on some webbing holding them in place plus some wide shipping tape around the back. Then I ran white glue down the rear of the joint. I will have to go back and add some plaster to the seam to make it look right. That will come once I do the plastering of the hill. You can see I had to pull one piece of webbing all the way across the track to hold that end of the extension up. There is still a lot of work to be done but it now has some form. 

This distant shot shows the run of the hill to the right. It will turn down about where the webbing on the wall ends and I will begin a photo mural just to the right of this point. It will simulate a hill in the foreground, made of plaster, and blocking our view of the more distant scenery. There will be a tower where the glue bottle is located, and a maintenance shed on the other side of the track. I hope progress speeds up as this has taken me too long to develop. 
 

Wednesday, January 17, 2024

Replacing Rivets on the F7a

As on the F7b, when Mike made his repairs, his filing of panels and joints, caused him to remove rivets on the battens. So I had to replace them to have the detail back. I used Archer rivet decals which, unfortunately, are no longer made. Hopefully, someone will bring them back out. On this shot, you can see the black rivets in place on the rear quarter panel.
The rivets come in strings that you cut to fit and then secure with decal setting solution. They require paint on the brass to have them stay in place. 
I matched the size and spacing to what was still on the car body from the builder. 
Each area he repaired had to have the rivets replaced. I ran out of the spacing that was a close match, so I used one string that was a little closer on the upper batten strip. This unit will look like it spent some time in the shop for sure! Now we go back to the paint booth for the dark green locomotive enamel final color spray. 
 

Monday, January 15, 2024

More Progress on the F7a

Well, I have completed the patching of the antennae posts using the strip brass. So, now we have the familiar PRR look again.
I am now covering the areas of the original paint that I believe I can save. This includes the steps to the cab on this side. 
I also have been cleaning out the glue from the grill that h as been removed
The patches are not too obvious and should further disappear once painted. 
I am trying to save the paint on the other side to avoid having to use another name set. I also have to cover the grill on this side, which was not removed. I will have to change the unit number so I had to sand off the decal in the lower left portion of the side. 
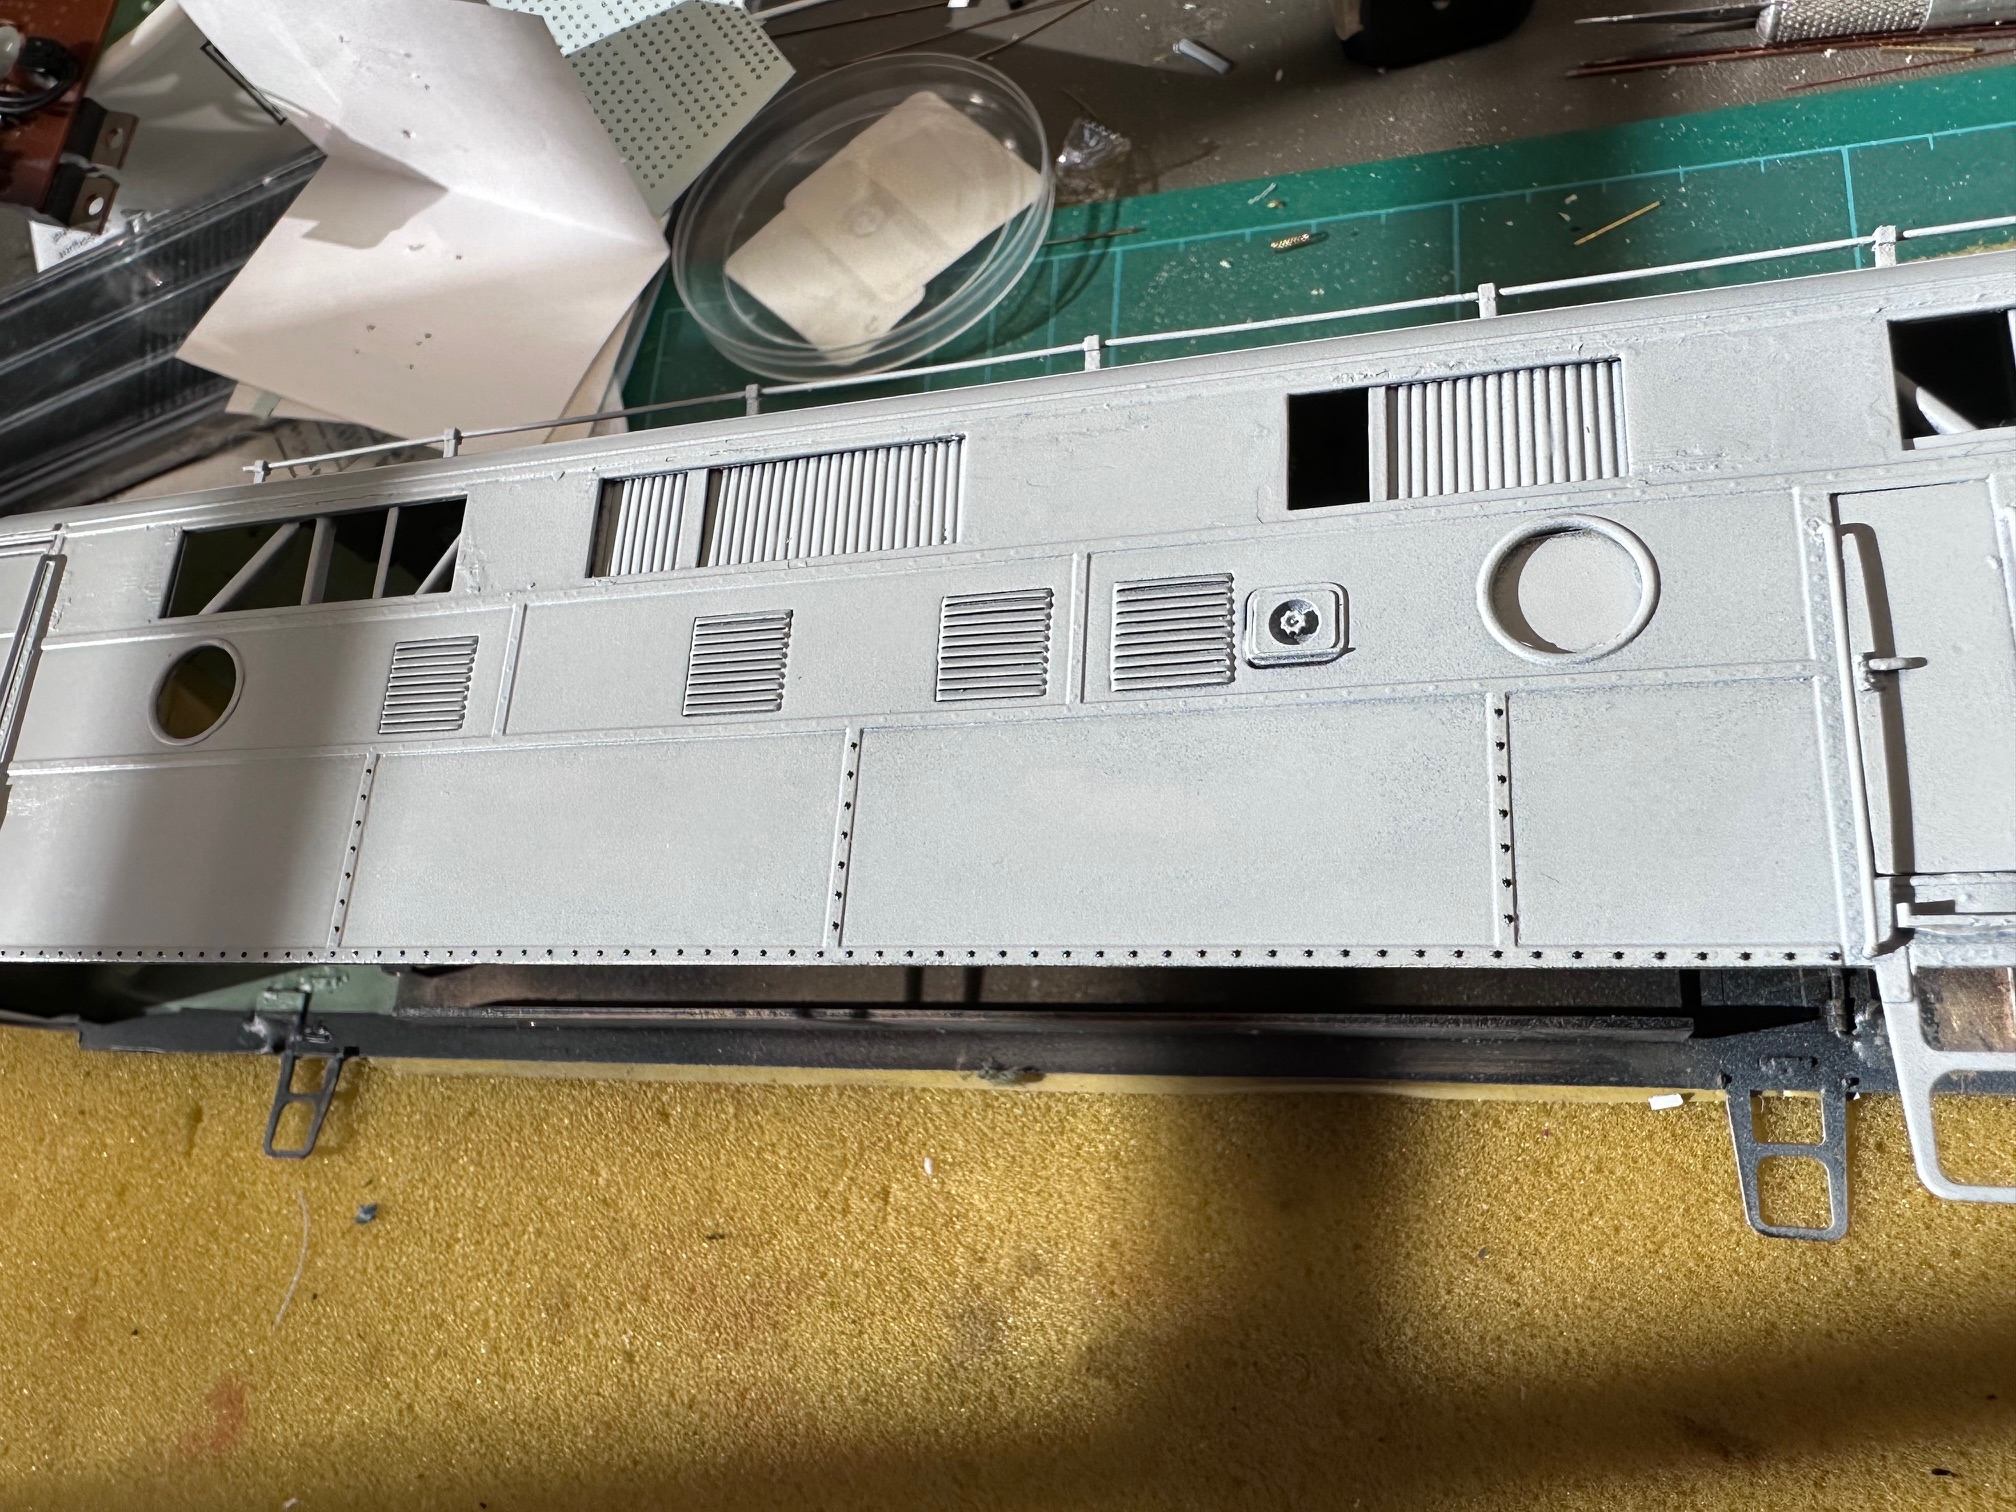
Top down view of the side. 
Primer has been applied to the body
It is beginning to look like a fresh F7
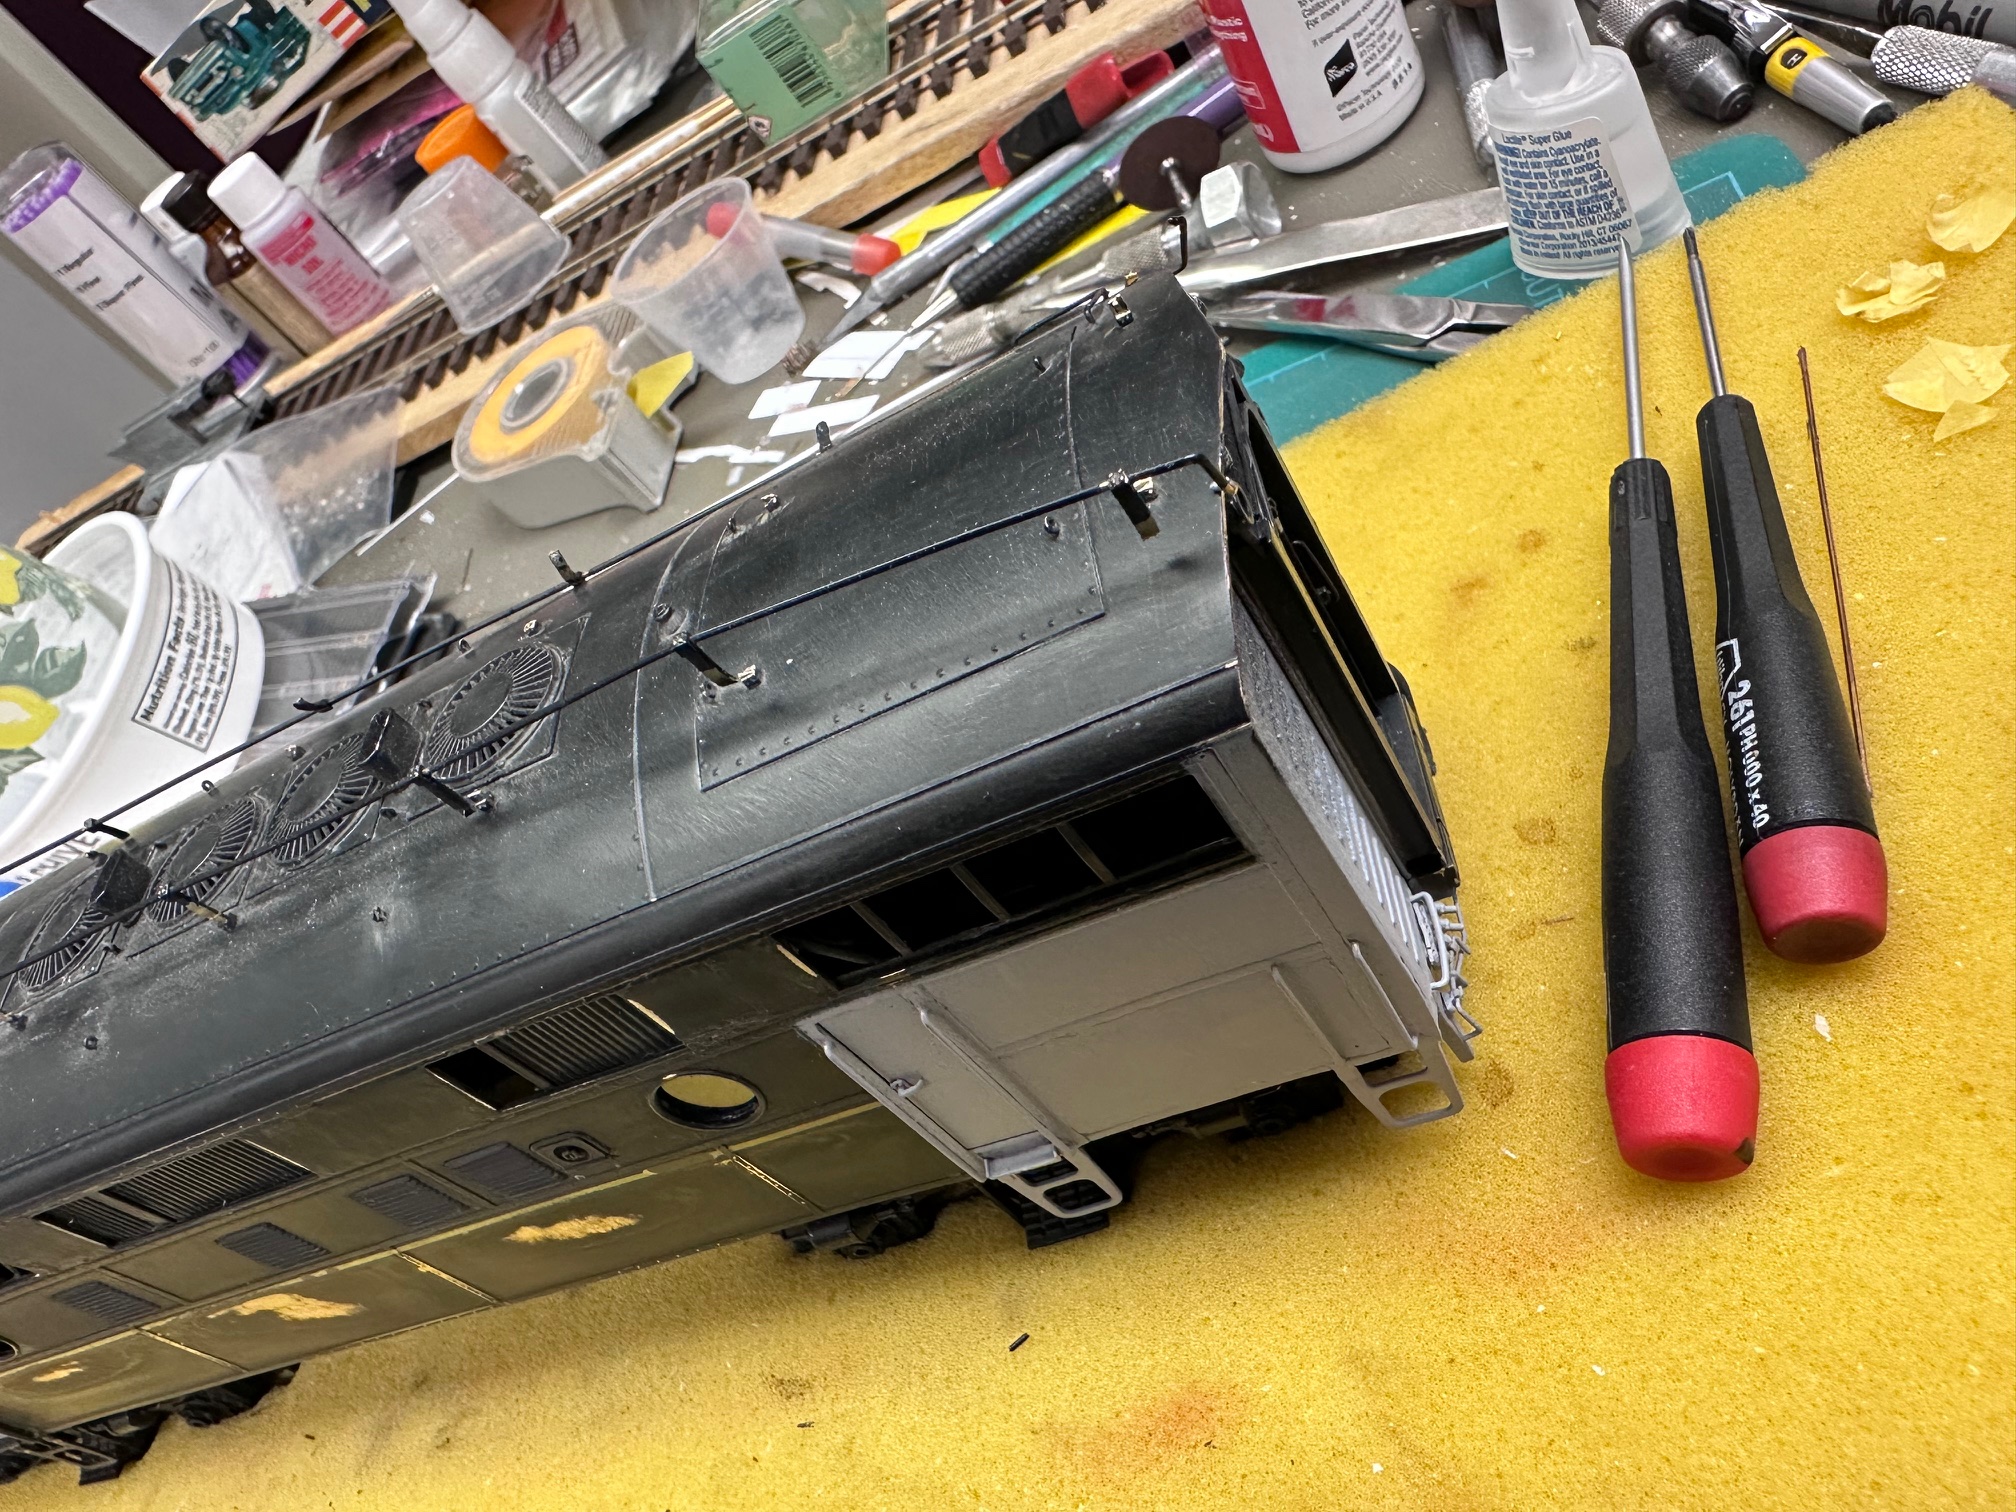
A lighter coat of primer in the rear. 
I covered the keystone on the nose door to avoid having to do that over. I will place the reflector into the headlight housing after I apply the body color. 
 

Wednesday, January 10, 2024

The mechanism of the F7

Here is the mechanism which appears okay. I test ran it and it ran very smoothly so I hope I am okay. 
This is the cab interior and the electronics for the headlight and the back up light. I also have to re-install the headlight housing inside the nose. 
As you look into the nose, you can see that the headlight casing is empty. It is going to be a bit of a problem to get that reflector housing in there, as there is some residue from the reconstruction of the headlight. 
I have now secured the wires to avoid pinches when I reassemble the body. I have put the mechanism aside until after the repaint. 

Now back to soldering the antennae - I can only do a few stanchions at a time. 
 

Looking closely at the Antenna of the F7

So, the antenna stanchions took quite a beating. I am thinking I can splice them back together using some 0.015"X0.060" brass strip. This is a view of my goal. There are no parts available but Calscale and they do not match this exactly so I would I have to remove all the stanchions.  
Here you can see an undamaged stanchion and on the far right, a broken stanchion that is the most difficult to repair, broken right off at the base. 
I have now soldered one side. 
Additional repairs
Here is the last stanchion on the right side with its splice. 
This is a tough one. Both twisted and broken at the base. 
I have now soldered anther one like it without a splice but I do not have confidence in it for the long term.
Making some progress, more to go.
 

Starting on repairing the Flying F7a

So, now I begin the work to complete the F7a. The engine's body damage has been almost completely finished. The nose had been crushed and Mike Mangini did a terrific job in rebuilding it. The antenna system had been crushed and will need to be rebuilt. 
The rear bulkhead had also been bent inward and buckled the side panels. Mike got them squared away as well. All the work caused Mike to have to sand off the lettering on this side
The corner has now been squared up but we lost the rivet detail on the batten strips, just like on the B unit. So, I will have to replace them. 
This is a view of the roof that shows the loss of the antenna system. The balance of the roof is unmarred.
The undercarriage seems to be okay
The other side was not as heavily damaged so I just have to paint.
As I look at this side, I have to repaint the far left panel and restripe and renumber the engine. So, I am going to try to save the center paint and lettering.