Okay, this is where we were when we last took shots. The wall is in but needs some minor modifications to allow the light lens to be opened should I ever have to replace a bulb. I will cut down the end to allow a swing.
The curved wall is essentially placed but I have to build out from the opposite wall to reach it. I have temporarily put a brace to hold the end of the line.
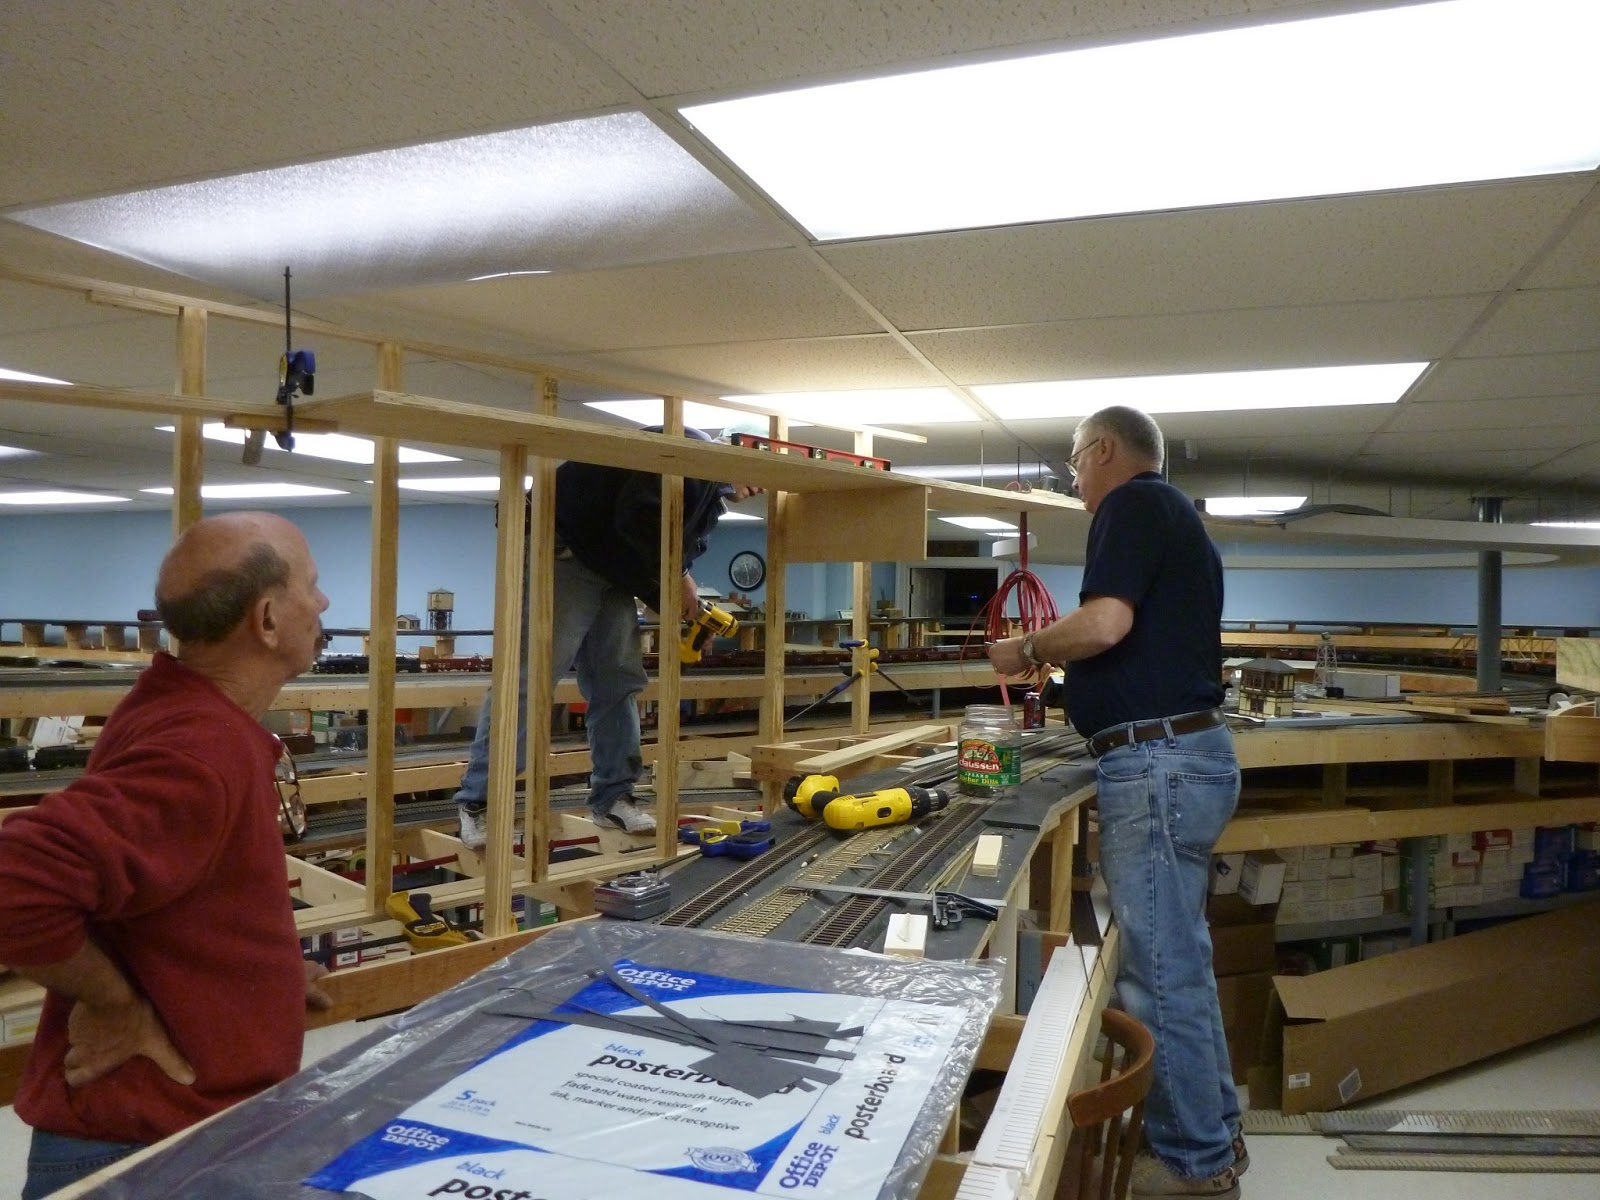
This view shows how we have to climb up the wall to reach that red wire way in the back where we will make the joint with the existing (for 3 years) hanging loop,
Jack Brown (in blue shirt) and Walt Johnson are readying the joint - we have to biscuit the roadbed we are bringing up to make the joint strong. We cannot place a spice piece as there is no room. Rich Feller is in the rear marking the locations of the biscuit holes that I will have to match when I cut the roadbed. He is standing on the existing bench work that is holding the wall up.
Okay, the work is now all done and this is what we have - here is the temporary roadbed spanning the aisle with a 2X4 in the location where I will have to build a tall pier to hold up a joint between a through truss and a deck truss to cross the aisle and the lower main line. The blue clamp to the right holds a piece that shows me how far out I will have to build a piece of curved benchwork to support the pier on the right side of the through truss. The paper hanging down is my list of things to do to complete everything.
Standing at the other end of the grade, you can see the design of the braces that support the roadbed. Walt drilled holes for the wires to be pulled through that will power everything.
As we go down the grade you can see the ends of the braces have been rounded as Walt was cutting his head open each time he hit the square corners. So, for self preservation, he rounded the ends of the braces and now his scalp is healing. These braces will have plaster covering them as I will have an apron on the roadbed so when you look over the hill from where I am taking this picture, you will not see them.
Now, we are down the grade to where the bridges will be. I have to build an end to a hill to disguise the end of the wall. It will have the bridges coming onto the hill side which will rise to the left to cover that wall. The hill will then drop down to the main line below as it sweeps around in a curve.
This shows how the benchwork will have to bump out to pick up the pier of the bridge. My friend, Pat Mitchell,who built scenery for a living, showed me how to make the curved structure that I will use in this area. I will have to tie it into the existing benchwork so it is rigid and will be able to withstand the inevitable head knock on the bridge.
Standing on the other side of the wall, we will have the main line sweep by us at the base of the hill as it comes into Milton. You will not see the track on the other side of the wall.
This is the other end of the future Milton, where the track disappears into the lower holding area. I have begin to lay the plywood for the town in the foreground. That pretty track structure up on the wall will soon disappear as I lay masonite up on the wall.