Saturday, January 23, 2016

Smoothing rough joints in the backdrop.

 Well, my good friend Jim M. came down from PA this week to do some machining and I enlisted him to help go over the spackling job. He is very good at this sort of thing so he graciously agreed to help.
 Jim showed me how to add a little water and some soap to the spackle so that it flows on evenly, smoothly and with no air bubbles. It really worked well. He is mixing a batch here.
 Jim got up on the table and worked his way around the room. We used the light to look for major waves in the spackle I had done.
 He was pretty tired when we finished but he gamely continued until the whole wall was done
He he is in the operator's pit at the east end of the yard, finishing this area. He was a terrific help and I am only one skim coat away from painting this blue. I hope to do that next week. He had to cut his visit short to beat the snow on his way back home. Thankfully, he made it!

More scenery planning

 Well, the guys came over Monday evening to help and we started planning a difficult bridge/hillside/crossing of an aisle and the main. Gale is working inside the hill, Jack and Alan are outside and we are placing cardboard webbing to scope out the slopes that will be involved. This will help us visualize what the hill will look like when we cover it with plaster.
 Here is a side view. I am trying to keep the slope reasonable so i can cover it with foliage. We determined we need a long retaining wall of some height. Thjat is represented by the cardboard wasll. It will have to incorporate the bridge pier as well.
 Zorba the Greek, aka Rich, also came over and began to extend the hillside along the yard entrance. He eventually got about 7 feet of the webbing up and it looks good.
Here is a view looking back and you can see where the pier will get involved. I need to mull this over for a while to see what I really have to do. Ed suggested a tunnel here but I want to see the train curving around the hill while leaning in on super elevation. It should be a nice scene.

Monday, January 11, 2016

Finishing the Curved Sheet Rock installation

 Well, since the guys helped me get started, I decided to finish the project in that week. So, Tuesday I hung a couple of big curved sheets and then Alan came over and helped me for a couple of days and we finished the room. The best way to show what we did is to just give a tour of the finished backdrop. Here is where we were when Alan came over. He helped me get this sheet up as I had done the other side of this section. I was cutting the sheets out in the garage and then bringing them downstairs and wetting them for about 15 minutes so we could bend them.
 We have to go down this side and bend around the end of the aisle. You can see one of the water bottle sprayers out on the benchwork.
 Now that we are finished, here is the view from the inside aisle behind the yard.
 I am walking around the yard and the wall to the left. It is about 60 feet long.
 Another 90 degrees along the curve. There will be a small embankment up against the bottom of the wall so I do not need to bring the sheet rock all the way to the bottom in this area.
 Now I have made the balance of the turn and we are looking down the length of the yard. Here the backdrop wall goes all the way down as I may have a city backdrop in this area. One small patch to make and that has been done.
 The backdrop curves around the column and it essentially disappears. We end in a series of curves that stubinto a wall.
 This is the view looking back.
 Starting at the beginning of the center aisle, you can see the sheets are all now up. This was tougher to do as the curves were mostly inside which is harder to bend.
 Walking along the aisle, the sheet rock bends around a small workspace at the rear of the aisle. This will be hidden by a curtain. Since I am past the layout portion, I used conventional sheet rock to bend in this section. I learned why the bendable stuff is more expensive as it is denser and stronger when it is wet. The material used here could only be wet for about 10 minutes before hanging as it began to deteriorate and became very mushy.
 The view is very focused on the track, including the hidden area at the bottom of the wall. I also learned that we had created an echo chamber as my voice had an echo when I spoke to Alan in here.
The view looking back with both backdrop structures in place. It is going to take a while to get used to this as I cannot pass anything between aisles any longer.
 I have now got to spackle all this. My goal is to have that complete in a couple of weeks so I can get back to layout construction.

Tuesday, January 5, 2016

Starting the curved sheet rock

 Well, this is the last time I will be able to see this view open! I have purchased 13 sheets of bendable sheet rock in 1/4 inch thickness. Tonight is train night at the house and the guys are coming over to help get started on getting them hung. We are going to address the hardest part first which is under the overhead of the hung trackage at Mt. Carmel.
 This shot is from later in the evening after the worst had passed. No one wanted photos of that early work as they were in really convoluted positions! Jack and Alan are working on the back side, clamping the sheets to the frame to hold them while they are screwed on the other side.
 We could not use this approach, which was very beneficial, earlier in the process , as we had hung Masonite in that area as a base. This was a mistake that is now covered over. You can see the back of the Masonite with the white painted panels.
 This is the earlier work that was so difficult due to the low clearance between the overhead and the yard tracks - it was only about 28 inches! I will have a little embankment up against the lower part of the wall that is not covered by sheet rock. You can really see the bends here.
 Here is an illustration of working under the overhead. Not a very nice position. Ed Rappe was a trooper and did a lot of the screwing as we approached the more open sections.
 Here are Ed and Phil working closely together.
Here is a shot as we approach the end of the work for the evening. Everyone was sweaty from being in difficult positions, and pressing the drill home! Some one commented that in 5 years we will not be able to do this kind of work!

Finishing the scenic divider framing

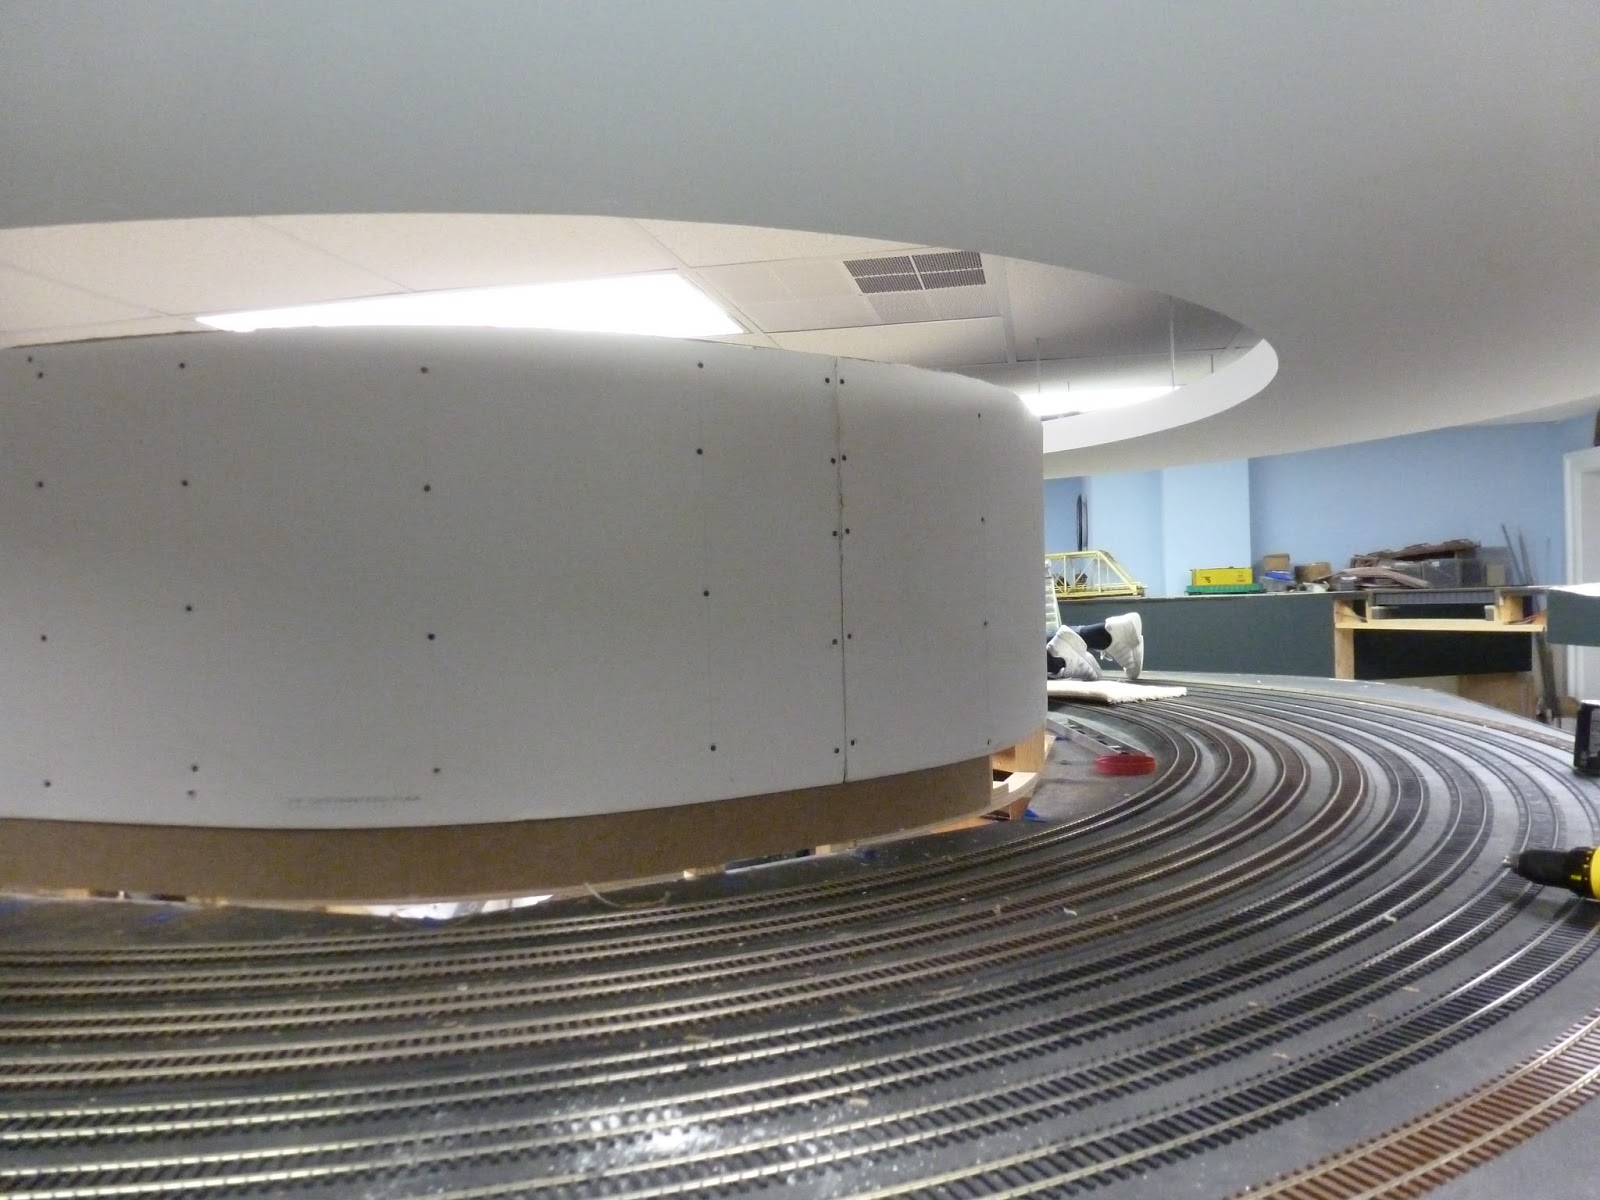
 Well, we are down to the last section of divider framing that we have to complete. It is a bit difficult as we have to hide the column by expanding the wall to enclose it. This problem  is compounded by it being on a curve as we swing from the upper deck  to the lower deck as the base for the wall.
 As you can see, I made a framing member for the inner wall that opens into a Vee shape to spread the sheetrock around the column. I had to make an upper and a lower one so that I could place the framing members. I used a cardboard template and a bendable stick to get the shape.
 Now, I have to do the same thing on the other side of the column. The first post is in place on the taller wall section.
 I obtained a large piece of cardboard to mark up.
 This is the type of flow I wanted to achieve. A slight curve to the wall.
 I added the forward studs as they are in a flat plane. They are all spaced on 12 inch centers. Once I had them in place, I could put my bendable wood stick on top of the upper portion of the frame to see what shape it would take around the column.
 You can see here, how the stick forms around the column. It surprised me as the biggest part of he bow came after the column.
 Here is an overview of that area. I will put the cardboard on top of the wood and hold it on place with a weight. Then I run a pencil along the wood stick to capture the line.

 I now have cut the cardboard to the line and am comparing it to the shape of the wood stick. Pretty close to what we need. Since the forward edge is straight, I can use a ruler to make the line for that cut and make the correct former.
 Now I have cut the plywood to the shape of the cardboard and we seem to have a good fit to the wood stick.
 Here is another view of the plywood in place.
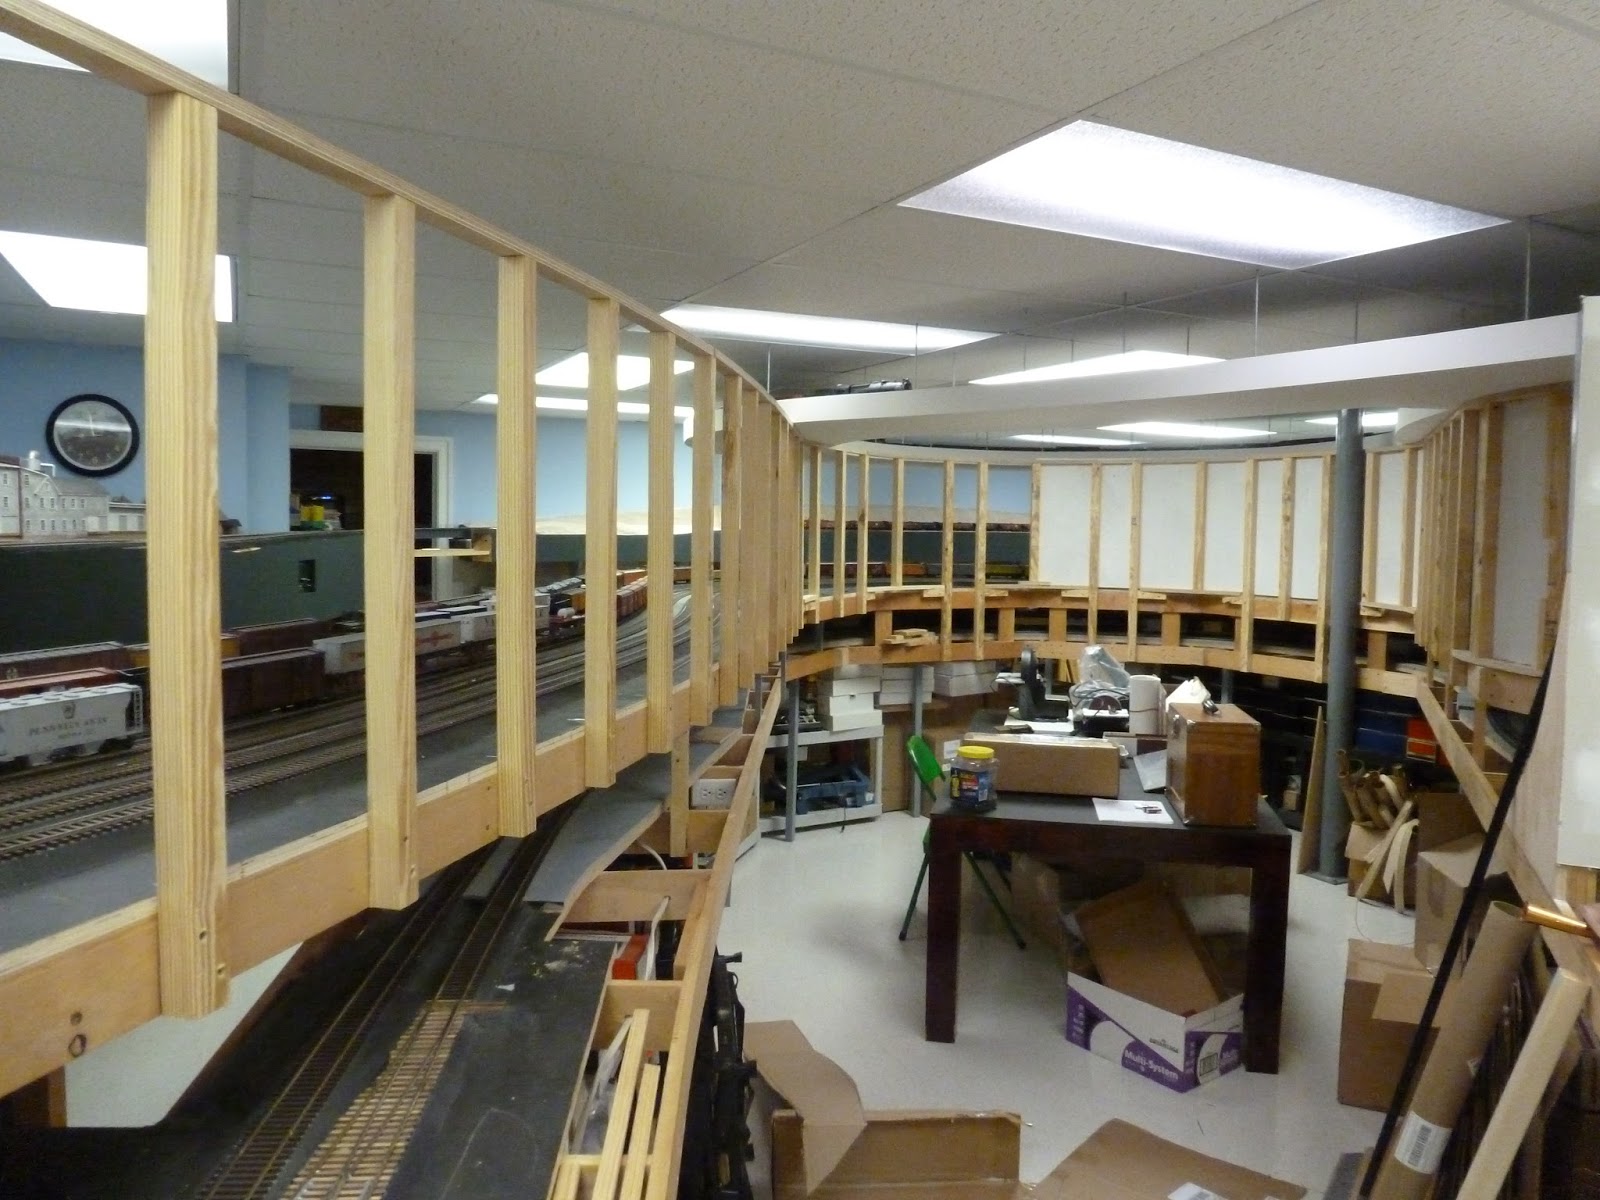
 Here is the wall as it looks with everything in place. I made an upper and a lower former that I attached the rear studs to. The flow looks good and we are reaching the end of this phase. I only have to make an S turn to terminate the divider into a wall.
 Here is a close up with the rear studs in place and some additional bracing to ensure everything stays plumb.
 Here is the S turn coming to fruition and terminating in the wall. I have to make a provision for a tunnel for the main line.
 Main line tunnel support in place.
The whole curve. Now I need to have some help in  putting up the sheet rock. This is going to be a big project!

First powered move in the yard

 Well, in between all the other activities, I have been working to sort out the short problems in the power blocks in the yard. I finally have that solved. I also have powered the turnout motors and they are all set up. There were a lot problems until I got all the gaps in place and certified. But when I put the power on, the headlight came on in the engine so I figured we were going to see some movement.
 So, we had our first powered movement in the yard. Our Fairbanks Morse switcher was happily moving a cut of cars. You can see the material that one uses to work on these DC problems - meter, solder, wire, pliers, etc. above the panel we were working on.
Here is the switcher moving at a low speed as it enters the ladder with a good sized cut of cars. Ah, it feels good to see something moving under its own power after such a long time!