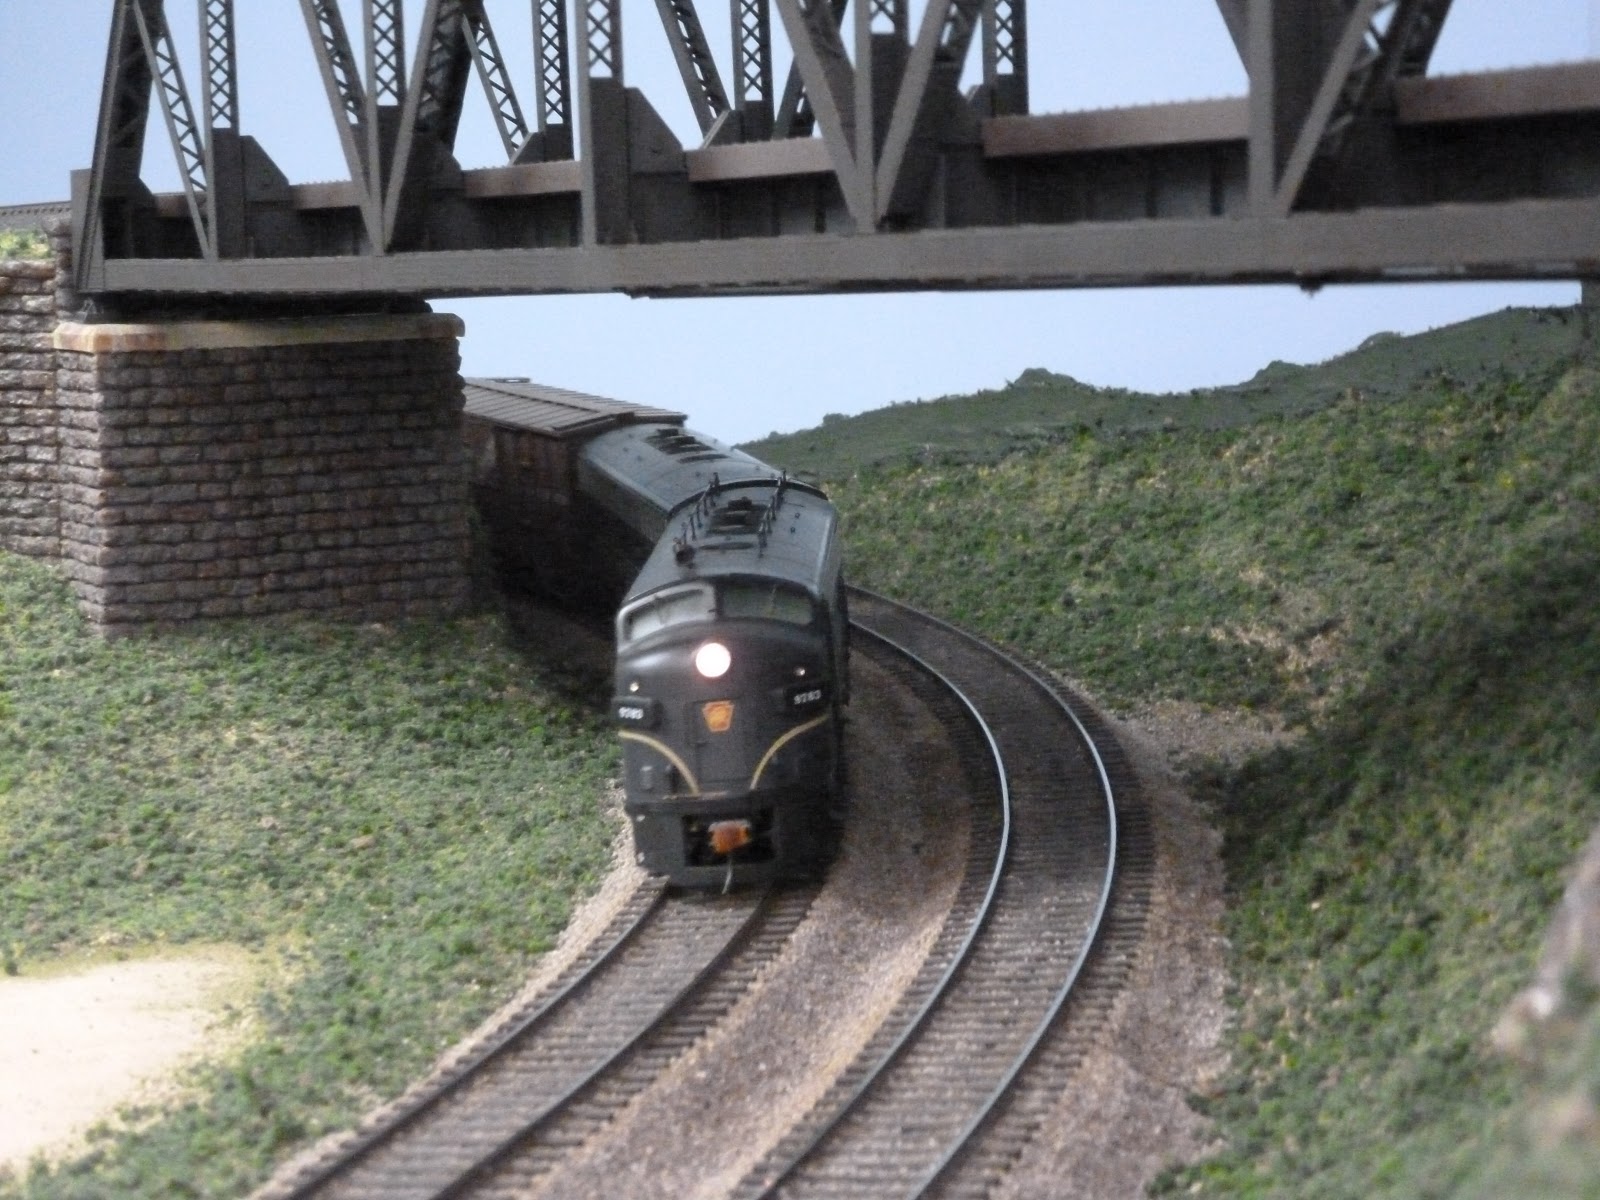
Well, the visitor from the open house have left - all 160 of them - and I decided to get some cars painted that have been hanging around for a while. 6 of them are Parri cars. 2 G22 , 3 Glca's and a NYC USRA mill gon.
Here is the NYC mill gon - after I sand blasted it, added couplers and air hoses and mounted it on a handle to paint it.
Painted and air drying. The last car of the batch to be painted.
I also painted an X42 mail storage car that I had John Frantz do some custom decals for. He did a great job and uses a very thin film so the car looks great.
I included 4 Yoder Gla's that were factory painted but not lettered so I got them out of the way. Then I threw in a couple of Pac Limited cars - an H21 and H22.
Here is the X42,
The Pac Limited cars await lettering - I have to decide shadow keystone or not.
The NYC car also needs to be lettered but this is going to be a chop job as the appropriate set does not exist. Closest I get is a CDS container car set that is based on the car. While working on the G22's I used the CDS set for that car and used a light to heat the lettering for better adhesion on the car.
Wednesday, November 28, 2018
Sunday, October 14, 2018
Cleaning Pause
Well, I have not been posting for a while as we have been traveling and also getting ready for an open house. You can see that the shop has been cleaned up and the train room as well. Some times we have to stop and take a moment!
I scrubbed the floors and added about 5 coats of wax after the floor was dry.
Hasn't been this clean in quite a while as we had blitzed the area with plaster, paint and ground foam!
New we have to get back to normal!!
I scrubbed the floors and added about 5 coats of wax after the floor was dry.
Hasn't been this clean in quite a while as we had blitzed the area with plaster, paint and ground foam!
New we have to get back to normal!!
Updating a Fine Engine
Back around 1998 or so, Key brought out a run of F7's with a terrific drive system and updated details. They were really nice engines but in the case of the PRR units, they used outdated Champ decals that were totally wrong. The engine on the left is the Champ lettered unit and the engine on the right is last run Keys that came out about 5 years ago, also wonderful models and with correct lettering (although I would have liked a better buff color) . I had learned from Lee Turner how to sand off lettering and repaint and reletter. So, I though I would try to do that to the AB set I had.
This is the side of the older unit. The Penn lettering is oversised, the stripe is oversized and the keystone is very oversized. It is just wrong.
Here is the new unit. The lettering is gold which is wrong for my era but it is correctly sized, generally.
This is the box they come in with the A&B together. The new units are separately boxed.
So, we scope the problem and see we have to remove evreything below the belt rail. Fortunately the Brunswick Green is matched by the Scalecoat color.
So, I have completed that task on the B unit, the easier one to do.
There is some exposure o the underlying brass on the panel seams but otherwise, everything came off smoothly, with patience and time.
I was having difficulty with the running quality and ascribed that to the old 4 wheel pick up. It only had two wipers - one per truck.
So, I disassembled the truck on the opposite side and added a PC board and wiper to that side. I used nylon screws to reassemble the truck. I also found that the kingpin based pickup of the old wiper had oxidized so I bypassed that by soldering the pickup wire to the kingpin. What an improvement!
Back to the sanding. This is where you get nervous
I used two sanding boards with fine and very fine grit. I also used water as a medium to help the removal.
The A unit is now done. I had to protect the number boards, marker lights and windows.
Doesn't look too bad at this stage.
After masking the upper body at the batten strip, and also painting the whole door on the side, I sprayed both units with the Scalecoat Brunswick Green
Unwrapping time was when I was worried if I had covered any scratches, etc. Looked pretty good.
The light shows the new paint versus the dulled original paint. I will be dulling the new area after decaling so I hope to blend this in.
Starting the side stripe on the B unit. There is no real 2 inch stripe so I used a single stripe off a 5 stripe set which scaled out as a 1.85 inch stripe. It looked very different from where I had started but I was worried it might be too narrow.
When I got to the A unit, I was still worried so I searched through Champ 2 inch stripe sets and found that his last deals were closer to 2 inches at 2.15 inches wide. They looked a little better than the B unit stripes so I changed to those. I used Clover House rub-ons for the road name, Microscale for a lot of detail lettering and a newer Champ set of numbers for the big cab numbers.
The finished unit.
Here is the B unit back on its chassis
The A unit - I think I need to weather both units a little but that will have to wait.
They look good on a freight.
Definitely worth the effort.
A nice addition to the fleet!.
This is the side of the older unit. The Penn lettering is oversised, the stripe is oversized and the keystone is very oversized. It is just wrong.
Here is the new unit. The lettering is gold which is wrong for my era but it is correctly sized, generally.
This is the box they come in with the A&B together. The new units are separately boxed.
So, we scope the problem and see we have to remove evreything below the belt rail. Fortunately the Brunswick Green is matched by the Scalecoat color.
So, I have completed that task on the B unit, the easier one to do.
There is some exposure o the underlying brass on the panel seams but otherwise, everything came off smoothly, with patience and time.
I was having difficulty with the running quality and ascribed that to the old 4 wheel pick up. It only had two wipers - one per truck.
So, I disassembled the truck on the opposite side and added a PC board and wiper to that side. I used nylon screws to reassemble the truck. I also found that the kingpin based pickup of the old wiper had oxidized so I bypassed that by soldering the pickup wire to the kingpin. What an improvement!
Back to the sanding. This is where you get nervous
I used two sanding boards with fine and very fine grit. I also used water as a medium to help the removal.
The A unit is now done. I had to protect the number boards, marker lights and windows.
Doesn't look too bad at this stage.
After masking the upper body at the batten strip, and also painting the whole door on the side, I sprayed both units with the Scalecoat Brunswick Green
Unwrapping time was when I was worried if I had covered any scratches, etc. Looked pretty good.
The light shows the new paint versus the dulled original paint. I will be dulling the new area after decaling so I hope to blend this in.
Starting the side stripe on the B unit. There is no real 2 inch stripe so I used a single stripe off a 5 stripe set which scaled out as a 1.85 inch stripe. It looked very different from where I had started but I was worried it might be too narrow.
When I got to the A unit, I was still worried so I searched through Champ 2 inch stripe sets and found that his last deals were closer to 2 inches at 2.15 inches wide. They looked a little better than the B unit stripes so I changed to those. I used Clover House rub-ons for the road name, Microscale for a lot of detail lettering and a newer Champ set of numbers for the big cab numbers.
The finished unit.
Here is the B unit back on its chassis
The A unit - I think I need to weather both units a little but that will have to wait.
They look good on a freight.
Definitely worth the effort.
A nice addition to the fleet!.
Tuesday, August 7, 2018
Finishing for the Open House
We have the O scale Convention coming and my house will be open so I have been pressing to finish the scenery that we can get done in time. So, Gale is applying his expertise to a culvert under the branch line to get it sceniced for me.
Mike is working with Paul to cover the big hill with some heavy larger ground foam. Mike is working in the hatch we built a while ago. You can see the coat of white glue that holds the material that he is spreading.
Paul is working on the steeper slope of the hill. He is above that weathered track!
Ed is filling in holes in the roadbed as I put a kerf in it to allow me to bend it. The slot of the kerf has been absorbing too much ballast so I have come up with a method of filling that slot with black sand to minimize the loss of the more expensive ballast.
Alan is putting a coat of Matte Medium on the greenery to ensure it stays in place as the slopes are steep.
This is about my last shot at scenery and now I will have to clean the floors, put away all the supplies and ensure the layout is running well by August 20. It is a good thing I learned to scrub floors when I was a kid.
Mike is working with Paul to cover the big hill with some heavy larger ground foam. Mike is working in the hatch we built a while ago. You can see the coat of white glue that holds the material that he is spreading.
Paul is working on the steeper slope of the hill. He is above that weathered track!
Ed is filling in holes in the roadbed as I put a kerf in it to allow me to bend it. The slot of the kerf has been absorbing too much ballast so I have come up with a method of filling that slot with black sand to minimize the loss of the more expensive ballast.
Alan is putting a coat of Matte Medium on the greenery to ensure it stays in place as the slopes are steep.
This is about my last shot at scenery and now I will have to clean the floors, put away all the supplies and ensure the layout is running well by August 20. It is a good thing I learned to scrub floors when I was a kid.
Ballasting and Weathering the Main Line
Well, I have put down the ballast on the main for a good section between Milton and the entrance to Northumberland. You have seen that I painted the track with Rustoleum Camouflage Earth Brown and then placed a limestone ballast, number 20, down with white glue. As I looked at the track, it seemed too pristine so I decided to weather it. I took out my airbrush and made up some Floquil Rail Brown and Weathered Black mixed at 4 to 1 thinner to paint.
This is how things looked at the start. I looked at track in town and it had a brownish center and a rust color around the rail and shoulders. I checked out You Tube and there were some videos on what other fellows had done.
This appearance just cried out for more character so off we went.
This is looking up hill to Northumberland
Well, this is how it looked after I first sprayed the rail brown on the shoulders and along the rail sides. I also sprayed the black up the center of the track and also gave a light coat on the overall ballast structure. I learned that the air pressure of the spray gun popped out ballast pockets if the glue had not penetrated all the way down to the base.
You can see the colors on the towel that I kept handy to adjust the intensity of the spray.
Here is how the curve looks now - I think it really improved the situation.
When I reached this point, I had to stop for the night. I also had had multiple problems with the ballast blowing out. So, I repaired those holes and touched them up.
I also put a very heavy coat of glue on the remaining ballast.
Now I had no problem finishing the spraying as the ballast was firmly down. I am pleased with the results and will keep on doing this.
This is how things looked at the start. I looked at track in town and it had a brownish center and a rust color around the rail and shoulders. I checked out You Tube and there were some videos on what other fellows had done.
This appearance just cried out for more character so off we went.
This is looking up hill to Northumberland
Well, this is how it looked after I first sprayed the rail brown on the shoulders and along the rail sides. I also sprayed the black up the center of the track and also gave a light coat on the overall ballast structure. I learned that the air pressure of the spray gun popped out ballast pockets if the glue had not penetrated all the way down to the base.
You can see the colors on the towel that I kept handy to adjust the intensity of the spray.
Here is how the curve looks now - I think it really improved the situation.
When I reached this point, I had to stop for the night. I also had had multiple problems with the ballast blowing out. So, I repaired those holes and touched them up.
I also put a very heavy coat of glue on the remaining ballast.
Now I had no problem finishing the spraying as the ballast was firmly down. I am pleased with the results and will keep on doing this.
Subscribe to:
Posts (Atom)