Sunday, July 1, 2018

Preparing the Milton curve for ballasting

 Well, first we had to build the embankment on the far side of the curve. Paul worked on that on his crutches. What dedication ! Thanks, Paul!
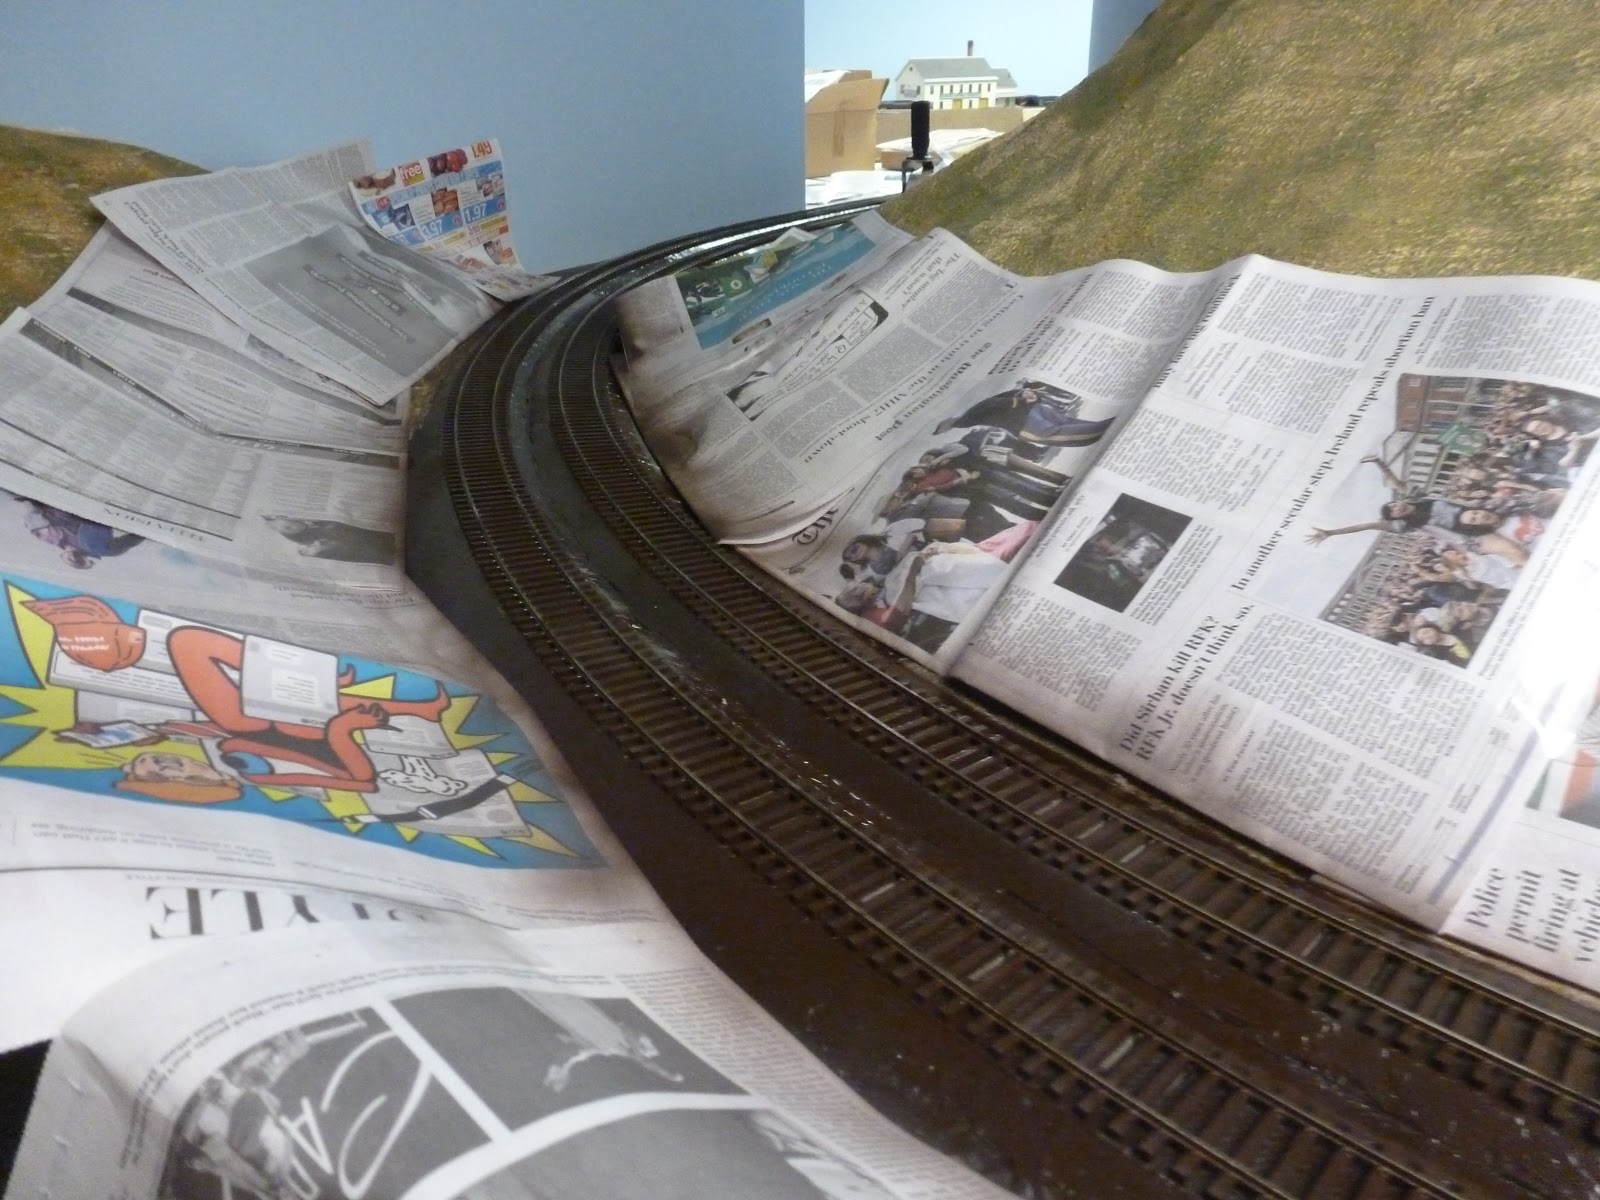
 Embankment in and grassed, we cover everything for the painting.
 Seems to look okay.
 You can see where we are going to start.
 I no longer have the color that I used before so I switched to Rustoleum Camouflage Brown - a really flat spray paint.
 Seems darker than the previous color but ballast should hide the seam.
 So, we spray the whole area.
 Pretty wet right now.
 I like the darker color.
 Getting the ballasting supplies ready for the guys.
 Now that it has dried, it looks okay.
Should look good with the tan ballast.

Final work to tie in the photo.

 Well, after painting the plaster with ground color, I glued fine foam base colors on - green and a tan color.  Then I added a coarser mix of three types of ground foam. Summer grass, scrub grass and medium green grass.
 It seemed to blend well and tied it in to the scenery.
Now I have to finish the foreground scene.

Finishing Paxinos' Backdrop

 Well, we now have to tie in the backdrop to the existing scenery. To do that, we need to build out a base for a plaster hillock in front of the backdrop
 I have hot glued tabs to the wall below the photo and am now bringing a chord along to tie into. 
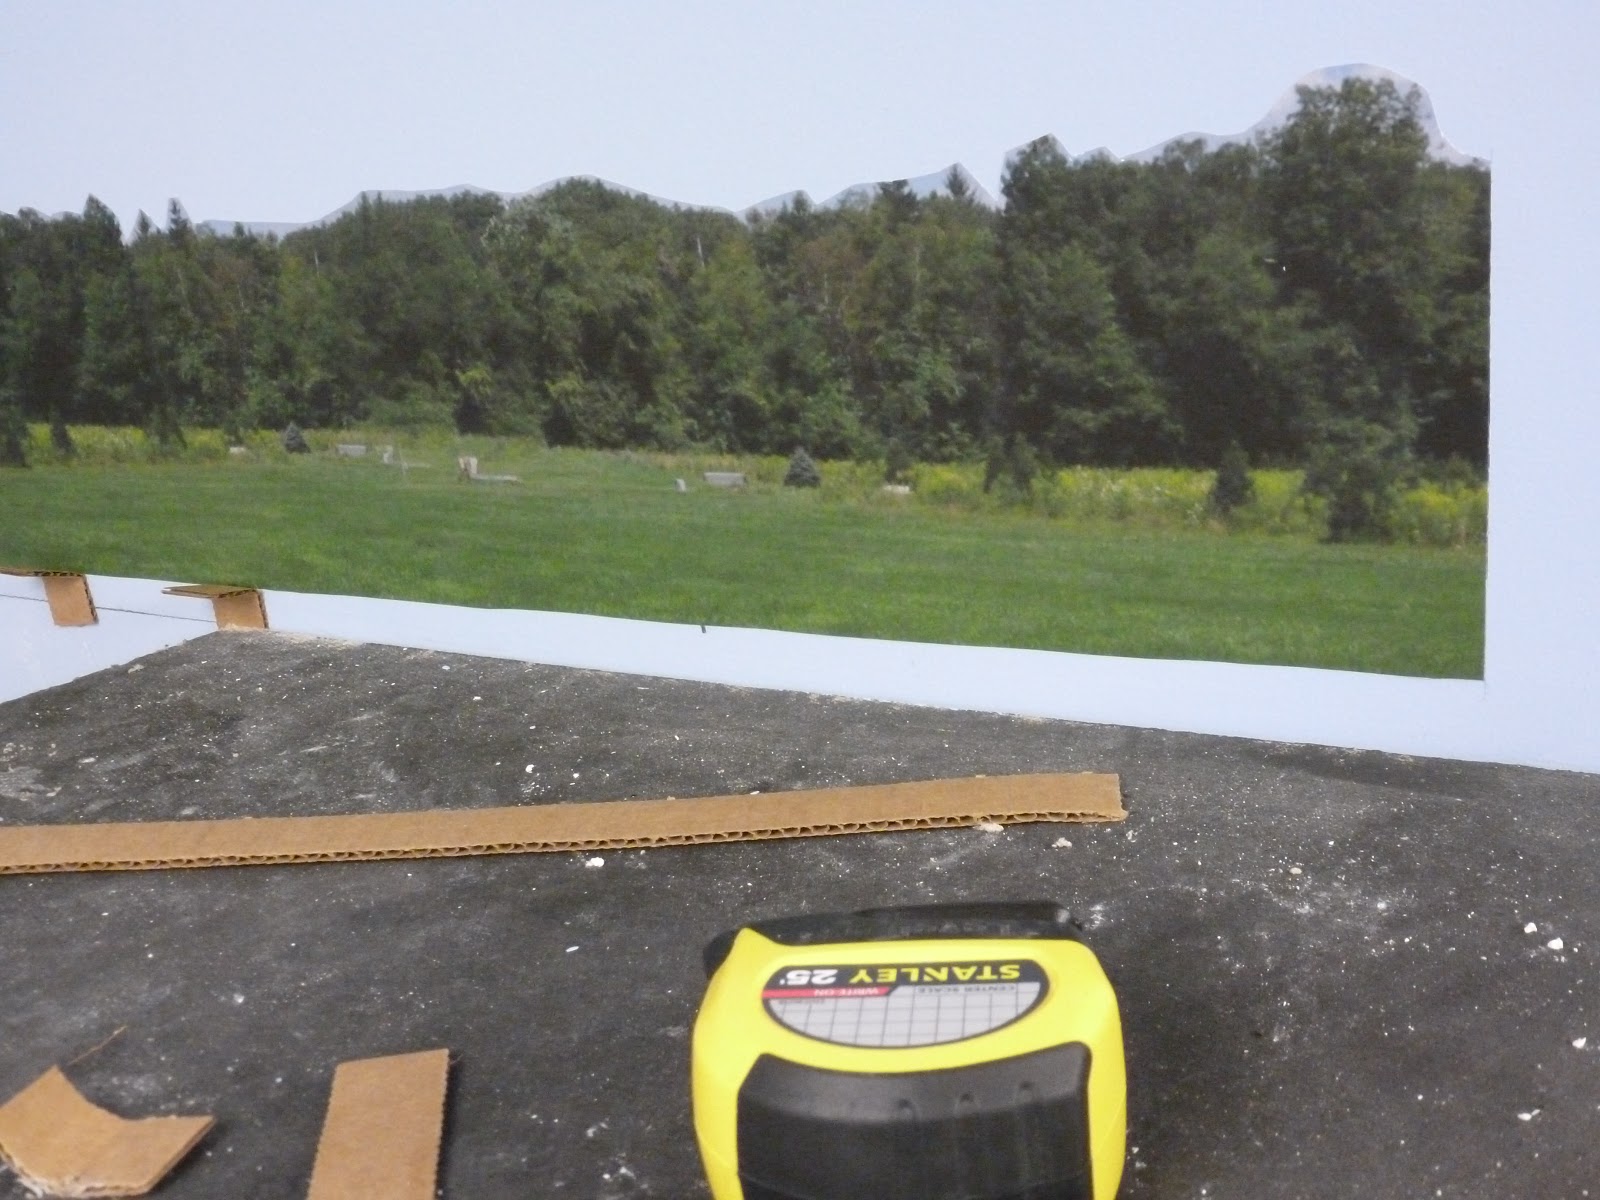
 As I came around, I was unhappy with the height of the end of the photo above the base of the town.  I needed to find a way to fill it in.
 Using a piece of scrap from the photo, I cut a one inch high piece from the grassy area. I then used a black marker to color the edge of the vinyl.
 You can see that the black ran down the back of the strip
 I then glued it to the bottom of the photo and it blended perfectly. Problem solved. A building front will cover the right edge of the photo.
 So, the webbing was then completed.
 You can tell I used Micro Mart cardboard strips to make the base.
 Then I covered it all with red rosin paper
 Starting to look complete.
 Covered the photo with plastic to protect it somewhat while I add plaster.
 Plaster cloth is now on. Not an easy reach into that far corner.
Done for now. I have to let it dry.

Monday, June 4, 2018

Putting in Another Section of Backdrop

 So, working with Backdrop Junction' owner, Dave Burgess, he came up with another nice scene that did a good job representing central Pennsylvania. Here I am trying to see where to start the scene.
 It has a nice look at this point.
 I draped it over the hill to get the best perspective I could before I cut anything.
 This is the preceding scene. Not a match but around the corner and somewhat consistent.
 After careful measuring and making a mock up, the photo is cut and this is how it will look.
 Not bad and will look better with some foliage added.
 Still looks good.
 Now we begin with me explaining what I have in mind and what I have marked on the wall. It is an all hands exercise as it is a longish photo.
 Work begins with the crew in place.
 More measuring to be sure.
 I take one last look before we start.
 I prepare the end of the piece to go on to the wall. Tension is high - at least on my part!
 Everyone is holding their section as I start to place the photo onto the glue.
 Ed reaches out for a small adjustment as the photo appears to be rising slightly.
 Alan checks how it will get around the coved corner.
 Ed is rolling as Alan is smoothing with his hand.
 Ed is totally involved and I supervise and check for appearance. It is looking good. I cut the end at a reasonable spot.
 Phil is positioning that last piece.
 Here it goes as we finish it up.
 Okay, how will it look as we go around the curve??
 Not too bad
 Telling the guys where we have to do our next photo - over the other side.
 The finished product. I have to build some scenery to cover the bottom of the photo where the blue is.
 We all admire what we have accomplished!
 Looks good
 from a bit of a distance.
 At the coved corner - looks good!
 Fits well with the hill. I was worried about this.
 Buildings go well in front.
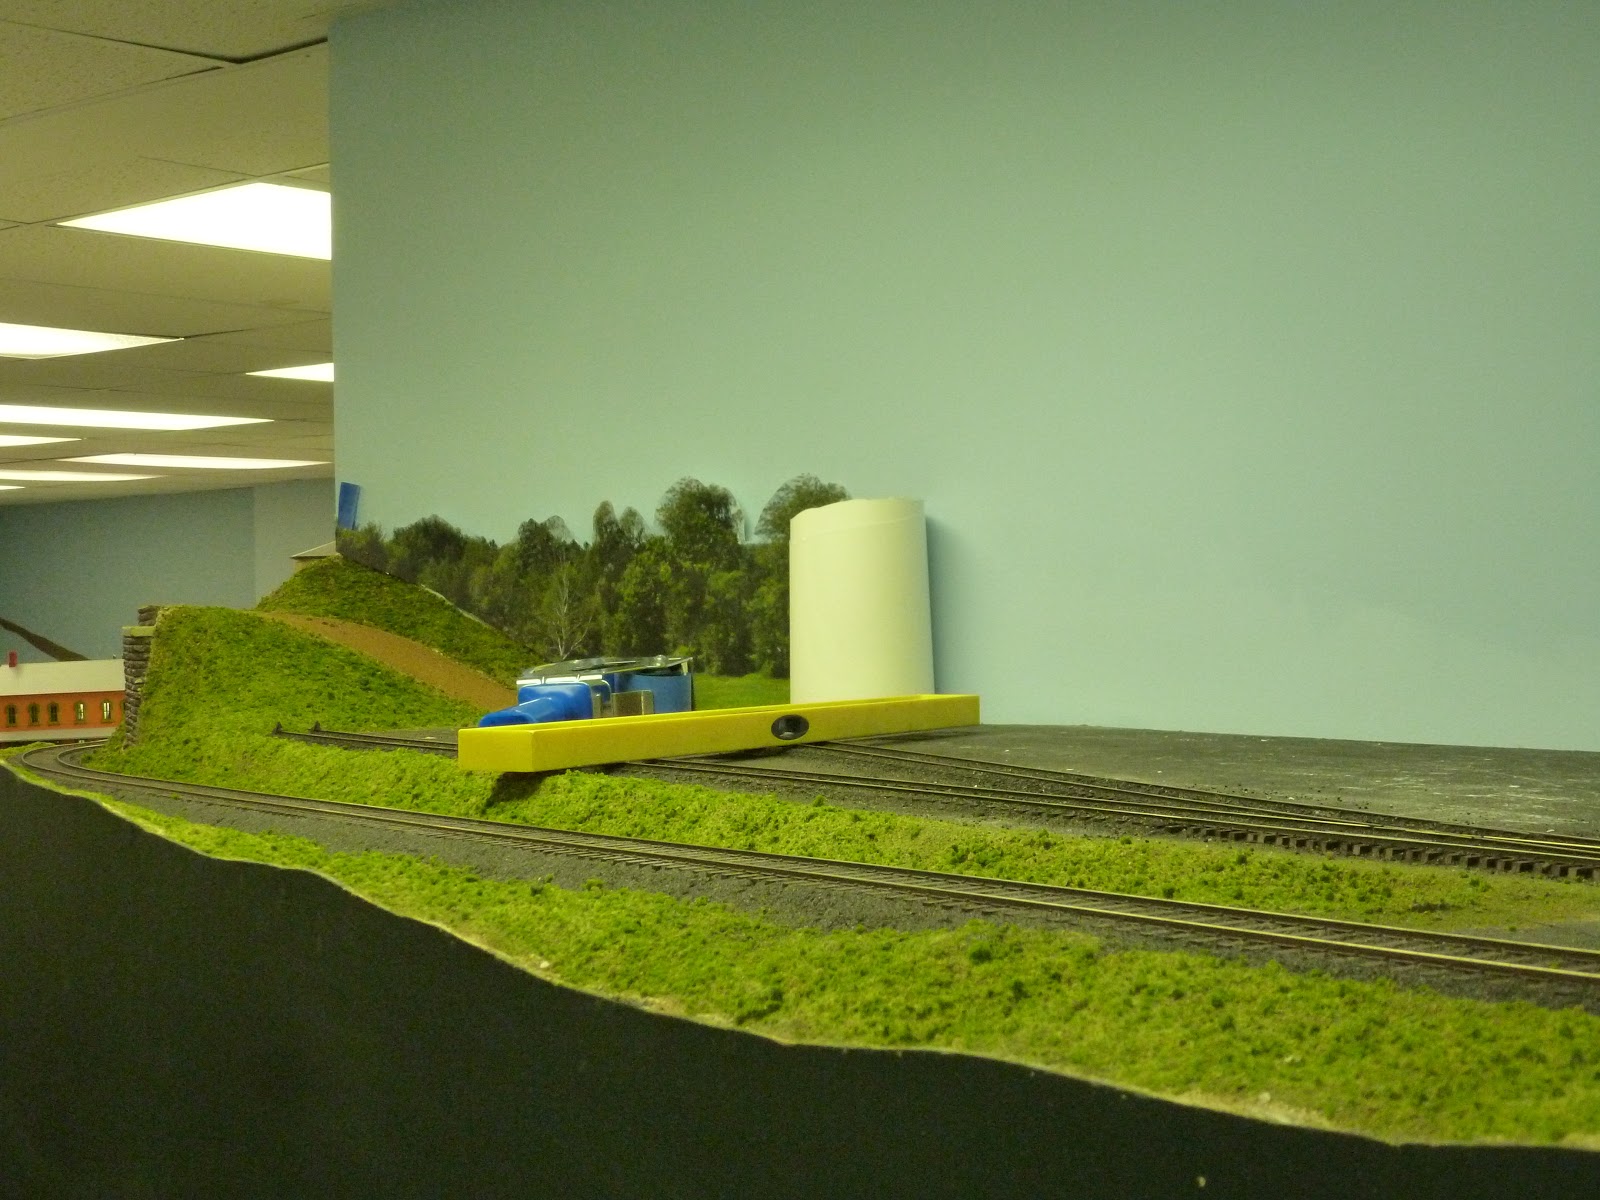
Finished scene, awaiting some plaster to fill in the rear.