Friday, July 5, 2013

Our First Open House

 Well, we had our first open house for the National Model Railroading Association regional chapter in June. Thus my crossbuck sign out at the end of the driveway.
  I built some temporary panels at Milton and Herndon so we could operate the hidden holding tracks on the main. I then staged 6 trains, 3 each westbound and eastbound, including a K5 powered local passenger.
 Here is a leased Reading 4-8-4, a T1, pulling through Northumberland westbound. The PRR leased them in the summer of 1956 to supplement their steam power during the summer.
 An action shot going by the Shamokin drag leaving to go up the branch.
 And now it is going away.
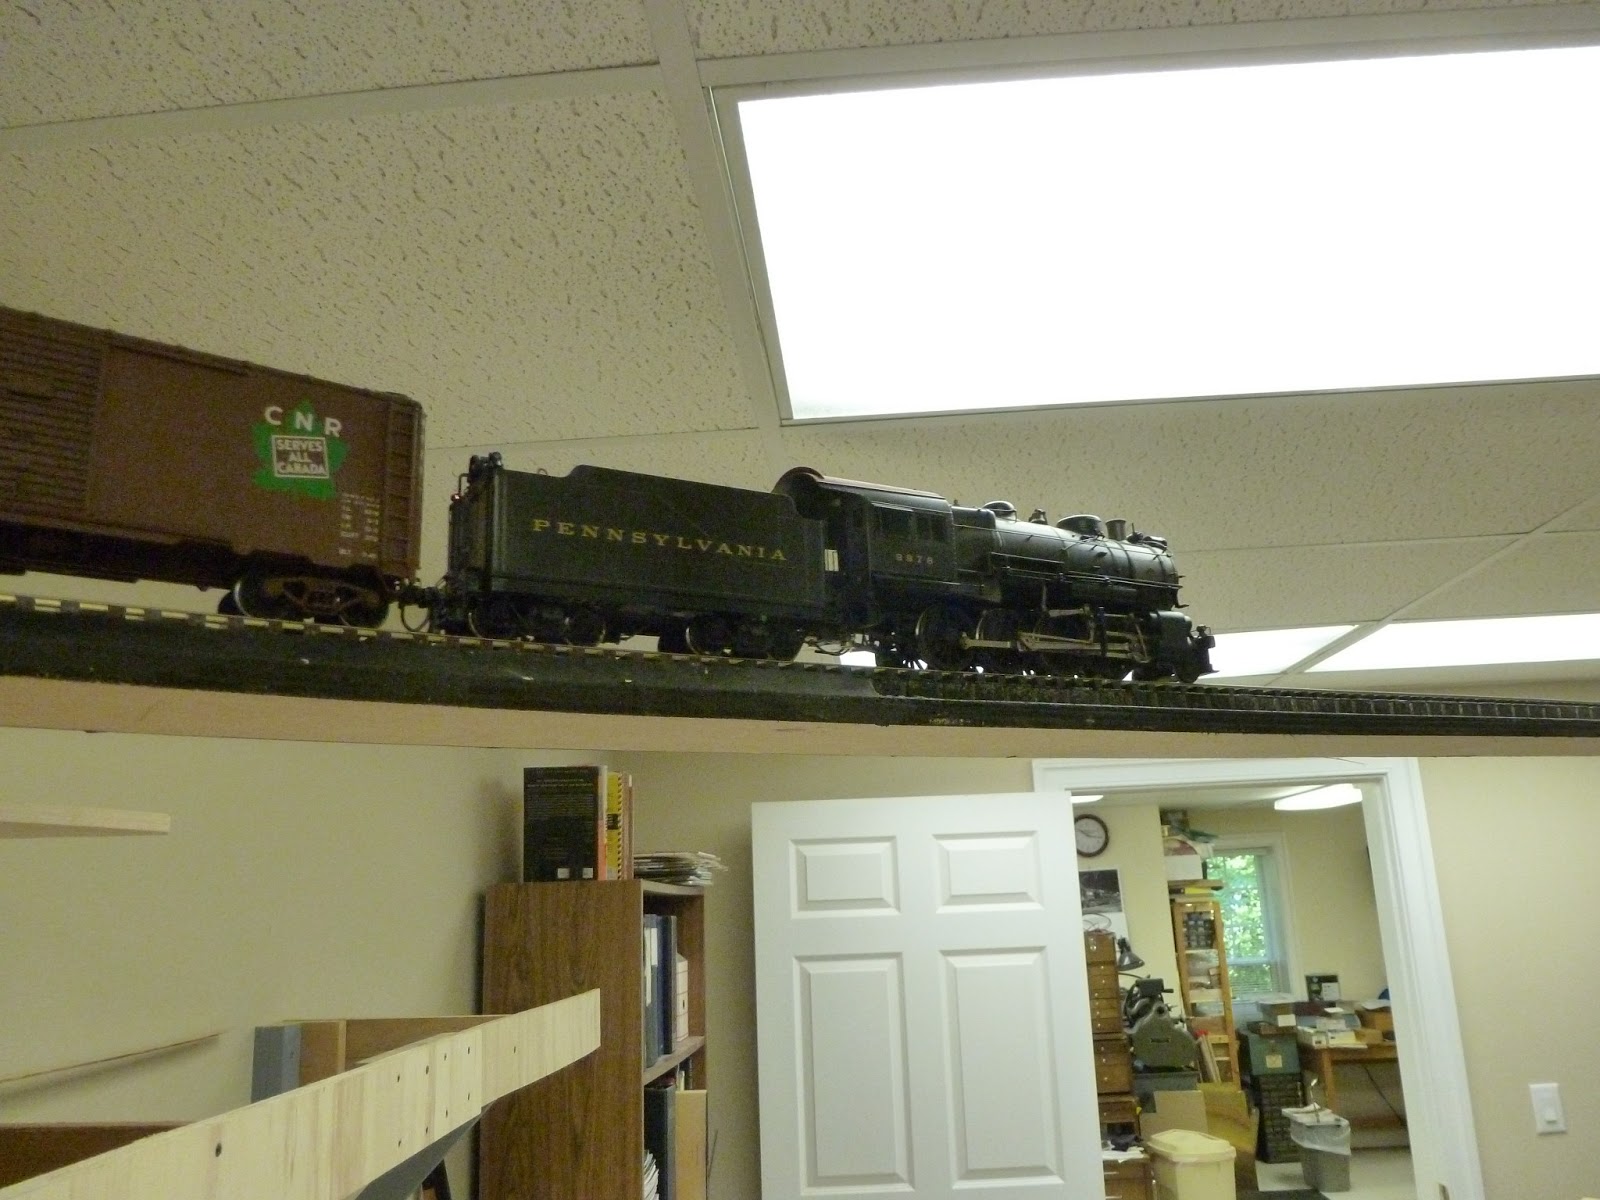
 Here is an upgraded L1, 2-8-2, headed eastbound to Harrisburg with a mixed freight. I made this model by using a Precision K4 boiler, redetailed it, and then mated it with a US Hobbies frame and drivers.
 Our closing shot is the T1 coming into Milton on its journey west.

All this told me that I have to put some cameras in to monitor the hidden area as I had a heck of a time keeping track of the 6 trains. So, I have now purchased 4 closed circuit TV cameras and screens to be able to see what is going on. Now I have to read up on how to hook them up. The screens are actual 7 inch TV's that would be used in automobiles or other small areas. More on this later.


Monday, June 3, 2013

Now for an I1

 Ok, we have to check to see if the big engine type on the hill can make the curves and smoothly run up the hill. I followed it closely on the run up and everything went well. You can see every detail on the underbody when they are this high and going over that bridge. I took pictures on the way back down as I was more relaxed that everything would go well. We are leaving the junction at Mt. Carmel.
 Coming around the hillside on the 52 inch radius curve.
 Going out onto the bridge
 On the bridge - nothing between us and a 73 inch drop. My model engineer must be quaking - I know I am.
 Into Shamokin, doing fine
 The the S curves with no problem
Leaving Glen Burne to go into the Narrows. A smooth trip! I guess I can consider the branch done. Now I have to add turnouts on Shamokin plus do a bunch of wiring.

The first steam train up to Mt. Carmel

 Shorter narrative but same activity. We have an H8 as power along with a short train as we head out from the Narrows.
 Around the curve to Glen Burne
 Going by Glen Burne
 Into the Shamokin S curve, passing track laying tools including a 52 inch radius curve template.
 Onto the bridge - I have my hands out below.
 Safely accross.
 Up the hillside
 On towards the junction
End of the power at the junction. Again, the backing down was smooth.

The first trip up to Mt. Camel

 Well, now that the power was in and the track laid, we finally were connected to the Mt. Carmel loop that has been hanging there for about 4 years. So, We started from the Narrows, just outside of Weigh Scales and headed RR east. We have a Baldwin S12 by Yoder that I painted, along with an All Nation boxcar that I built a long time ago.
 We go around the S curve and make the turn up towards Glen Burne. The separated webbing reflects the fact that I had to raise the roadbed to make the level of the bridge I needed down the road to clear the aisle.

 Alongside the future location of the colliery heading up to Shamokin.
 This is what the colliery looked like.
 Entering  greater Shamokin.
 The S curve upon entering into Shamokin.
 Heart in my mouth time as we go out over the temporary bridge over the aisle. We are about 73 inches above the floor here.
 Further along the bridge- slow speeds here for sure.
 Finally coming to the other side, whew!!
 Entering the horseshoe curve on the hillside.

 We are now heading up the hillside to the junction ahead.

 Here is a long view of where we are
 Almost at the junction
 We are safely there!! The junction does not have power so this is as far as we go. The trip back down was relatively easy but I still worry about that bridge. You can see how high we are by looking at the other train in the lower right of the picture.


Preparing for the wiring of Mt Carmel

 When you are building an around the wall branch that ends in a loop in the center of the room, you have to get the wiring to that ending location.We could have pulled about 200 feet of wiring to get there. It was much more efficient, however, the go up the wall, though the ceiling and then down to the end of the grade. So, here we have Jack Brown cutting a hole in the wall  near where our wiring currently ends.
The hole is done but will have to be enlarged to get our fat hands into it to grab the snake coming down from above. There is a pipe in the chase that we are going to follow. Ed Rappe looks on approvingly as he is working on twisting the wire that will go up the wall. The twisting is done to avoid future problems if I ever switch to DCC.
 Jack is really getting into his work as he is working the snake down to the hole. It took us a while but we got it done. The snake is wrapped around his body as we try to make the easiest transition to the vertical run down to the hole.

Jack has now pulled the snake back out with the wire attached. Paul Cierzo has joined in as he is pulling the 12 gauge, two color wire over the ceiling to alongside the end of the branch at the entrance to Mt. Carmel. You cannot see Ed but he is feeding the wire into the hole to make it easy to pull.

After all the work was done and everybody went home, I realized that we had not pulled the grounds for the two power circuits plus a string into the wall for future pulls. So, I used the wire we previously pulled as my snake and pulled an 8 conductor 16 gauge ribbon wire, the two 12 gauge power wires and a string into the wall and over to the branch. It was very easy after the guys had done the heavy lifting.

Sunday, May 5, 2013

Creating the diesel service area

 Well, this is a long process so we started by getting all the tools in one place. We then laid the ties and glued them down. After they dried, I sanded the bunch. It was then a matter of laying the rails and frogs. That set the basic formats. I went back and installed the points and closure rails last.
 So, now here is the view looking from the throat. I will install some servicing areas here along with small buildings, etc. The total length of this area is about 14 feet. Don't you just love O scale!
This is a view of the actual opening up of the 6 tracks. The two tracks on the left are spaced more widely as the diesel building will be installed here. The engine storage tracks are only 3.5 inches apart.

This is a closer view yet. You can see where I have propped up the building facade to show where it will go. The tracks to the left will hold multiple covered wagon unit lash ups. Those on the right will be for single hood units and switchers

This is a view looking back from the area where the switchers will be stored. That is an SD9 and a GP9 sitting on the right.

This is looking back from the covered wagon unit area. That is a C Liner lash up on the left. These tracks will hold from 3 to 6 units as we mover to the right. The chalk mark is my original plan for the area. On the right, where the box is located, will be the end of the outside tracks for steam storage. Those tracks will radiate from the turntable which is out of view. 

Reverse view of the throat of the diesel area. It leads back to the yard runaround track.

This is the next area due for construction in the engine terminal. It is the lead into the steam portion. Building it will involve a lot of time laying on the bench work so I am not rushing into it. The lead on the left is for wreck train and passenger car storage. To give a sense of scale distance. Those are 8 foot pieces of wood and aluminum lying there. Those black box cars are about 16 feet away.