Saturday, February 21, 2015

Turntable Part 5 - Adding the arch and motors

 Well, I went to put the arch on the bridge and found that the casting for the upper portion was too wide. So, after working to reduce its length, I was able to assemble the castings and now we have to mate them to the bridge. I used a 5 minute epoxy and clamps to position the base.
 I actually pinned one side and got it set with epoxy. The I was able to position the other side with more epoxy. The clamps did the trick holding everything together and when the epoxy dried, it seemed quite substantial.
 Now I have to put on the motor assemblies and also the weights that were used to balance the load of the control cabin. They included pictures of the weights in service, but not the motor assemblies. I had to go to their web site and find some pictures to be able to see what they had in mind.
 First step was to cut the weigh casting apart and then trim the flash. Then I had to grind off the bolt heads on the structural member that would hold the weights.
 Here is he assembled arch on the bridge ready for the next steps.
 I am now checking the motor assemblies for fit and flash. I had to file the bases to get them smooth. I also drilled a hole in the motor's junction box on the side so if I felt like adding a conduit I could do it.
 This is the general layout with the gear to on that shaft in the rear.
 One assembly now in place. They are actually at a slight angle due to the curve of the pit.
 Another view
 Here is the side of the arch where  we have to mount the weights


 Weights are now on and epoxied in place
Final view also showing the motor assembly

Thursday, February 12, 2015

The turntable - Part 4 - Starting the bridge

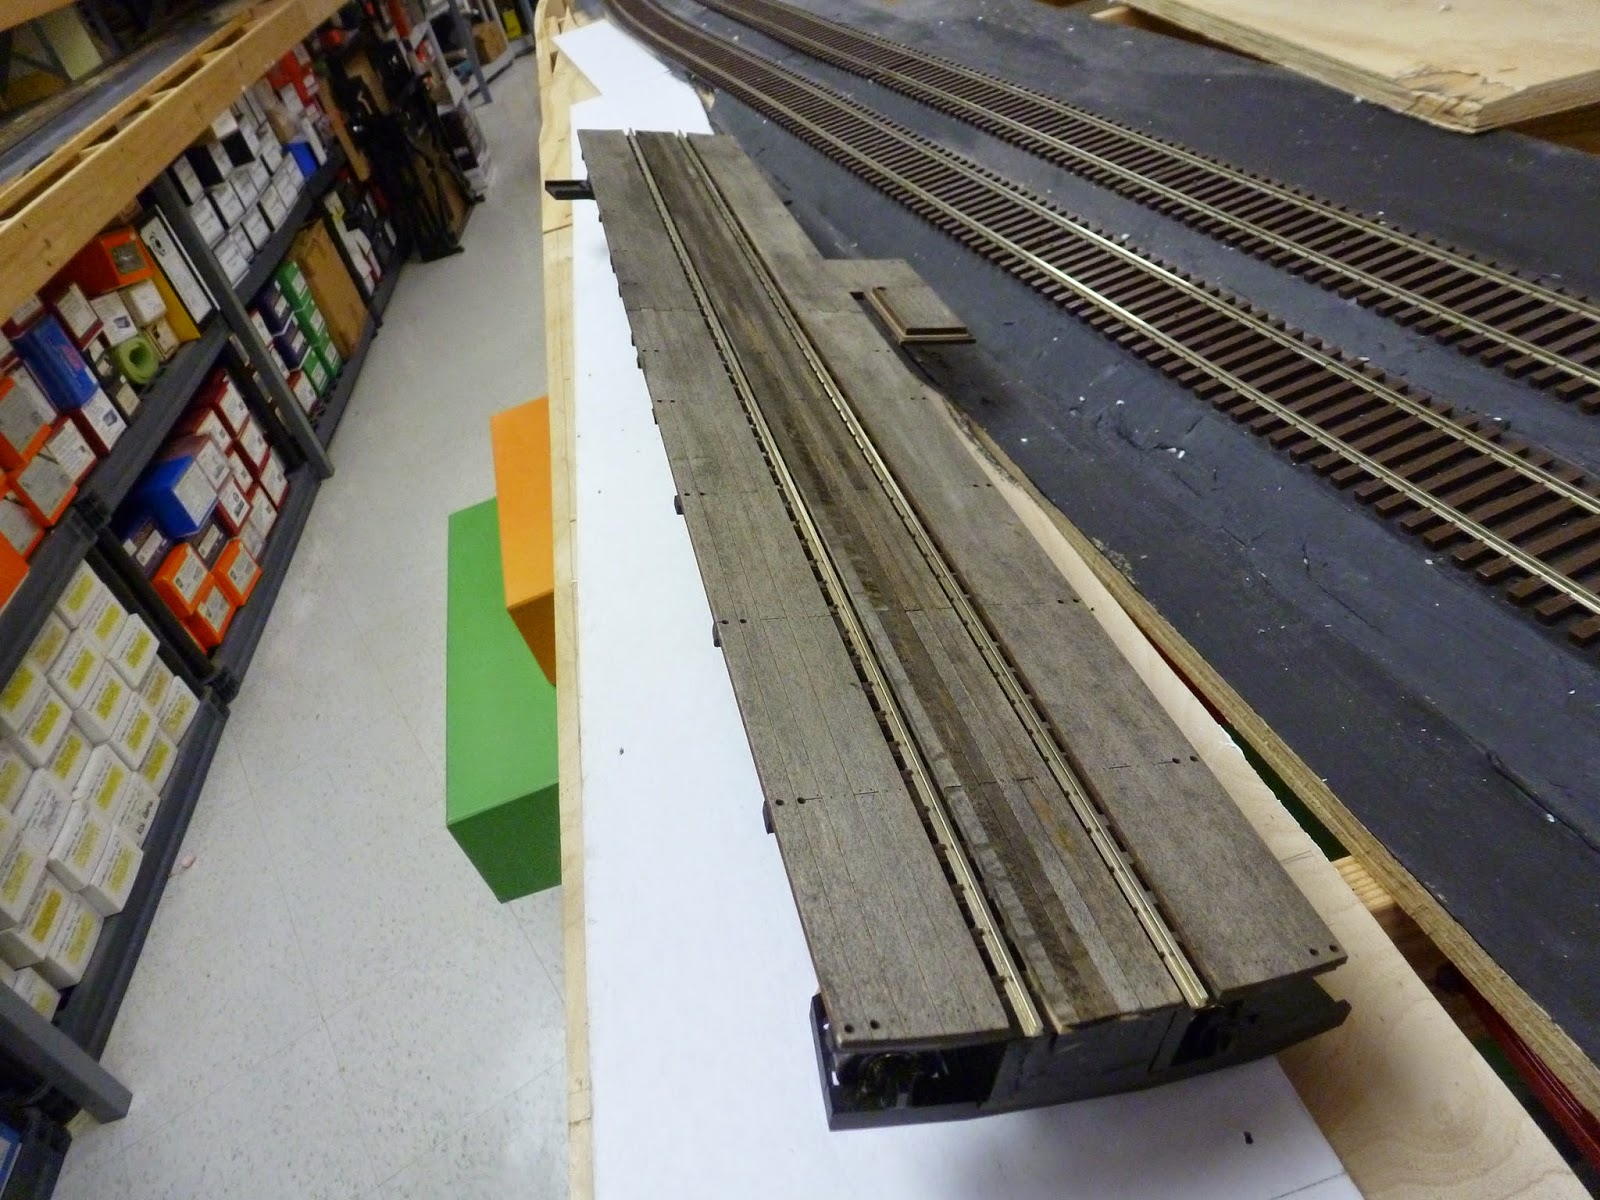
 Here is the bridge provided by the manufacturer. It comes with Atlas code 140 track on the deck. The tie spacing is a bit wide so I needed to hide that. I added decking between the rails. It is the same thickness as the side deck provided. I went board by board and then scribed separations and nail holes to match what the manufacturer used. It is a very solid and heavy bridge that should make a good representation.
 This end shot shows the center decking in place.I colored it with india ink washes to match the side deck. It will get painted some when I finish the bridge as the decks were very black due to the creosote and oils that were present in real life.
 You can see my scribing in this view. I have also added the base of the control cabin kit that comes with the turntable. The hole is to allow lighting in the cabin if you wish.
 
 I have built the cabin kit but not inserted the windows or door. The cabin is a very ornate design that had been mostly sheathed by metal in the mid 50's. I will paint this black as we get closer to completion. I placed it on the base to see how it looks.
This is an end view. Now I have to build the arch. It is made up of some brass castings. More on that in a bit.

The Turntable - Part 3 - Finishing the pit

 Okay, I won't bore you with the details of me having the take the pit rail out and paint every tie by hand to get the color of the ties where I liked it plus maintain the rust color on the rails and tie plates. I mixed up a tie color by taking rail brown and adding grimy black plus thinner. That made a thick wash that left the grain visible while coloring the ties adequately. So, many brush strokes later, I was able to reinsert the ring rail back into the pit. Then I had to drill a number 67 hole in the ties where I was going ot spike the track down. This illustrates that step. An old tooth brush cleans up the residue of the drilling.
 Here the rail is now in the pit and it looks a lot better than the monocrome color we had before.
 A few closer views . This shot actually includes the wire lead that drops below the pit the power the ring rail. The nice thing is you can't see it.
 Another overview that shows that I have to smooth the cinders so they look mor erandom.
 We are now at the finish point.
I am satisfied with the pit so now on to the bridge!
Tuesday, February 10, 2015

Continuing on the turntable - Part 2 - The pit

 Well, after the weathering with the India ink, I added some rust color to the sides below the radius tracks. It was suggested that I blend everything with a lighter color. I was  thinking Grimy Black but that would make it too dark. So, I sprayed a diluted amount of Aged Concrete which was the base color.
 The pit is starting to look better as the weathering has become a little muted and more subtle. You can definitely see the runs of rust from the tracks above but not over powering.
 The runs stop when we reach the ends of the radius tracks and we just have dirty concrete. The pit and the ring rail base show some rust from the ring rail.
 You can see more of that subtle rust effect with this shot.
 I am pleased with the look of the base and now have to add some other effects
 I have added some very fine cinders that might accumulate in the area around the ring rail base. I assume the RR would keep the pit generally clear for drainage. I need to fine tune this before I secure it. I believe I will add some around the ring rail as that would be harder to keep clear.
 Here is the ring rail which I fabricated from Micro Engineering code 148 track. I ripped the track down the middle and it nicely matched the size of the base. The manufacturer had supplied grossly oversized Atlas 3 rail track for this and I could not use it. Since I went to lighter rail, I had to raise the base of the ring rail to maintain the proper bridge height. I showed that in an earlier post. The ring is in my spray room and I will spray it with rail brown color.
 Here it is sprayed and laid into the pit. I think the color is too light and I have to make the rail rusty. So some more painting to come after I let it dry thoroughly.
 More views of the ring rail in different parts of the pit.

Overall, I am generally pleased but know I have a little more work to do, which includes fastening the ring rail to the pit.

Monday, February 9, 2015

More Turntable Prep - Part 1

 I have to complete the turntable installation and that starts with the pit. I have shown earlier that I put a plaster base into the pit to get a tapered bottom. I then scribed separation lines and cracks into the plaster. I had to paint it to pull everything together. I was unhappy with the standard paint colors so I used a mix of Aged Concrete with a little more yellow and black. I sprayed this on as shown in the top of the pit. It was way too uniform so it it needed something to bring out the detail. After reading some articles and speaking with Lee Turner, I decided to go with an India Ink wash. The bottom of the pit reflects the start of that.
 Here is a close up showing the lines in the concrete. I was happy with that but not happy with the heavy nature of some of the wash. So, I reapplied some concrete to lighten the effect of the wash in certain areas.


 This shows the wash on the whole area before I resprayed the area at the bottom of the picture. I am happy with the effect of the tapered bottom. I am going to do some work to add rust below the track ends over the pit. I also have to spray the ring rail and install it, once I get this base color done. I am also building and modifying the bridge so make it more satisfactory to me. More on this later.


Building Shamokin's Base

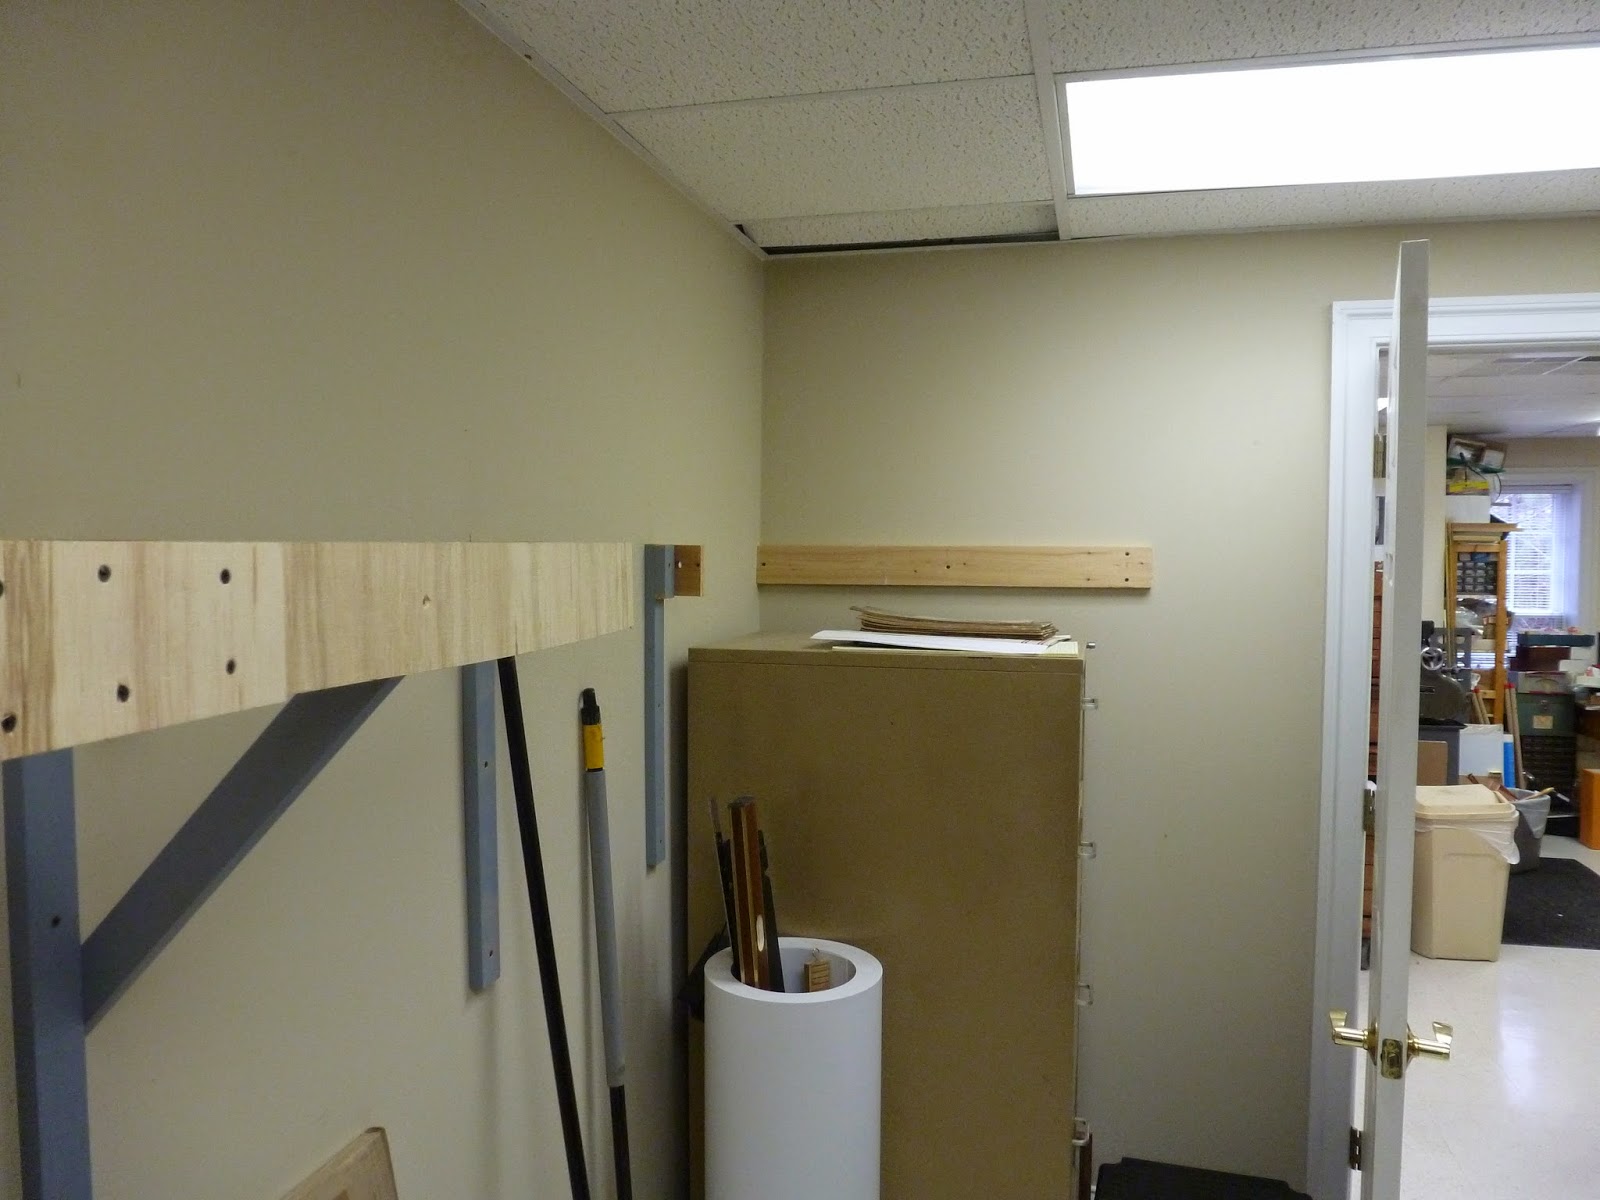
 Well, we have to finish the bench work on the branch and that means carrying the bench work to the end wall. This is where Shamokin will appear on the branch. I have hung a header on the wall above a file cabinet. This is about 68 inches off the floor.

 We will be continuing using knee braces from brackets that we have hung on the wall, tying into the studs built into the concrete foundation.
 I am using the flexible plywood to set the angles and lengths of the cross braces. You can see that I have the last two braces in place and am working back to the existing frame.
 Here is another view looking down that shows what I am doing more clearly. This approach lets me set the angles of the cuts along with the length of the braces.
 Here we are looking back to the existing bench work.
 Closer now with more braces cut.
 All braces are now cut and the knee braces are being added.
 We have now cut the first layer of the flexible plywood to set the final flow of the front edge. A second layer of flexible plywood will be added to increase rigidity and strength.
The second layer has been added, glued to the first to form two lamination's. The clamps hold everything in place while the glue dries. Now I have to rip a piece of plywood to 35 inches so I can lay it on top and trace the outline of the bench work so it will make a top to match. More later.

Wednesday, January 7, 2015

Gaining some separation

 Well, now that Christmas has passed, it is time to shut down the railroad and do some major engineering work The first major step is to put up the scenic divider between the yard and the balance of the room. The framework has been up for about a year so I have delayed long enough. Over the course of the holiday, my grandsons, their dad, Jason and I cut some Masonite to form the back of the backdrop. Last Monday night, the train guys helped me put 3 sheets of it up. Here is the first view looking down the aisle at the west end of the yard, under newspaper.
 Coming a little further along, we are now entering the yard area. You can clearly see how it runs under the overhead loop that is Mt. Carmel.  Weigh Scales is along the wall in the rear. It is a good time to get this backdrop up before I do any scenery work on the yard.
 Moving further, you can get an impression of how the backdrop isolates the view of the yard.
 Now we are coming to the end of the 24 feet of block we have put up. I have to stop here as I have to build a cross over in the main and it will be easier to do from the other side than from here. If I did it from here, I would have to lay on the track. We did have to lay on the track to fasten the Masonite to the frame.
 The crossover will be just beyond the end of the frame. I hope to get that done by the end of the month so we can continue framing.
 If you look through the framing, you can see the back side of what we already put up. I painted the back of the Masonite with Linz sealer to reduce any swelling from moisture.
 Moving further through the yard, we reach the end of the framing.
 Over the holiday, I took a layout break and painted some cars and engine parts. These three bright red ones were in that group.
 The 50 footer is a Precision car that I made a Pere Marquette auto car, the next two are Protocraft cars, a Rock Island and a CNO car with a Viking roof. They are really nice looking cars.
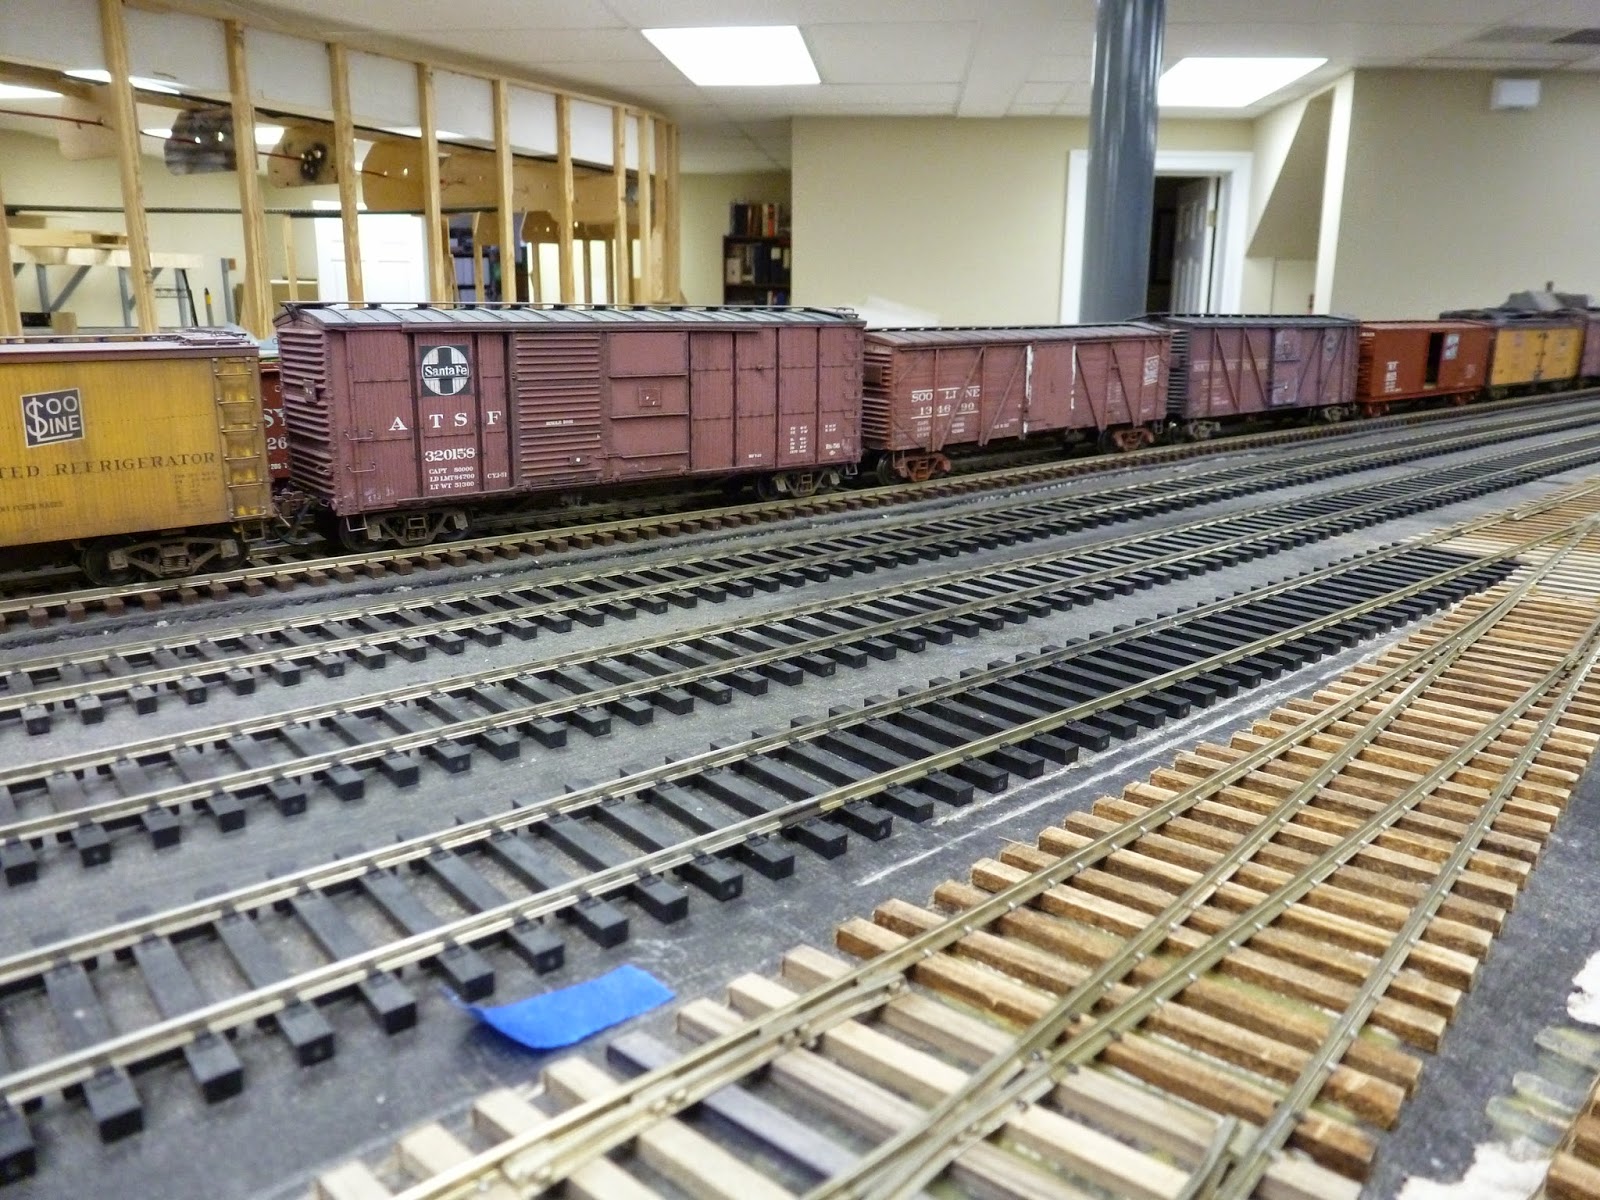
Now I have to weather them to get them to look more like these which appear to be on the RR for a longer time!