Saturday, November 10, 2012

After a Long Absence


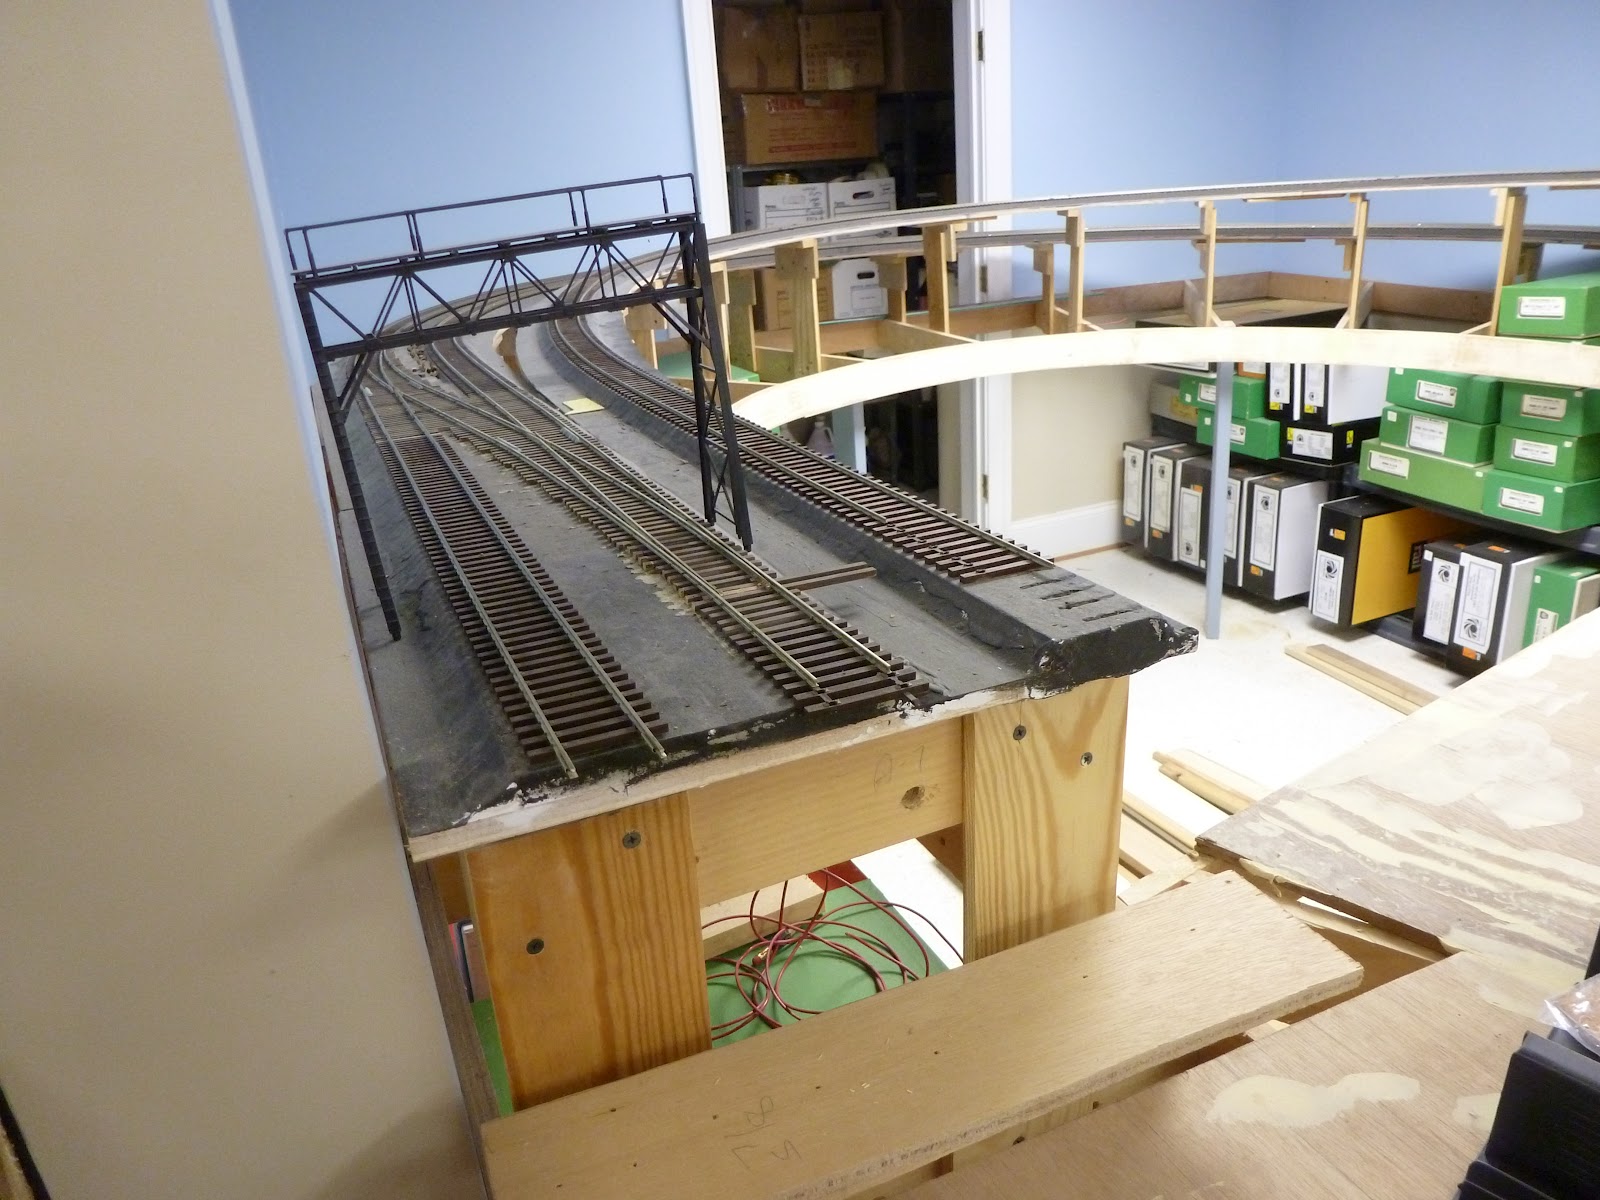
Well, it has been a while since a post. This is due to a long trip on the West Coast, a case of pneumonia that I never expected - what a long recuperation - and getting ready for a visit by 23 railroaders from as far away as Charleston, SC; Gettysburg, PA,; Baltimore and Finksburg, MD and Indianapolis, IN. Those, plus my old group up in the DC area. So, I have been under and over the layout, doing some basic wiring so that we now have both main lines operating, plus the branch all the way into the yard. I will show you the wiring in another post. This one is just an illustration of the guys having a good time. They visited another layout in the area, Ed Rappe's, and then came to my house. We had a 3 unit set of Baldwin Sharks pulling a 45 car train, an M1b (4-8-2) pulling a 35 car train and double headed I1's (2-10-0) pulling a 35 car hopper train up and down the branch.
 The guys who follow the blog said that they did not appreciate how big the yard was until they saw it in person. I am going to try another approach and post again in the near future to help solve that problem. 
 Meanwhile, the layout ran well and the guys liked it very much. On their previous visit, they did not understand my description of what we were going to do but they now have a full picture of the track plan. As you can tell by the pictures, we had a lot of conversation so everyone had a good time.

Our goals for the new year will include completion of the branch line, wiring and panel installation ( I will stay with DC for now) and fascia panels. Scenery will be the goal for 2014.


Friday, September 28, 2012

Bridging the Susquehanna

 Well, it is time to complete the lines over the river that were a main feature of the Northern Central as it left Northumberland eastbound, going into Sunbury. I cannot duplicate the length of the bridges but we can almost match the appearance at the end of the yard where the station was. This is going to be be a long post as there are so many steps. First I took two Atlas thru trusses - a single for the branch and a double for the main - and modified them to make them look better - not truly Proto 48 but layout grade.
 I added guard rails between the tracks using Code 100 steel rail that I had. I spiked them down after drilling holes for the spikes - every seventh tie. I extended them about 10 scale feet past each end of the bridge.
 I added some extra spikes at the end for strength.

The next really big deficiency of the bridge is the lack of gussets on the outside of the trusses.

As can be seen here, they have gussets on the inside of the trusses but these gussets do not go up over the girders which would be wrong as the gusset should tie everything together. 

 The lower gusset is correct in that it covers the whole joint. That big hole is for the  male piece on th e bridge deck to go into. A key tip - file those male pieces as they do not fit easily. If you file it, they go right in and make your life a whole lot easier.
 The below is the appearance of an outer girder junction with out a gusset. Pretty poor!
 So, I made cardboard masters by copying the overall dimensions of the inner gussets to that they would match when looked at from the side. You can see my note that I needed 8 of this one as it is for the upper corner at each end of 2 bridges. The lines gave me a guide for rivets to tie the girders in.
This is the completed .020 styrene gusset with the rivets embossed. 

The double track bridge is now complete with gussets installed, bridge painted, deck weathered and bridge footings placed. I used some old Auel bridge footings that I had bought years ago. 

Now you can see the single track bridge is done also.The piers are from Scenic Express. I cut two in pieces and meshed the stone work together. I colored the stone based on some pictures a friend of mine took in Pennsylvania last year.  

You can see the cut line in the back of the pier. The bridges look nice - with the new gussets and guard rails.


Some more views

Okay, now we have the opening. The is the yard side of the river. Track is loose, awaiting the bridges.

The east side is mostly laid. I did have to move the branch line slightly to the right as the footings separated the bridges more than I had initially figured.

You can see that I had a pretty good match on the double track bridge. I had only to move the track slightly and the back track had enough flex.

The yard side is now in

Here it is from the yard perspective. The main looks nice going onto the bridge. Now for the branch line.

Both bridges set side by side

Branch line track approaching. This is a temporary track as I will have to lay a wye here to give better access to the turntable to eastbound engines. More on that later.

Hammer at the ready for fine adjustments!

Track is down and we have the first crossing by a branch line train after 4 years of construction

Looks good!

This is especially good as we did have a wreck here last year when a train drifted down the branch unattended and dumped a caboose and 4 hoppers onto the floor through the open gap.

Over view of train heading up the branch.


Wednesday, July 18, 2012

Working on the roster

 Well, as I mentioned in the previous post, I decided to take a break from the layout to work on some I1's that will be used on the branch line. I have 7 of the Sunset I1's and 2 USH models. Here are 6 of the 7 Sunset's. The one on the far left has been completely redone by Frank Miller for me. I am going to use it as a guide as I redo the other 5. The seventh one is an Altoona version that is in the paint shop right now. I have just finished building 5 front assemblies and pilots for the models using Grabowski tanks and chin platforms. It took a special jig that was made by an old friend, Ray Jury, who is no longer with us, coupled with a MAPP torch to get them to heat high enough to solder together. It is the most distinctive thing on the I1's. They were called Hippo's because of those paired tanks. They look a whole lot better now.
 As you look at the engine on this end you can see it has a lot more detail on it. My plan is to go at this in assemblies and my next task is to replace the main rods with Grabowski castings. To do this, I have to set up my mill to be able to drill the rods and then mill off the rears where they attach to the crosshead and piston.
 Another rather quick change are the smoke stacks and sand domes by Bill Brisko. You can see how much larger they are than the original parts by Sunset. The first model has them and all the others do not. These are going to be layout models., not contest models so I am trying to get them to look good but not perfect.
Here is a left side view of a completed engine and a factory model. I have to change the feedwater heater to a later version, add a bunch of better castings, edge the running boards, and add an ash hopper and details. I think each engine will take about a week of solid work. Those pilot assemblies took me about 2 solid weeks.

Wednesday, July 4, 2012

Starting the Engine Terminal

 Sad to say, I have run out of turnout parts from Trackside so am waiting on an order to get back to building turnouts. These are the turnouts into the diesel(foreground) and steam areas. I need to build the steam area first as I have to climb over the benchwork where the diesels will go.
While not really prototypical, I am planning on using an Ogle coaling tower for the terminal area. It is about the best detailed coaling tower out there so I decided to use it. I have drawn the location of the round house, which will be facing us, and the coaling tower will be on the left side of it.  I need to lay three tracks here, inbound, outbound and coal delivery. The inbound track will have a pit and it will be managed by a Burro crane with a hopper. That track will be switched using the turntable. All turnouts will be number 7's so we have no engine troubles. 

This is an overview of the East end ladder. The caboose track will be coming up on the left side of the HD 40 can. That is going to take some cutting as the running track is a quarter higher in elevation than the yard. I am taking a break while waiting on the turnout parts and replacing all the tanks on five Sunset I1 front ends with Grabowski parts. These engines will power the branch line trains.

Adding the Thoroughfare Track

 The next step, which has taken a while, is to add the thoroughfare track that allows the road engines to escape back to the engine facility. I used Old Pullman track from this one as it is at the outer edge of the yard and I wanted the appearance of spikes holding the rail, not clamps as on the older Atlas tie strips that I used for the code 125 rail in the yard.  I figure that once the rail is painted and ballasted, you won't notice them but the outer track will stand out. So, here we have the track turning off the Arrival track and going down a slight slope to the level of the yard tracks.
The first turnout we come to is for the future RIP track for quick running repairs to cars that come in from the West. It will be located at the top of the photo 

We then continue on and rejoin the base of the ladder track which comes in from the left.  I used a number 7 turnout here and for the next one so that I can send my J1's through here with no worries.

The next turnout will lead tot he Ice House that was in Northumberland for servicing any through reefers. I have it facing to the West as the loaded cars would be coming from there and unloaded cars would not need much service going back. The Ice House will be generally where the white box is right now.

We continue around the outer edge of the yard and begin the swing back towards the engine service area.

This is an overview looking up the line to the turnouts that lead to the engine service area and the tracks up the other end of the ladder.

Here we are looking up the other (west) end of the ladder. We have a number 8 switch leading on the right to first a number 6 to the diesel service area, and then a number 7 to the steam service area. The white template is for a turnout for a caboose lead that bypasses the ladder and a storage area for passenger cars and a wreck train.

Wednesday, June 13, 2012

Building the east end - Part 4

 Well, it has been a while for a posting but I have been busy building turnouts, traveling and having more grandchildren. Despite the distractions, I have added the east end yard ladder turnouts, as shown above. We added a grandson so another railroader may be coming to work some day.
 That long silver rod shows the location of a caboose track that will run up to the yard lead. A couple of turnouts are required for that. A wreck track will also run to the rear of the service area off that track.

 I have also added the turnouts that will lead into the diesel storage area (shown with the track coming out of the first turnout that turns right) and the second right turnout to the future steam service and the turntable. This was quite a job to get everything to fit. I have a number 8 at the base - slightly out of sight at the bottom of the picture, then a number 6 for the diesels, and finally a number 7 for the steamers. The roundhouse will be to the left of the big box. A coaling tower will rise where the box is located.
After we make the turn off the number 6 turnout, we will come to the diesel ladder shown here by the track charts for the four turnouts. I have some track sitting in the alignment that we will have. There will be 5 service tracks. I plan to have an engine house at the top left side of the picture. The steam terminal will go where the box and rolled paper is sitting. My next set of pictures will show the building of the engine service area.

Friday, April 13, 2012

Building the East End - Part 3

 Well, we have finally completed the yard throat. The double slip was a real bear as I mentioned previously. It took a lot of time to  get everything to work together. I have not put in the machines yet but have gotten the bulk of the work done, completing the cutting of the ties today.

 It has a nice flow to it with the top turnout leading into the yard ladder. I am going to go downstairs to start that after I finish writing this. You can see that I am moving the tools into place.
 One last look at the the throat. I have not placed the rail leading to the last frog as I will use the rail going into the next turnout for that. I am going to put a caboose track next to the ladder and that will come off the left track just past where I stopped.
This is where the yard ladder will go. It will consist of 4 number 7 turnouts that then terminate in a 3 way switch that I have to build. It will be located where all those templates are taped to the yard surface at the top left of the picture. I hope to get the ladder done in a week.