Sunday, July 11, 2010

Preparing the next hidden area


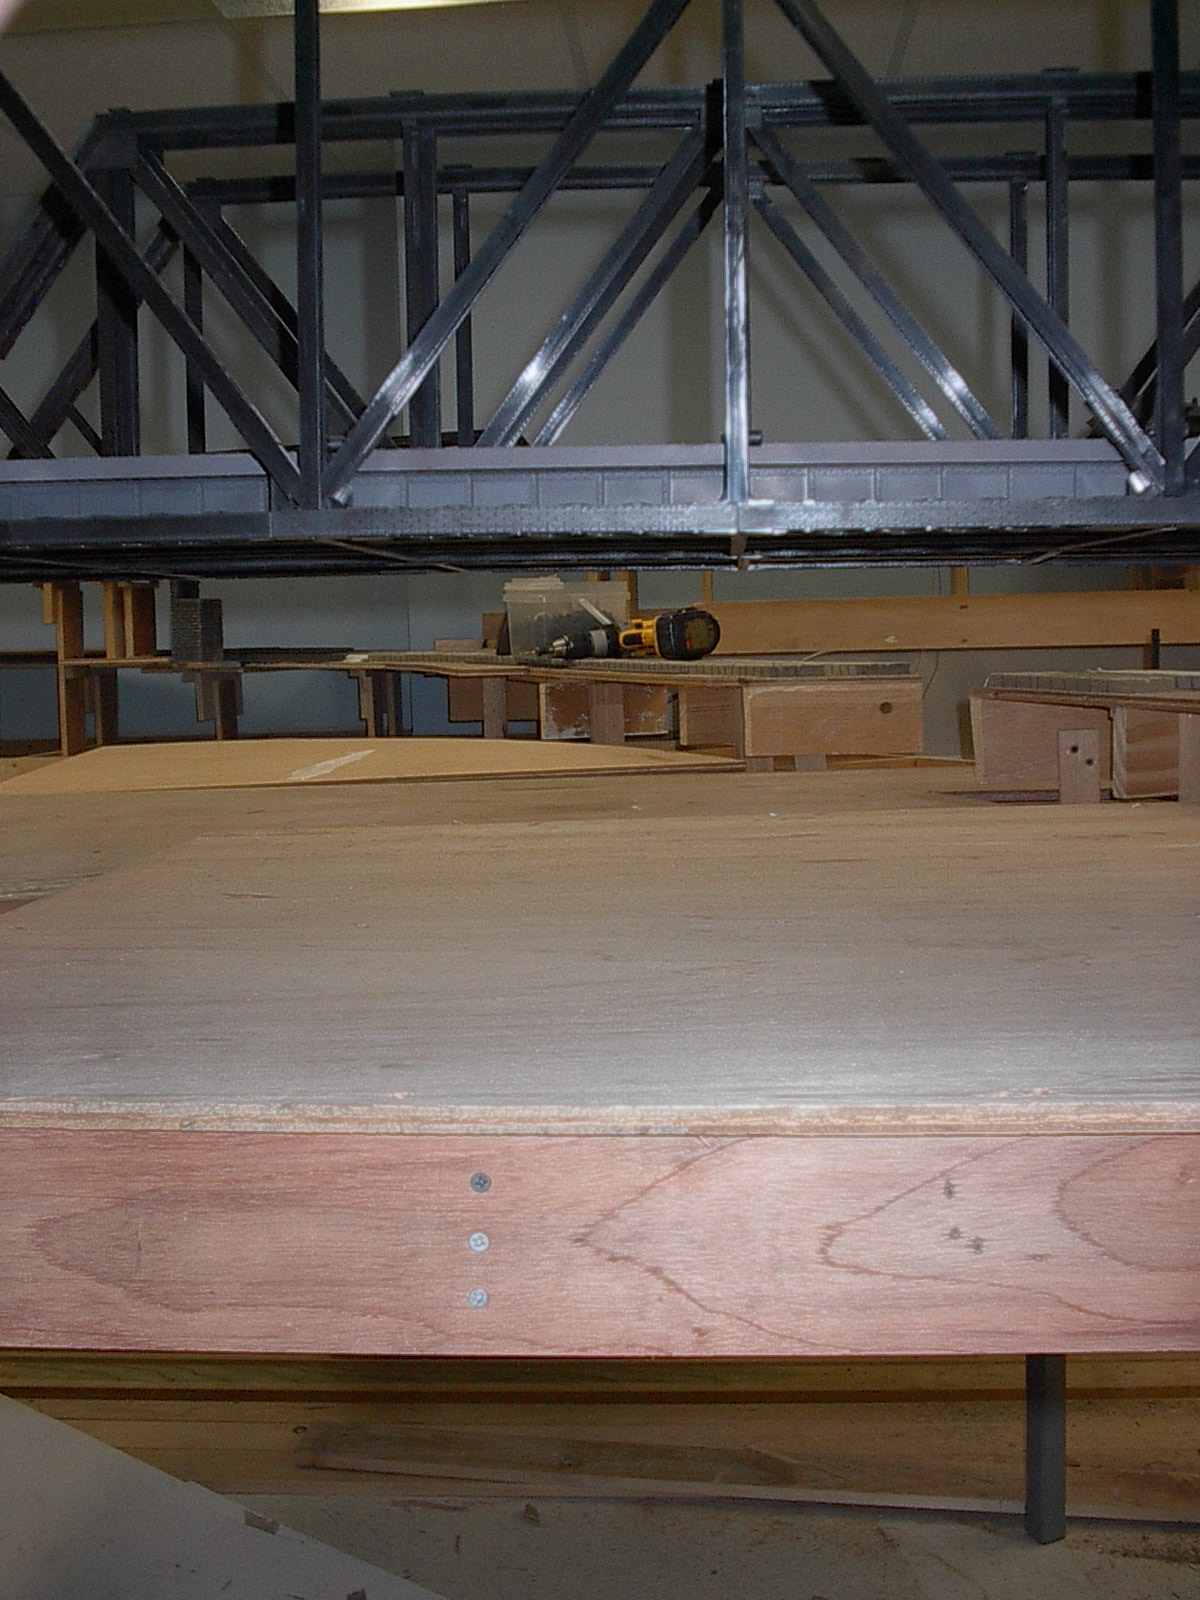
Well, this gives you a view of the overhead area with the side rails (it is now ceiling white as I just finished painting it - 2 coats). Those pieces you see on top of the side rail are extras to allow me to continue the side rail once I get the loop hooked into the line coming up the grade.
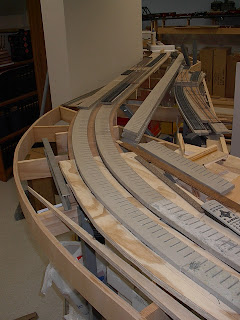
Below is the next hidden area to be built. It will have 8 tracks but they are separated into 4 east bound and 4 west bound. We will be starting on the eastern end up by Herndon where you saw the turnouts laid out on a trial basis. The first picture is the area where we will start. It should go quickly as everything is prefab (or so I hope).


Reusing a turnout or two


Well, here you see the process used to save a turnout from an old layout. These had steel rail and Harry Roberts frogs cast in Pewter, along with home made points. We salvaged them by lifting the homasote up off the plywood without destroying the turnout.
I wanted to make them suitable for DCC should I ever go that way. So, I upgraded them with Lou Cross cast nickel silver frogs and then stripped out the steel rail and replaced it with Lou's nickel silver rail. In the last photo you can see the switch has only a frog and the rails have been pulled out. I slid them out so that the spikes would regauge the new rail going in.
The second photo shows the finished product with all nickel silver and an electrically isolated frog. The points are the same polarity as the running rail - no back to back wheel shorts, which caused me afew problems on the old layout.
So, five turnouts saved and reused in Herndon.

Working on the main line


Now that we have all the plywood down in Herndon, PA, we start on the roadbed. We pick up where we stopped up in the back, crossing the fork of the Susquehanna (you can see the white of the stone bridge in the top of the second picture). I then worked to integrate crossings from my previous layout to save time. I set them on top of the roadbed to be sure they fit the flow we laid out. Once the roadbed was nailed down, I laid some Upsome Board for the base of the town. that is the white material you see. I have not yet made the height transition between the main and the quarter inch lower siding on the Upsome Board.
While this was going on, I just put out some Atlas number 7 turnouts for the hidden area at the end of the line.
I cannot lay them until I finish painting the overhead structure which will be done this weekend. You can see if you look carefully, that I have put a side rail up on the overhead to protect against major disasters if a derailment occurs.
The next step on the main line will be to plaster in the shoulders of the ballast line and then paint that black. I have also superelevated the curves, using N scale cork roadbed as the base of the elevation change and transitioning up onto it with card stock. If you look carefully at the base of the roadbed on the curves, you can see the black cardstock and the brown N scale cork. I also use the black card stock to shim the joints on the homasote to try to make it even as their thickness tolerances are pretty sloppy in manufacturing that stuff. You can see it sticking out near the turnouts.


Sunday, June 27, 2010

Extending the Main Line


As we push forward with the main line subroadbed, we are putting in a switching area for the main as it comes around before entering the hidden storage area. Where I am standing in the first two pictures, there will be a view block so you cannot see the yard which will be just behind my back. My son in law Jason came to help on a recent Sunday and we built all the bench work and subroadbed for the area. My grandson Dylan wanted to help but found that he enjoyed playing with the HO cars that I had stockpiled in anticipation of his vists. Now for the homasote and then the track to get this area done!


Extending the Main Line - Crossing the Susquehanna


When the Northern Central enters Northumberland from the east, it crosses a series of through truss bridges to get into the yard. So, I am trying to create that by having a double and single track through truss bridge side by side. In these shots you can see that I am placing the unbuilt Atlas bridges to set the piers and then to lay a base for the river. In the first two shots you can see that the river forks above the bridge. There will be a stone arch bridge placed in the gap over the branch of the river. It is going to be just below the Dewalt drill you can see. The main line goes over the two truss bridges and then passes below the branch line which is on a truss bridge. I took another Atlas bridge, stripped out the rail and put in Code 125 with a guard rail for the branch.
The double track main will then go over the arch bridge which is being finished. I placed two sheets of 1/2 inch plywood for the river bed. The piers are from Scenic Express. I cut them up to extend them for the two bridges. Next I have to paint them based on pciutes that a friend just took in Pennsylvania of bridge piers in that area. I will set the fascia up to meet the piers so they do not have any earth showing next to the aisle.


Hanging Overhead Loop - Part 5


I spent about 3 days getting the gaps in and then the wiring to the holding loops. You can see the yellow gaps in the first picture and the wiring to the harness that drops down to the future location of a panel in the second picture.
After that was done, I wired all the switch machines with an 18 gauge wire as well. Now, the wiring hangs from the track waiting for the roadbed to reach it from the continuation of the branch. That may take several months as I have to design and build the yard to bring the track around below so I can then place the branch over the top.
Thus, the overhead is now done, except for some sort of detection circuit or TV circuit. I have just finished placing the ceiling tiles back in place. That took a lot of time as I had to back out each holding rod and then place the tile. After that was done, I had to make a hole for the rod and then thread it back into place while leveling the loop. It took about 8 hours to do the whole loop.
In the last picture, you can see that I have started putting the homasote on the lower hidden track and am getting ready to lay that so I can build above it. The branch is in the distance awaiting more right of way becoming available. I have begun pulling wire so I can build some panels for that section.
I am very happy to be done with the overhead loop as that took 4 months.


Hanging the Overhead - Part 4


Well,
I spent the better part of a week with my head in teh ceiling and helped by Rich, putting in all the track and joiners. Little Rich had made a big start on it but I had to go up into the ceiling to finish the track work. You can see the box holding the tools and spikes next to my head in the second picture. I also used templates to make sure the curves are consistent with no pinching in on the radius. The radii are 52, 56, 60, 64, 68 and 72 inches. We test ran the Sunset I1 with long distance tender and it had no problem
with the minimum radius. That is also the minimum radius on the branch so I did not expect any. In the last shot you can see our test train with three 85 foot Pullmans. I did have a little problem on a reverse curve in the next to largest radius curve, which surprised me. John Armstrong used to say you needed at least one car length of a straight section when reversing direction and I can now see he was right. I do not expect any Pullmand to go up there as it is a branch but I will have to put a restriction on that track. Next to do is the wiring for the blocks and switch motors.